Table of Contents
Ready to transform your artistic vision into breathtaking blooms? This comprehensive guide dives into the captivating world of "calla lily flower painting." Whether you're a seasoned artist or just starting your creative journey, we'll equip you with the knowledge and skills to paint stunning calla lilies. First, we'll explore the elegant symbolism and intricate anatomy of this iconic flower, providing a foundation for your artistic interpretation. Next, master essential techniques like color mixing, brushstrokes, and shading to achieve realistic and expressive representations. Finally, we'll unleash your creativity with exciting project ideas, ranging from simple studies to more complex compositions. Prepare to be inspired as you learn to capture the unique beauty of the calla lily on canvas, transforming your artistic potential into vibrant masterpieces. So grab your brushes, and let's embark on this artistic adventure together!
Exploring the Calla Lily: Symbolism and Anatomy

Exploring the Calla Lily: Symbolism and Anatomy
Symbolic Meanings of the Calla Lily
The calla lily, with its elegant, trumpet-like shape, holds a surprising depth of symbolism. In many cultures, it represents purity, innocence, and beauty, often associated with weddings and celebrations. However, the calla lily's symbolism can also extend to more complex emotions. For example, its association with rebirth and new beginnings makes it perfect for spring celebrations. It's also important to note that the color of the calla lily can influence its meaning; white lilies often symbolize purity, while darker shades can represent mystery or even mourning. Learning about the calla lily's language of flowers can add a fascinating layer to your artistic interpretation.
Think about how you want to portray these diverse meanings in your painting. Do you want to highlight its purity and innocence, or its more mysterious side? The color you choose and the overall composition of your artwork will help convey the desired message. Consider the background you use, as well as any additional elements you might include in the painting to enhance the symbolic representation. For instance, a simple, elegant background might emphasize the lily's purity, while a more complex background might highlight its mysterious side.
Color | Symbolic Meaning |
|---|---|
White | Purity, innocence, new beginnings |
Yellow | Friendship, joy, gratitude |
Pink | Admiration, affection, charm |
Understanding Calla Lily Anatomy for Accurate Depiction
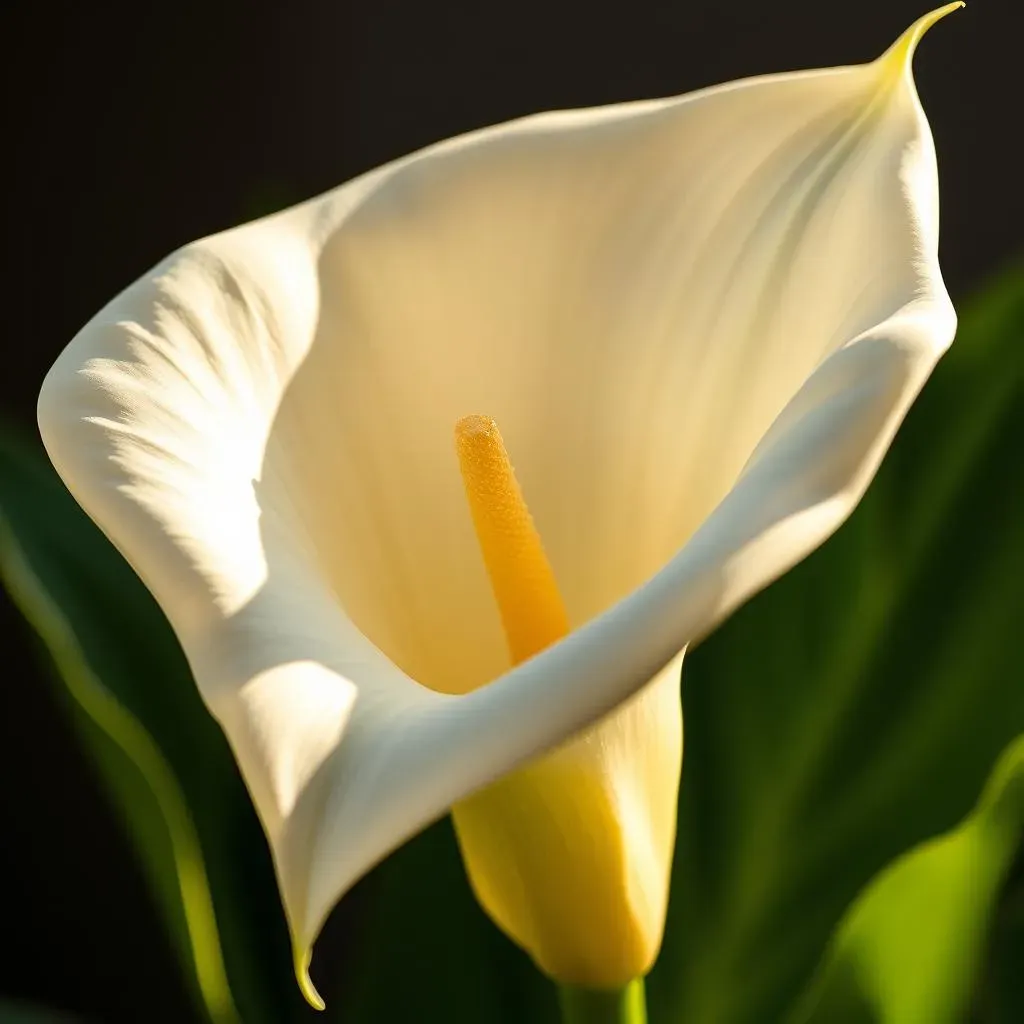
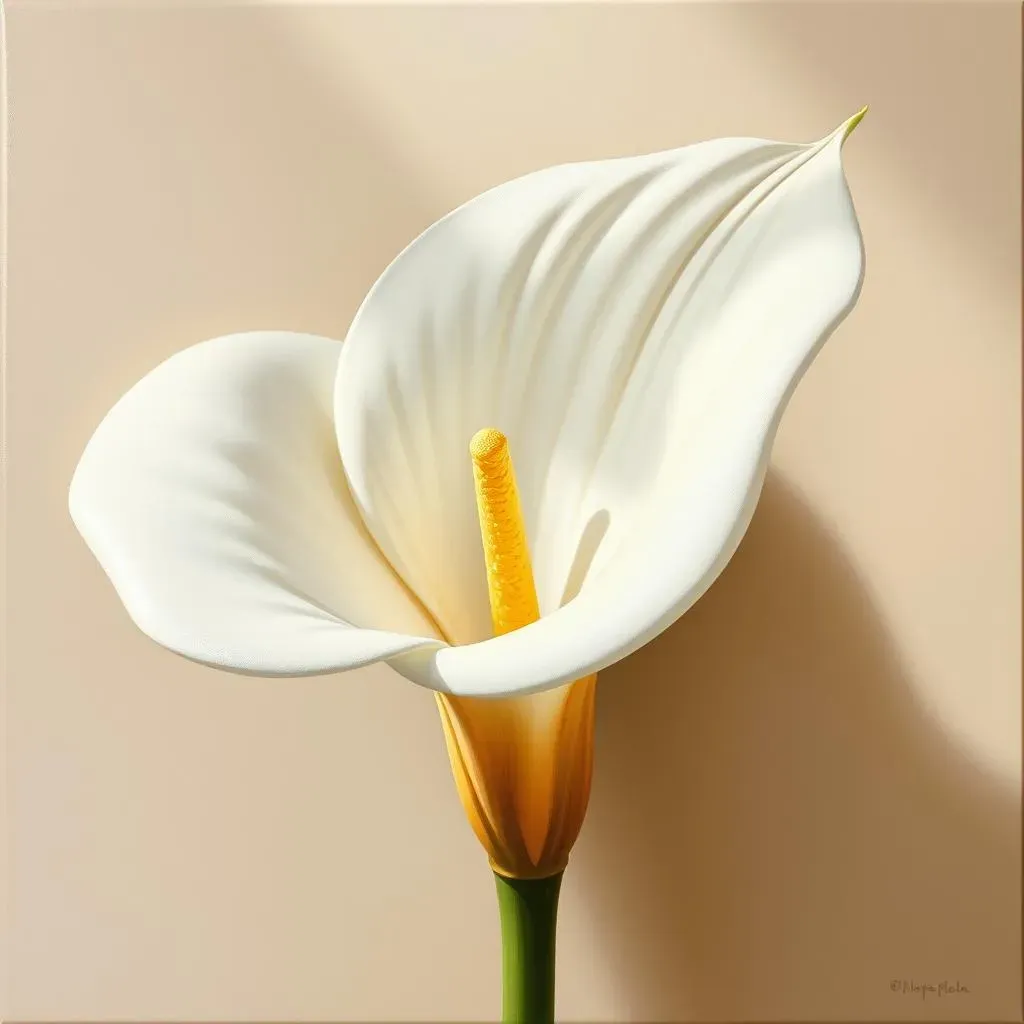
Before you begin painting, it's helpful to understand the calla lily's structure. This elegant flower isn't actually a single bloom but rather a modified leaf called a spathe that wraps around a central structure called a spadix. The spadix contains the tiny true flowers. Notice how the spathe curves gracefully, often forming a subtle S-shape. The spadix itself is a cylindrical structure that protrudes from the center. Observing these details will help you create a more realistic and accurate representation of the flower in your artwork.
Take the time to study real calla lilies, or refer to high-quality photographs. Pay close attention to the subtle variations in the spathe's shape and texture, as well as the way the light interacts with its surface. You might also find it helpful to draw a few sketches of the calla lily from different angles before you start painting. This will help you to understand the flower's three-dimensional form and to capture its essence on canvas. Consider the anatomy of the calla lily to help you with your painting.
- Spadix: The central, cylindrical structure containing the tiny flowers.
- Spathe: The modified leaf that wraps around the spadix.
- Leaves: Large, heart-shaped leaves that provide a backdrop to the flower.
Adding Depth and Realism Through Light and Shadow
To make your calla lily painting truly come alive, you need to master the art of light and shadow. The way light falls on the spathe and spadix will dramatically impact the overall effect. Observe how light creates highlights and shadows, adding depth and dimension to the flower's form. Notice the subtle gradations of color and tone, and how they contribute to the overall realism of the painting. Think about how light reflects off the smooth surface of the spathe, creating bright highlights, and how shadows fall into the curves of the flower, adding depth and form. Using these techniques, you can bring your calla lily painting to life with stunning realism.
Experiment with different lighting conditions to see how they affect the appearance of the calla lily. Try painting a calla lily in direct sunlight, then in soft, diffused light. Observe how the shadows change and how the highlights shift, and use this knowledge to create a more dynamic and engaging painting. You can also experiment with different techniques for creating highlights and shadows, such as using dry brushing, glazing, or scumbling. These techniques can help you to create a sense of depth and texture in your painting, making it more realistic and expressive. Consider exploring the different colors of calla lilies to further enhance your painting's realism.
Essential Techniques for Painting Realistic Calla Lilies

Essential Techniques for Painting Realistic Calla Lilies
Mastering Color Mixing for Calla Lilies
Mixing the perfect shades for your calla lily is key to realism. Start with a base of white, then gradually add touches of yellow, cream, or even a hint of green to create the subtle variations found in the spathe. For the spadix, experiment with shades of yellow, transitioning to a deeper, richer yellow or even a touch of orange at the base. Remember, the calla lily isn't just one solid color; it's a symphony of subtle shifts and gradations. Experiment! Don't be afraid to mix and match colors until you achieve the perfect hue. Observe the natural color variations in the real flower for inspiration.
Consider using a limited palette to build your colors. This approach helps you understand the subtle nuances and transitions in color, leading to a more unified and harmonious painting. You can achieve a wide range of hues by simply adjusting the ratios of your base colors. Adding a tiny amount of a complementary color can dramatically alter the feel of a shade. For example, a touch of blue in your yellow can create a more sophisticated, less naive yellow. Explore the use of different painting mediums, such as watercolor or acrylics, to see how they impact your color mixing.
Color | Mixing Tip |
|---|---|
Pale Yellow | White + Tiny bit of Yellow |
Creamy White | White + touch of Yellow + hint of Green |
Deep Yellow | Yellow + touch of Orange |
Achieving Realistic Texture and Form
The smooth, almost waxy texture of the calla lily spathe is a crucial aspect to capture. Use different brushstrokes to achieve this effect. For example, smooth, flowing strokes can capture the gentle curves of the spathe, while slightly textured strokes can hint at the subtle undulations of the surface. Experiment with the pressure and angle of your brush to create variations in texture. Layering thin washes of paint can also help build up the depth and translucency of the flower's petals.
Don't forget about the spadix! Its smooth, cylindrical shape contrasts beautifully with the spathe's softer curves. Use short, controlled strokes to create its smooth surface, building up layers of color to achieve depth. Remember to pay attention to the way light reflects off its surface, creating subtle highlights and shadows. Consider using a slightly darker shade of yellow at the base to add depth. You can also use a small, fine brush to add details, such as the tiny flowers that make up the spadix. This will add a layer of complexity and realism to your painting.
- Use smooth strokes for the spathe's curves.
- Employ short strokes for the spadix's cylindrical shape.
- Layer thin washes of paint for depth.
Adding Finishing Touches and Backgrounds
Once you've captured the main elements of the calla lily, it's time to add those finishing touches that elevate your artwork. Consider adding delicate highlights to emphasize the flower's form and texture. A few strategically placed highlights can dramatically enhance the overall effect. You can also add subtle shadows to create depth and realism. Experiment with different techniques, such as glazing or dry brushing, to refine the details and bring out the beauty of your calla lily.
The background of your painting should complement the calla lily, without overpowering it. A simple, neutral background will let your flower take center stage. However, a more complex background can add another layer of interest and depth to your artwork. Think about the overall mood you want to create and choose a background that reflects that mood. You can use various techniques to create a stunning background, such as washes of color, textured layers, or even abstract elements. Remember, the background should enhance your painting, not distract from it. For example, a simple, elegant background might be perfect for highlighting the purity of a white calla lily, while a more vibrant background might better suit a bolder color variation. Check out these calla lily arrangements for background inspiration.
Creative Calla Lily Painting Projects: From Beginner to Advanced

Creative Calla Lily Painting Projects: From Beginner to Advanced
Single Calla Lily Study
Let's start simple! For beginners, focusing on a single calla lily is a fantastic way to practice your newly acquired techniques. Choose a striking color—a vibrant yellow, a delicate pink, or a classic white. Set up your still life, paying close attention to the light and shadows. Take your time, focusing on accurately capturing the subtle curves of the spathe and the smooth texture of the spadix. Don't worry about perfection; the goal is to practice your brushstrokes and color mixing. This exercise will build your confidence and prepare you for more complex projects.
Remember the importance of observing your subject closely. Notice the subtle variations in color and tone, and how light interacts with the flower's surface. Use your understanding of calla lily anatomy to guide your brushstrokes. Experiment with different brush types and techniques to achieve the desired texture and form. A simple, uncluttered background will allow your calla lily to take center stage.
Step | Action |
|---|---|
1 | Sketch the calla lily lightly. |
2 | Apply base colors. |
3 | Add highlights and shadows. |
Calla Lily Bouquet Composition
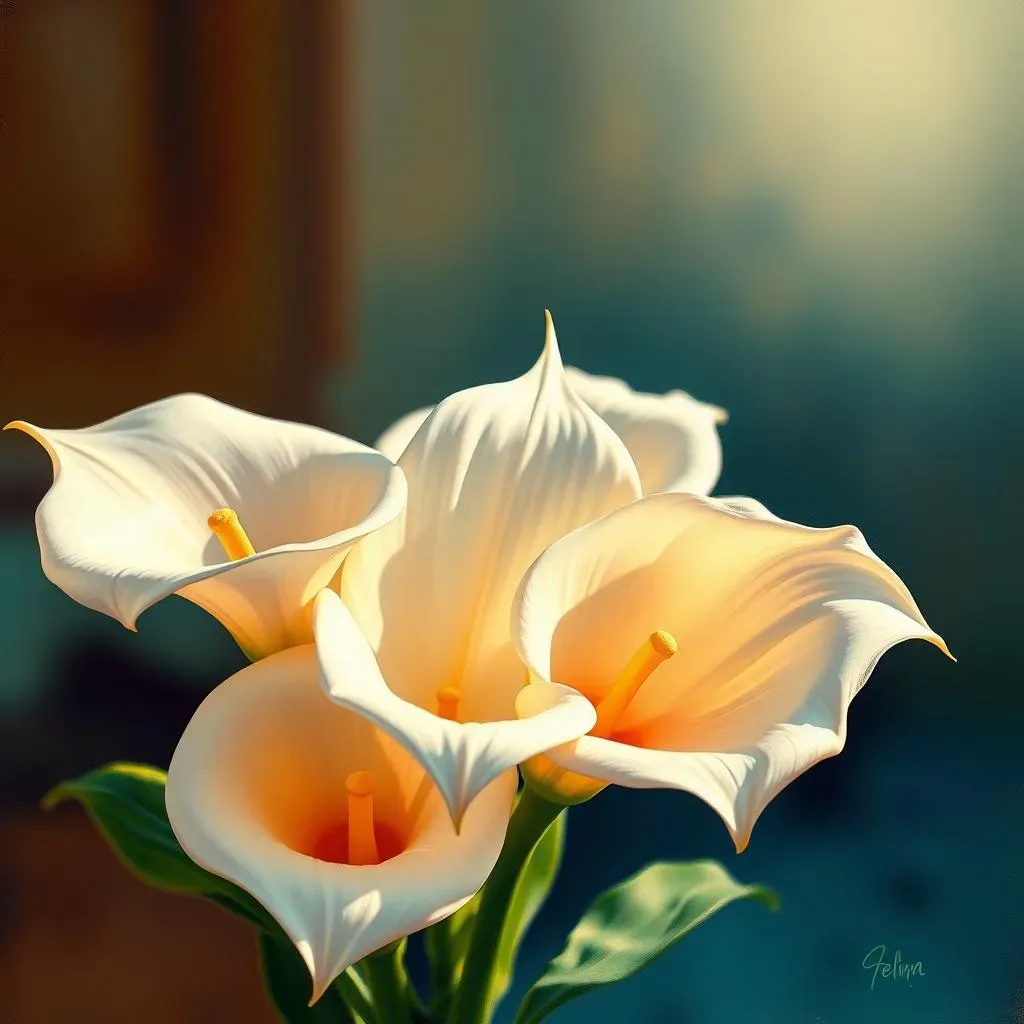
Ready to level up? Try painting a bouquet of calla lilies! This allows you to experiment with different colors, angles, and compositions. Consider arranging your lilies in a vase, or loosely scattered to create a more natural look. Think about the overall shape and balance of your composition. Where will your viewer's eye be drawn first? How can you use light and shadow to create depth and interest? This project will help you develop your skills in composition and color harmony.
Remember to plan your composition carefully before you begin painting. Sketch out your ideas, experimenting with different arrangements and perspectives. Think about the overall mood you want to create and choose colors and a background that complement your lilies. You can also add other elements to your painting, such as leaves, stems, or other flowers, to enhance the composition. Consider the various ways to arrange calla lilies for inspiration. Don't be afraid to experiment with different techniques and approaches.
- Consider the overall shape and balance.
- Use light and shadow to create depth.
- Experiment with different color combinations.
Abstract Calla Lily Interpretation
For the more adventurous artist, why not try an abstract interpretation of the calla lily? This is a chance to break free from realism and express your creativity. Focus on the essential shapes and forms of the flower, using bold colors and expressive brushstrokes to create a unique piece. Don't worry about perfect representation—instead, focus on conveying the emotion and energy of the flower. This is a great way to develop your artistic voice and explore your unique style. Consider using contrasting colors to create visual interest.
Experiment with different techniques, such as impasto or dripping, to create texture and movement in your painting. Think about the overall mood you want to create, and choose colors and a composition that reflects that mood. You can also incorporate other abstract elements into your painting to enhance the overall effect. This project is all about self-expression; there are no right or wrong answers. Let your imagination run wild! Explore different painting styles and techniques to find what works best for you. For instance, you could experiment with a calla lily drawing before attempting a painting.