Table of Contents
Have you ever been captivated by the elegant simplicity of a calla lily? Its smooth curves and striking trumpet shape make it a favorite subject for artists of all skill levels. This article is your comprehensive guide to mastering the art of "calla lily flower drawing." Whether you're a complete beginner picking up a pencil for the first time or an experienced artist looking to refine your technique, we'll walk you through everything you need to know. We'll start by exploring the fundamental anatomy of the calla lily, breaking down its structure into manageable shapes and forms. This understanding will be crucial as we then move on to essential drawing techniques, covering basic sketching, shading, and the creation of realistic textures. We'll explore different approaches, from simple line drawings to more complex, detailed renderings. Finally, for those ready for a challenge, we'll delve into advanced techniques and styles, experimenting with different mediums and approaches to truly capture the unique beauty of the calla lily. Get ready to transform your artistic vision into stunning calla lily artwork! Prepare to be amazed by what you can create. Let's begin!
Basic Calla Lily Anatomy and Structure
Basic Calla Lily Anatomy and Structure
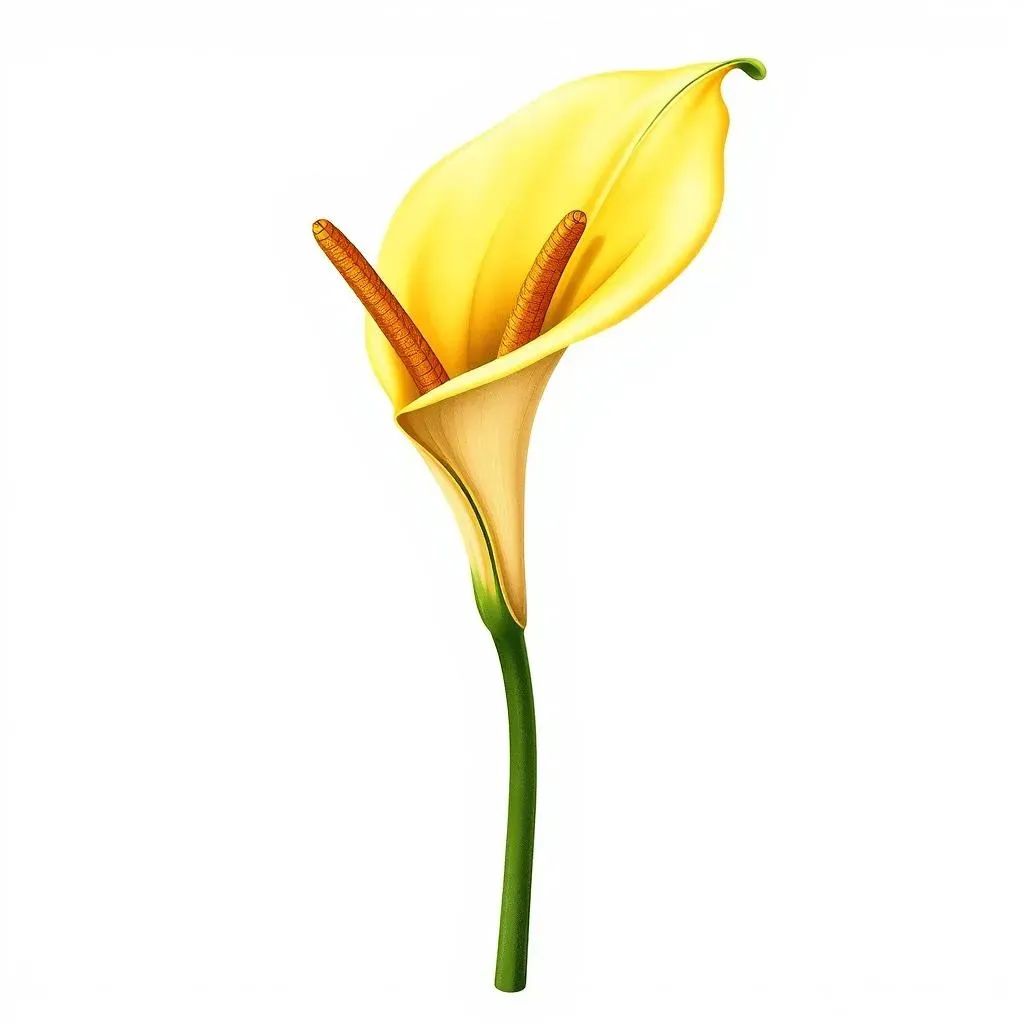
Let's start with the basics! Understanding a calla lily's structure is key to drawing it realistically. Think of it like building blocks – you'll need to understand each part before you can put them together. First, there's the spadix, that thick, central, finger-like structure. It's actually a collection of tiny flowers tightly packed together. Surrounding the spadix is the spathe, a large, petal-like leaf that wraps around it. This is often the most visually striking part of the flower, and it comes in a fantastic array of colors, from classic white to bold blacks and vibrant yellows. You can find more information on the different calla lily colors available. The spathe's shape is crucial; it's usually a smooth, elegant curve that flares outwards. Finally, there's the stem, which supports the whole structure, often a simple, straight line. Getting the proportions right between the spadix and the spathe is key – the spadix should be noticeably shorter and thicker than the spathe.
Part | Description | Drawing Tip |
|---|---|---|
Spadix | Central, finger-like structure containing tiny flowers. | Draw it as a slightly curved cylinder. |
Spathe | Large, petal-like leaf surrounding the spadix. | Focus on smooth curves and the way it wraps around the spadix. |
Stem | Supports the entire flower. | Keep it simple, usually a straight line. |
Now, let's talk about the leaves. Calla lilies have distinctive, arrowhead-shaped leaves. They're usually quite large and have prominent veins running through them. These leaves often grow separately from the flower stem. Notice how the leaves have a distinct glossy surface. When you're drawing them, consider how light reflects off this surface, creating highlights and shadows to add depth and realism. For more information on caring for your calla lilies, check out our guide on calla lily flower care.
- Observe the overall shape of the flower and its relation to the leaves.
- Pay attention to the smooth transitions between different parts.
- Don't be afraid to use light and shadow to add dimension.
Essential Drawing Techniques for Beginners
Essential Drawing Techniques for Beginners
Basic Sketching and Shape Building
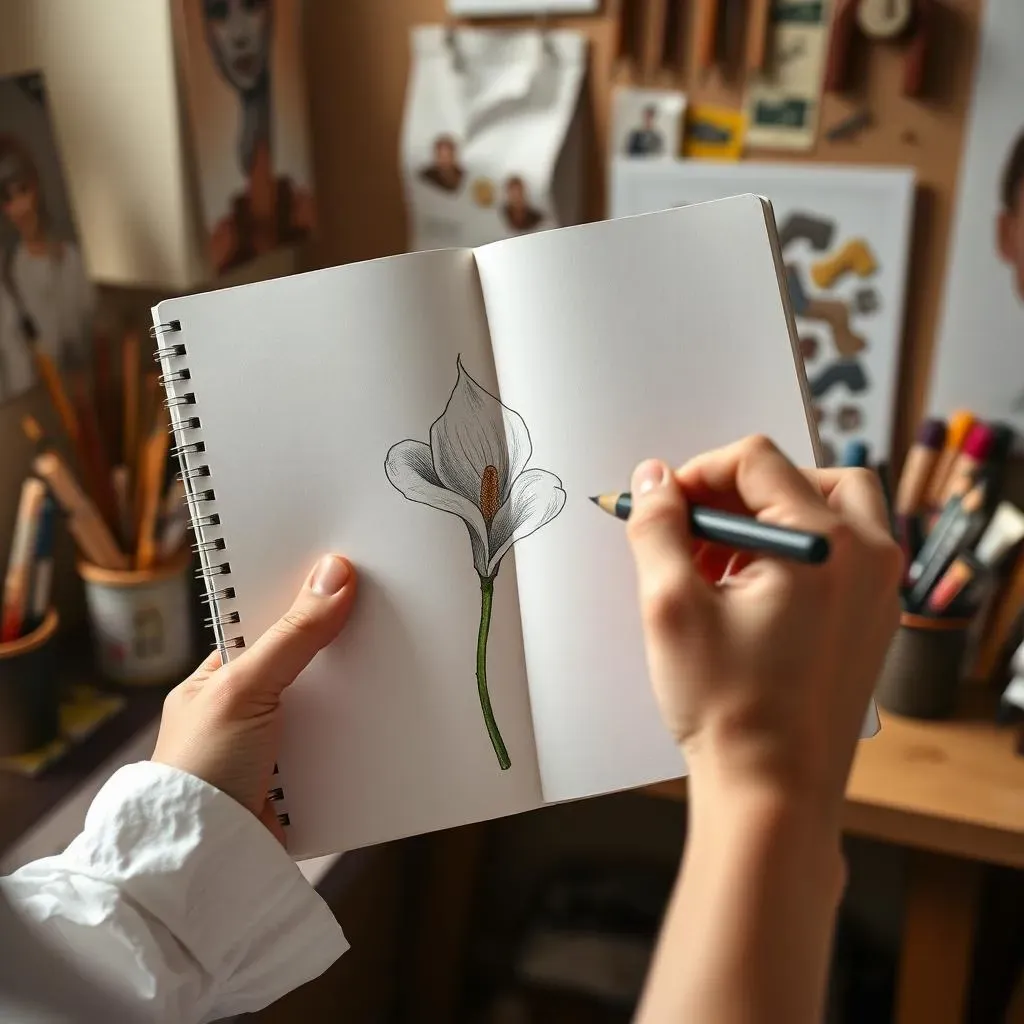
Let's start with light, loose sketches. Don't press hard on your pencil; think of this stage as exploring the calla lily's form. Begin by lightly sketching the overall shape of the spathe, using simple curves to capture its elegant flow. Then, add the spadix, focusing on its cylindrical form and its position within the spathe. Remember, getting the proportions right is key! The spadix should be shorter and thicker than the spathe. Next, sketch in the stem and the arrowhead-shaped leaves. Keep your lines light and flowing, allowing yourself to adjust and refine your shapes as you go. Don't worry about perfection at this stage; it's all about laying the foundation for your drawing. Remember to take your time and really observe the flower before you start. For inspiration on how to arrange your finished calla lilies, check out our article on calla lily arrangements.
Once you've got the basic shapes down, you can start to refine your sketch. Look for areas where you can enhance the curves of the spathe, the subtle tapering of the spadix, and the delicate veins in the leaves. Use your eraser to gently remove any unwanted lines. As you refine your sketch, start to think about the direction of light. Where are the highlights and shadows falling on the flower? This will be important when you move on to adding shading and texture.
- Start with light, loose sketches.
- Focus on proportions and basic shapes.
- Refine your sketch gradually.
Adding Shading and Texture
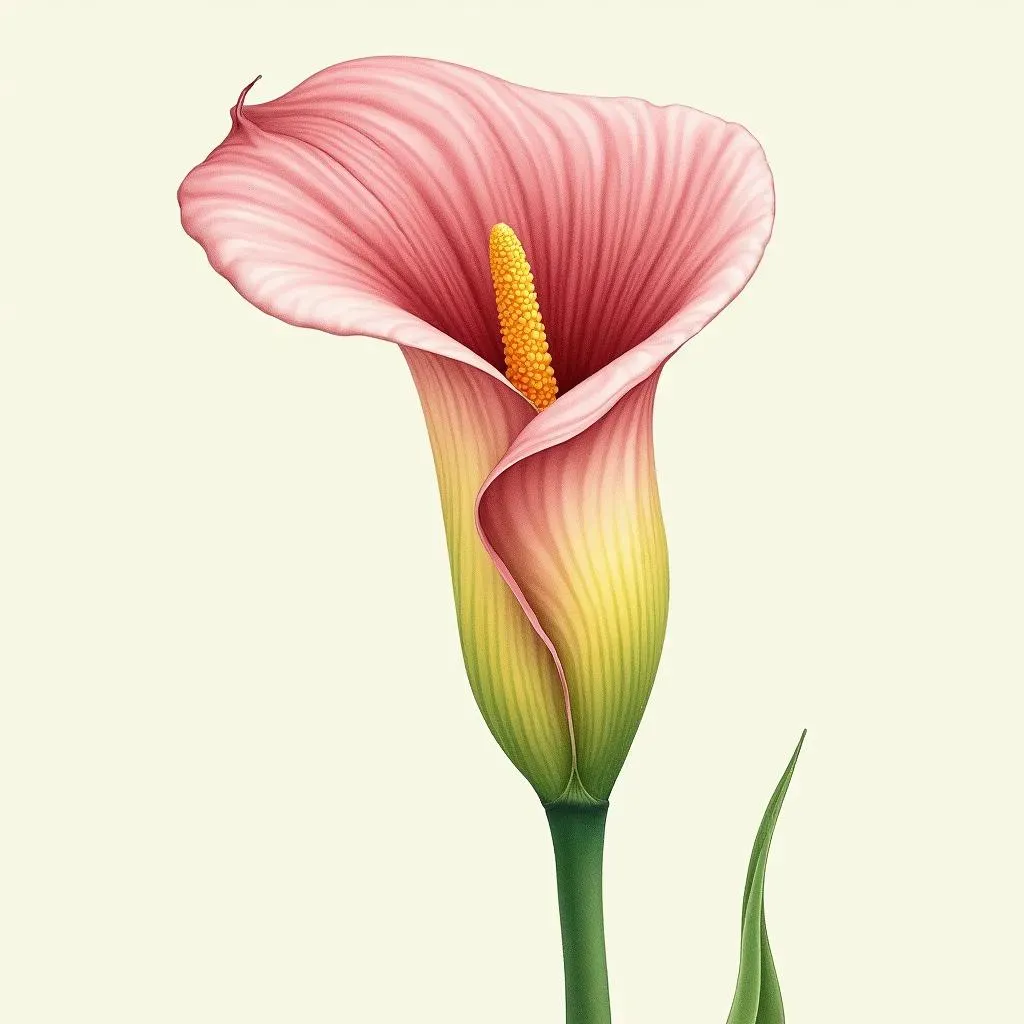
Now for the fun part – adding shading and texture! Start by identifying the light source. Where is the light coming from? This will help you determine where the highlights and shadows should be placed. Use light, gradual shading to create depth and dimension. For example, gently shade the areas that are furthest from the light source, gradually increasing the darkness as you move away. Leave the areas closest to the light source bright and un-shaded. This will help the flower to "pop" from the page. Remember, shading isn't just about adding darkness; it's about creating a sense of form and volume. For a more detailed look at the flower's structure, you can learn more about calla lily anatomy.
To add texture, consider the subtle variations in the surface of the spathe and leaves. The spathe is usually smooth and glossy, while the leaves have a more textured appearance. Use different shading techniques to create this effect. For example, you can use short, light strokes to create a sense of texture on the leaves. Use smooth, blended shading on the spathe to emphasize its glossy surface. Experiment with different shading techniques and see what works best for you. Don't be afraid to try different approaches; the goal is to capture the unique beauty of your subject. Remember, practice makes perfect!
Shading Technique | Effect |
|---|---|
Light, gradual shading | Creates depth and dimension. |
Short, light strokes | Creates texture on leaves. |
Smooth, blended shading | Creates glossy surface on spathe. |
Advanced Calla Lily Drawing Techniques and Styles
Advanced Calla Lily Drawing Techniques and Styles
Exploring Different Mediums
Once you've mastered the basics, it's time to experiment! Don't limit yourself to pencils. Try different mediums to achieve unique effects. Watercolors can create soft, delicate washes of color, perfect for capturing the subtle gradations of light and shadow on a calla lily. The translucent quality of watercolor allows you to layer colors and create depth. Colored pencils, on the other hand, offer precise control and the ability to build up layers of color to create rich, saturated hues. They’re great for adding fine details and textures. Charcoal can be used to create dramatic, expressive drawings, emphasizing the contrast between light and shadow. Experiment with different techniques within each medium. For instance, with watercolors, try wet-on-wet or wet-on-dry techniques to achieve different effects. With colored pencils, experiment with layering and blending to create depth. For more ideas on flower arrangements, check out our guide on calla lily wedding arrangements.
Remember that the choice of medium will influence your approach to shading and texture. For example, watercolors might require a looser, more expressive style, whereas colored pencils allow for a more detailed and precise approach. The key is to experiment and find the medium that best suits your style and vision. Don't be afraid to step outside your comfort zone and try something new! You might discover a whole new world of artistic possibilities. Consider the overall mood and atmosphere you want to create in your drawing. A soft, romantic mood might be achieved with watercolors, while a bold and dramatic mood might be better suited to charcoal.
- Watercolors: Soft, delicate washes.
- Colored pencils: Precise control, rich color.
- Charcoal: Dramatic, expressive drawings.
Adding Realistic Details and Depth
To elevate your calla lily drawings, focus on adding realistic details. Pay close attention to the subtle curves and folds in the spathe. These details will bring your drawing to life and create a sense of realism. Observe how light reflects off the glossy surface of the spathe, creating highlights and subtle reflections. Capture these highlights in your drawing by leaving small areas un-shaded or by using a white gel pen or white gouache to add bright accents. Don't forget about the spadix! It's often overlooked, but it’s an important part of the flower's structure. Pay attention to its texture and the way it curves slightly. For a more detailed understanding of the calla lily's structure, see our article on calla lily anatomy.
Another key element of realistic drawing is creating depth. Use perspective to create a sense of space and distance. Pay attention to the way the flower and leaves overlap, creating layers and shadows. You can also use atmospheric perspective, where objects further away appear lighter and less detailed, to create a sense of depth in your drawing. Experiment with different techniques to achieve a realistic look. For example, try using a combination of hard and soft pencils to create both sharp lines and subtle gradations of tone. Remember that the goal is to create a drawing that looks three-dimensional and captures the essence of the calla lily.
Detail | Technique |
|---|---|
Subtle curves and folds | Careful observation and precise rendering. |
Light reflections | Highlights and white accents. |
Depth | Perspective, atmospheric perspective, and layering. |
Exploring Different Artistic Styles
Finally, don't be afraid to experiment with different artistic styles! While realism is a great starting point, you can also explore other styles, such as impressionism, where you focus on capturing the overall impression of the flower rather than every minute detail. Or try a more abstract approach, simplifying the forms and focusing on color and composition. You could even incorporate elements of other art forms, such as calligraphy or botanical illustration, to create a unique and expressive drawing. The possibilities are endless!
Consider the overall mood and atmosphere you want to create in your drawing. A soft, romantic mood might be better suited to a loose, impressionistic style, while a bold and dramatic mood might lend itself to a more abstract or graphic approach. Think about the color palette you'll use, the composition of your drawing, and the overall style you want to achieve. Remember that art is all about self-expression, so don't be afraid to experiment and find your own unique style. For further inspiration, check out our page on calla lily colors and how they can inspire your artistic choices.
- Realism: Focus on precise details and accuracy.
- Impressionism: Capture the overall impression of the flower.
- Abstract: Simplify forms, emphasize color and composition.