Table of Contents
Ever watched a beautiful calla lily bloom, only to see its elegant flower start to fade? It's a natural part of the plant's life cycle, but it can leave you wondering, "what to do when calla lily flower dies?" Don't worry, you're not alone! Many gardeners face this, and the good news is, it's not the end for your plant. This article will guide you through the simple steps you can take to keep your calla lily healthy and prepare it for future blooms. We'll explore why deadheading is important, how to do it correctly, and what to expect after the flowers are gone. Think of it like giving your plant a little nudge in the right direction so it can focus on growing strong and getting ready to wow you again. So, let's get started and uncover the secrets to keeping your calla lilies thriving, even after their flowers have faded.
Understanding the Calla Lily Life Cycle

Understanding the Calla Lily Life Cycle
The Blooming Phase
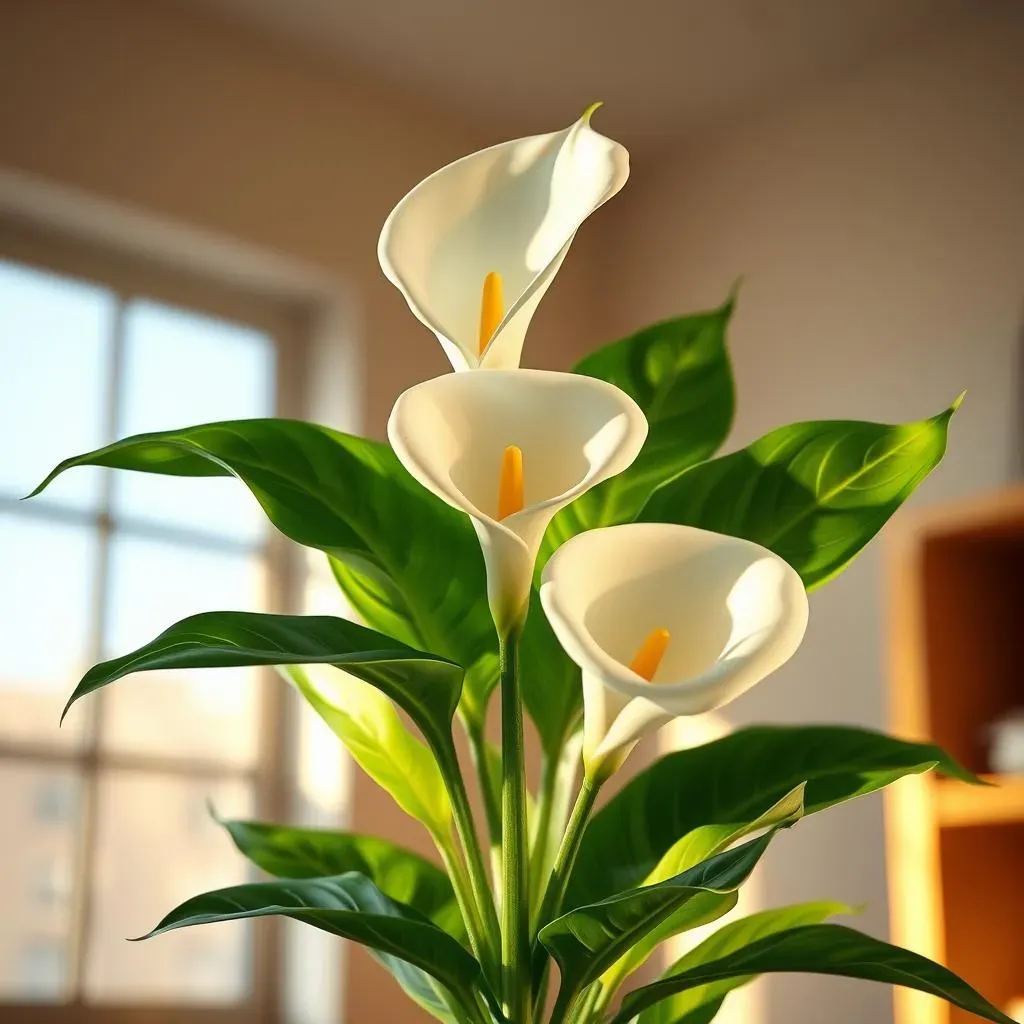
Calla lilies aren't like your average flower. Instead of dropping petals, they do this cool thing where the flower part, which is actually a spathe, starts to curl up into a tube. It's kind of like the flower is giving itself a hug! You'll also notice the color might change, often turning green. This means the flower is done with its main job of attracting pollinators and is now focusing on the next phase. It's a natural process, so don't think your plant is sick or anything. This is just how calla lilies say "I'm done blooming for now".
The Post-Bloom Shift
After the flower fades, the plant shifts its energy towards growing its underground rhizome, which is like a storage unit for energy. Think of it as the plant stocking up for winter. The leaves will continue to photosynthesize, creating food for the rhizome. It might seem like the plant is just chilling out, but a lot is happening beneath the surface. The leaves might even start to turn yellow, which is totally normal at this point. This is part of the calla lily's natural cycle, as it prepares for a period of rest before the next blooming season. The plant is not dying, it's just gearing up for its next show.
Here's a quick look at the Calla Lily's Cycle:
Stage | What's Happening |
|---|---|
Blooming | Flower is vibrant and open. |
Fading | Flower curls up, may turn green. |
Post-Bloom | Plant focuses on rhizome growth, leaves may yellow. |
Dormancy | Plant rests, foliage dies back. |
Re-growth | New shoots emerge in spring. |
Why Deadheading Calla Lilies Matters

Why Deadheading Calla Lilies Matters
A Matter of Energy Conservation
Okay, so you might be thinking, "Why bother removing the old flowers? They're just going to fall off anyway, right?" Well, not exactly. Calla lilies don't drop their petals like some other flowers do. Instead, those spent blooms can actually turn into seed pods, which takes a lot of energy from the plant. It’s like asking your plant to run a marathon when it should be focusing on bulking up for the next season. By deadheading, you're basically telling your plant, "Hey, you can stop worrying about making seeds and focus on growing a bigger, stronger rhizome". And that, my friend, is what leads to more gorgeous flowers next year.
Improving Plant Appearance
Let's be real, those curled-up, sometimes greenish, old flowers aren't exactly the most attractive thing in your garden or pot. They can make your whole plant look a bit sad and neglected. Removing them instantly tidies things up and allows you to really appreciate the beauty of the foliage. Plus, by getting rid of the old blooms, you're encouraging the plant to focus its energy on producing healthy, vibrant leaves. It's like giving your plant a little spa day; it looks better, feels better, and is ready to take on the world.
Preparing for Future Blooms
The real magic of deadheading happens underground. That rhizome we talked about earlier? That’s where all the plant's energy is stored. A healthy rhizome is key to getting those beautiful calla lily flowers next year. By removing spent flowers, you're helping the plant focus all its energy on building up that rhizome. This means you'll have a stronger, more robust plant that will produce even more stunning blooms when the time is right. It's like investing in your plant's future. Think of deadheading as a way of saying to your calla lily, "I'm looking forward to seeing you shine again!".
- Deadheading prevents seed pod formation.
- It redirects energy to the rhizome.
- Improves the overall appearance of the plant.
- Promotes healthier and more abundant future blooms.
StepbyStep Guide: What to Do When Calla Lily Flower Dies

StepbyStep Guide: What to Do When Calla Lily Flower Dies
Gather Your Tools
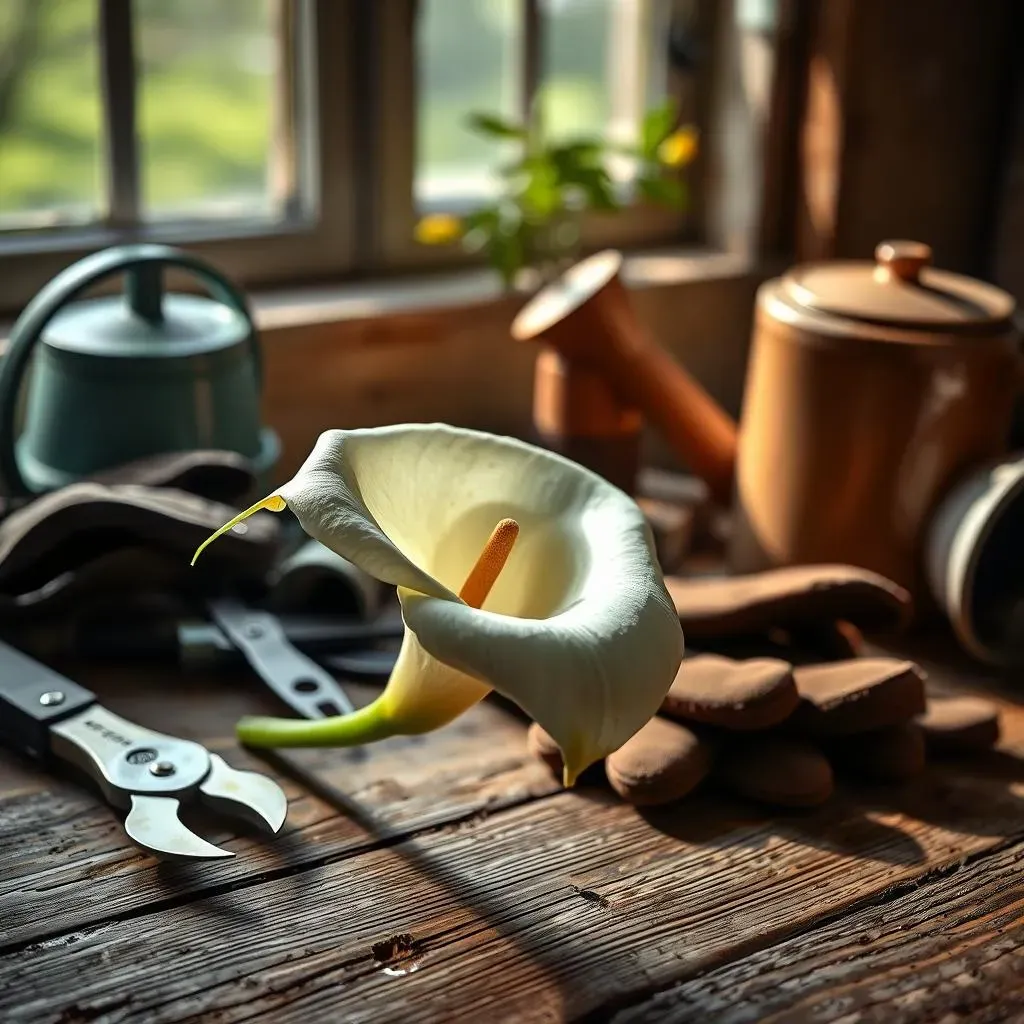
Alright, let's get down to business. You won't need a whole lot of fancy equipment for this, which is great! All you'll need is a clean pair of garden shears or scissors. Make sure they're nice and sharp to get a clean cut. You want to avoid tearing the stem, which could make your plant sad and vulnerable to disease. Think of it like giving your plant a little spa day; it should be a clean and pleasant experience. Oh, and maybe some gloves if you're not a fan of getting your hands dirty, but I personally love getting my hands in the soil.
The Cutting Technique
Now for the main event! Locate the base of the spent flower stem, where it meets the main part of the plant. You're going to clip the stem off close to the base. Don't worry about cutting flush to the base, leaving a small stub is perfectly fine. The idea is to remove the flower but not harm the rest of the plant. It's kind of like giving your plant a haircut, you want to trim it nicely but not cut too short. This process will help your plant focus on growing bigger and stronger underground. Remember, it's all about redirecting that energy!
Post-Deadheading Care
Okay, you've successfully deadheaded your calla lily! Now what? Well, you can just let your plant do its thing. Keep watering it regularly as needed, allowing the soil to dry out a bit between waterings. If you're using fertilizer, you can continue feeding it for a few weeks until the foliage starts to die back naturally. Don't be alarmed if the leaves start turning yellow, it's a normal part of their cycle. Just keep an eye out for any signs of disease or pests. Your calla lily is now set up for success, and you're one step closer to enjoying those beautiful blooms again next season. Give yourself a pat on the back, you did great!
Here's a quick recap:
- Use clean, sharp shears or scissors.
- Cut the stem close to the base, leaving a small stub.
- Continue regular watering and feeding until foliage starts to die back.
- Observe the plant for any signs of disease or pests.