Table of Contents
Transplanting can be a daunting task, but it doesn't have to be! At lilyflower.homes, we've compiled a comprehensive guide to help you master the art of transplanting. Whether you're a seasoned gardener or a beginner, these tips will ensure your plants thrive. We'll cover the best time to transplant, how to prepare your plants, a step-by-step guide, and top tips for success. By the end of this article, you'll be confident and ready to give your plants the best possible start. So, let's examine in and make your garden the envy of the neighborhood!

Essential Transplanting Tips For A Thriving Garden
Choosing the Right Time for Transplanting Tips

Choosing The Right Time For Transplanting Tips
Why Timing Matters
Transplanting your plants at the right time can make all the difference. Think of it like starting a new exploration in a different environment. Just like you’d pack the right clothes for a trip, your plants need the right conditions to thrive in their new home. The key is to avoid harsh weather and give your plants the best possible start.
For example, if you transplant a tomato plant during a scorching summer day, it might get sunburned and stressed. On the other hand, if you transplant it on a cool, cloudy day, it’s more likely to adapt and grow without shock. Check out our tips on to understand how different plants react to sunlight.
Best Time to Transplant | Reasons |
|---|---|
Spring | Mild temperatures and consistent rainfall help plants establish roots. |
Fall | Soil is still warm, and there’s less risk of extreme heat or cold. |
Cloudy Days | Protects plants from sunburn and reduces stress. |
Evening | Allows plants to settle in before facing the next day's heat. |
Avoiding Mistakes
One of the biggest mistakes people make is transplanting at the wrong time. It’s like moving to a new house in the middle of a snowstorm. Not ideal, right? If you transplant during extreme heat, cold, or dry spells, your plants might struggle to adapt. Imagine trying to run a marathon without water; it’s a recipe for disaster.
Instead, aim for a mild, cloudy day, or late in the evening when the sun is less intense. This gives your plants a fighting chance to get settled before facing harsh conditions. If you’re not sure, you can check the weather forecast to pick the perfect day. And don’t forget to water your plants well before and after transplanting. For more on watering, check out our guide on .
- Check the weather forecast
- Choose a mild, cloudy day
- Water plants before and after transplanting
Seasonal Considerations
Spring and fall are generally the best times for transplanting, but different plants have different needs. For instance, perennials and shrubs often do better in the fall when the soil is still warm. This gives their roots time to establish before the cold sets in. On the other hand, annuals and most vegetables prefer the spring, when the soil is warming up and there’s plenty of moisture.
Think of it like planting a seedling in a school garden. If you plant it in the spring, it has the whole growing season to get big and strong. If you plant it in the fall, it can settle in and get ready for the next growing season. For more on seasonal care, take a look at our tips.
Preparing Your Plants for Transplanting Tips

Preparing Your Plants For Transplanting Tips
Get Your Plants Ready
Before you start transplanting, it's crucial to make sure your plants are in the best shape possible. Think of it like getting a car ready for a long road trip. You wouldn't just jump in and drive; you’d check the oil, top up the gas, and make sure the tires are good. Similarly, your plants need a bit of prep to handle the move. Start by giving them a good drink of water a day or two before you plan to transplant. This helps them stay hydrated and reduces stress during the move.
Another important step is to check for any signs of stress or disease. If your plants look droopy or have yellow leaves, it’s a good idea to give them some extra care before transplanting. You can find more tips on how to handle plant stress in our guide. And don’t forget to use a gentle touch when handling your plants. A little care goes a long way!
- Water plants a day or two before transplanting
- Check for signs of stress or disease
- Handle plants gently
Prune and Trim
Pruning and trimming your plants before transplanting can make a big difference in their success. It’s like giving them a haircut to help them focus their energy on growing roots instead of leaves. Start by removing any dead or damaged leaves and stems. This not only makes your plant look better but also reduces the risk of disease. For more detailed pruning tips, check out our .
When you're pruning, use clean, sharp shears to make clean cuts. This helps prevent the spread of disease and ensures your plant heals properly. Also, consider trimming back any long roots if you’re transplanting from a pot. Long roots can get tangled and make it hard for your plant to establish itself in its new home. Once you’re done, give your plants a bit of fertilizer to give them a boost. Our guide can help you choose the right type.
StepbyStep Guide to Transplanting Tips

Stepbystep Guide To Transplanting Tips
Now that you've chosen the right time and prepared your plants, it's time to get your hands dirty. Transplanting might seem a bit daunting, but with a step-by-step guide, you'll be a pro in no time. Imagine you’re moving your favorite toy from one room to another. You want to make sure it’s settled in nicely and has everything it needs to be happy. The same goes for your plants.
First, gather your tools. You’ll need a trowel, some gloves, and a watering can. If you’re transplanting from a pot, gently tap the sides to loosen the soil. Then, carefully slide the plant out, supporting the root ball with your hand. It’s like helping a friend out of a tight spot; you want to be gentle but firm. For more on the best pots, check out our guide.
- Gather your tools
- Loosen the soil
- Slide the plant out gently
Next, prepare the new hole. Make it slightly larger and deeper than the root ball. This gives the roots room to spread out and grow. Think of it like making a comfy bed for your plant. Place a small amount of compost or fertilizer at the bottom of the hole. This gives your plant a nutrient boost right from the start. Our guide can help you choose the right one.
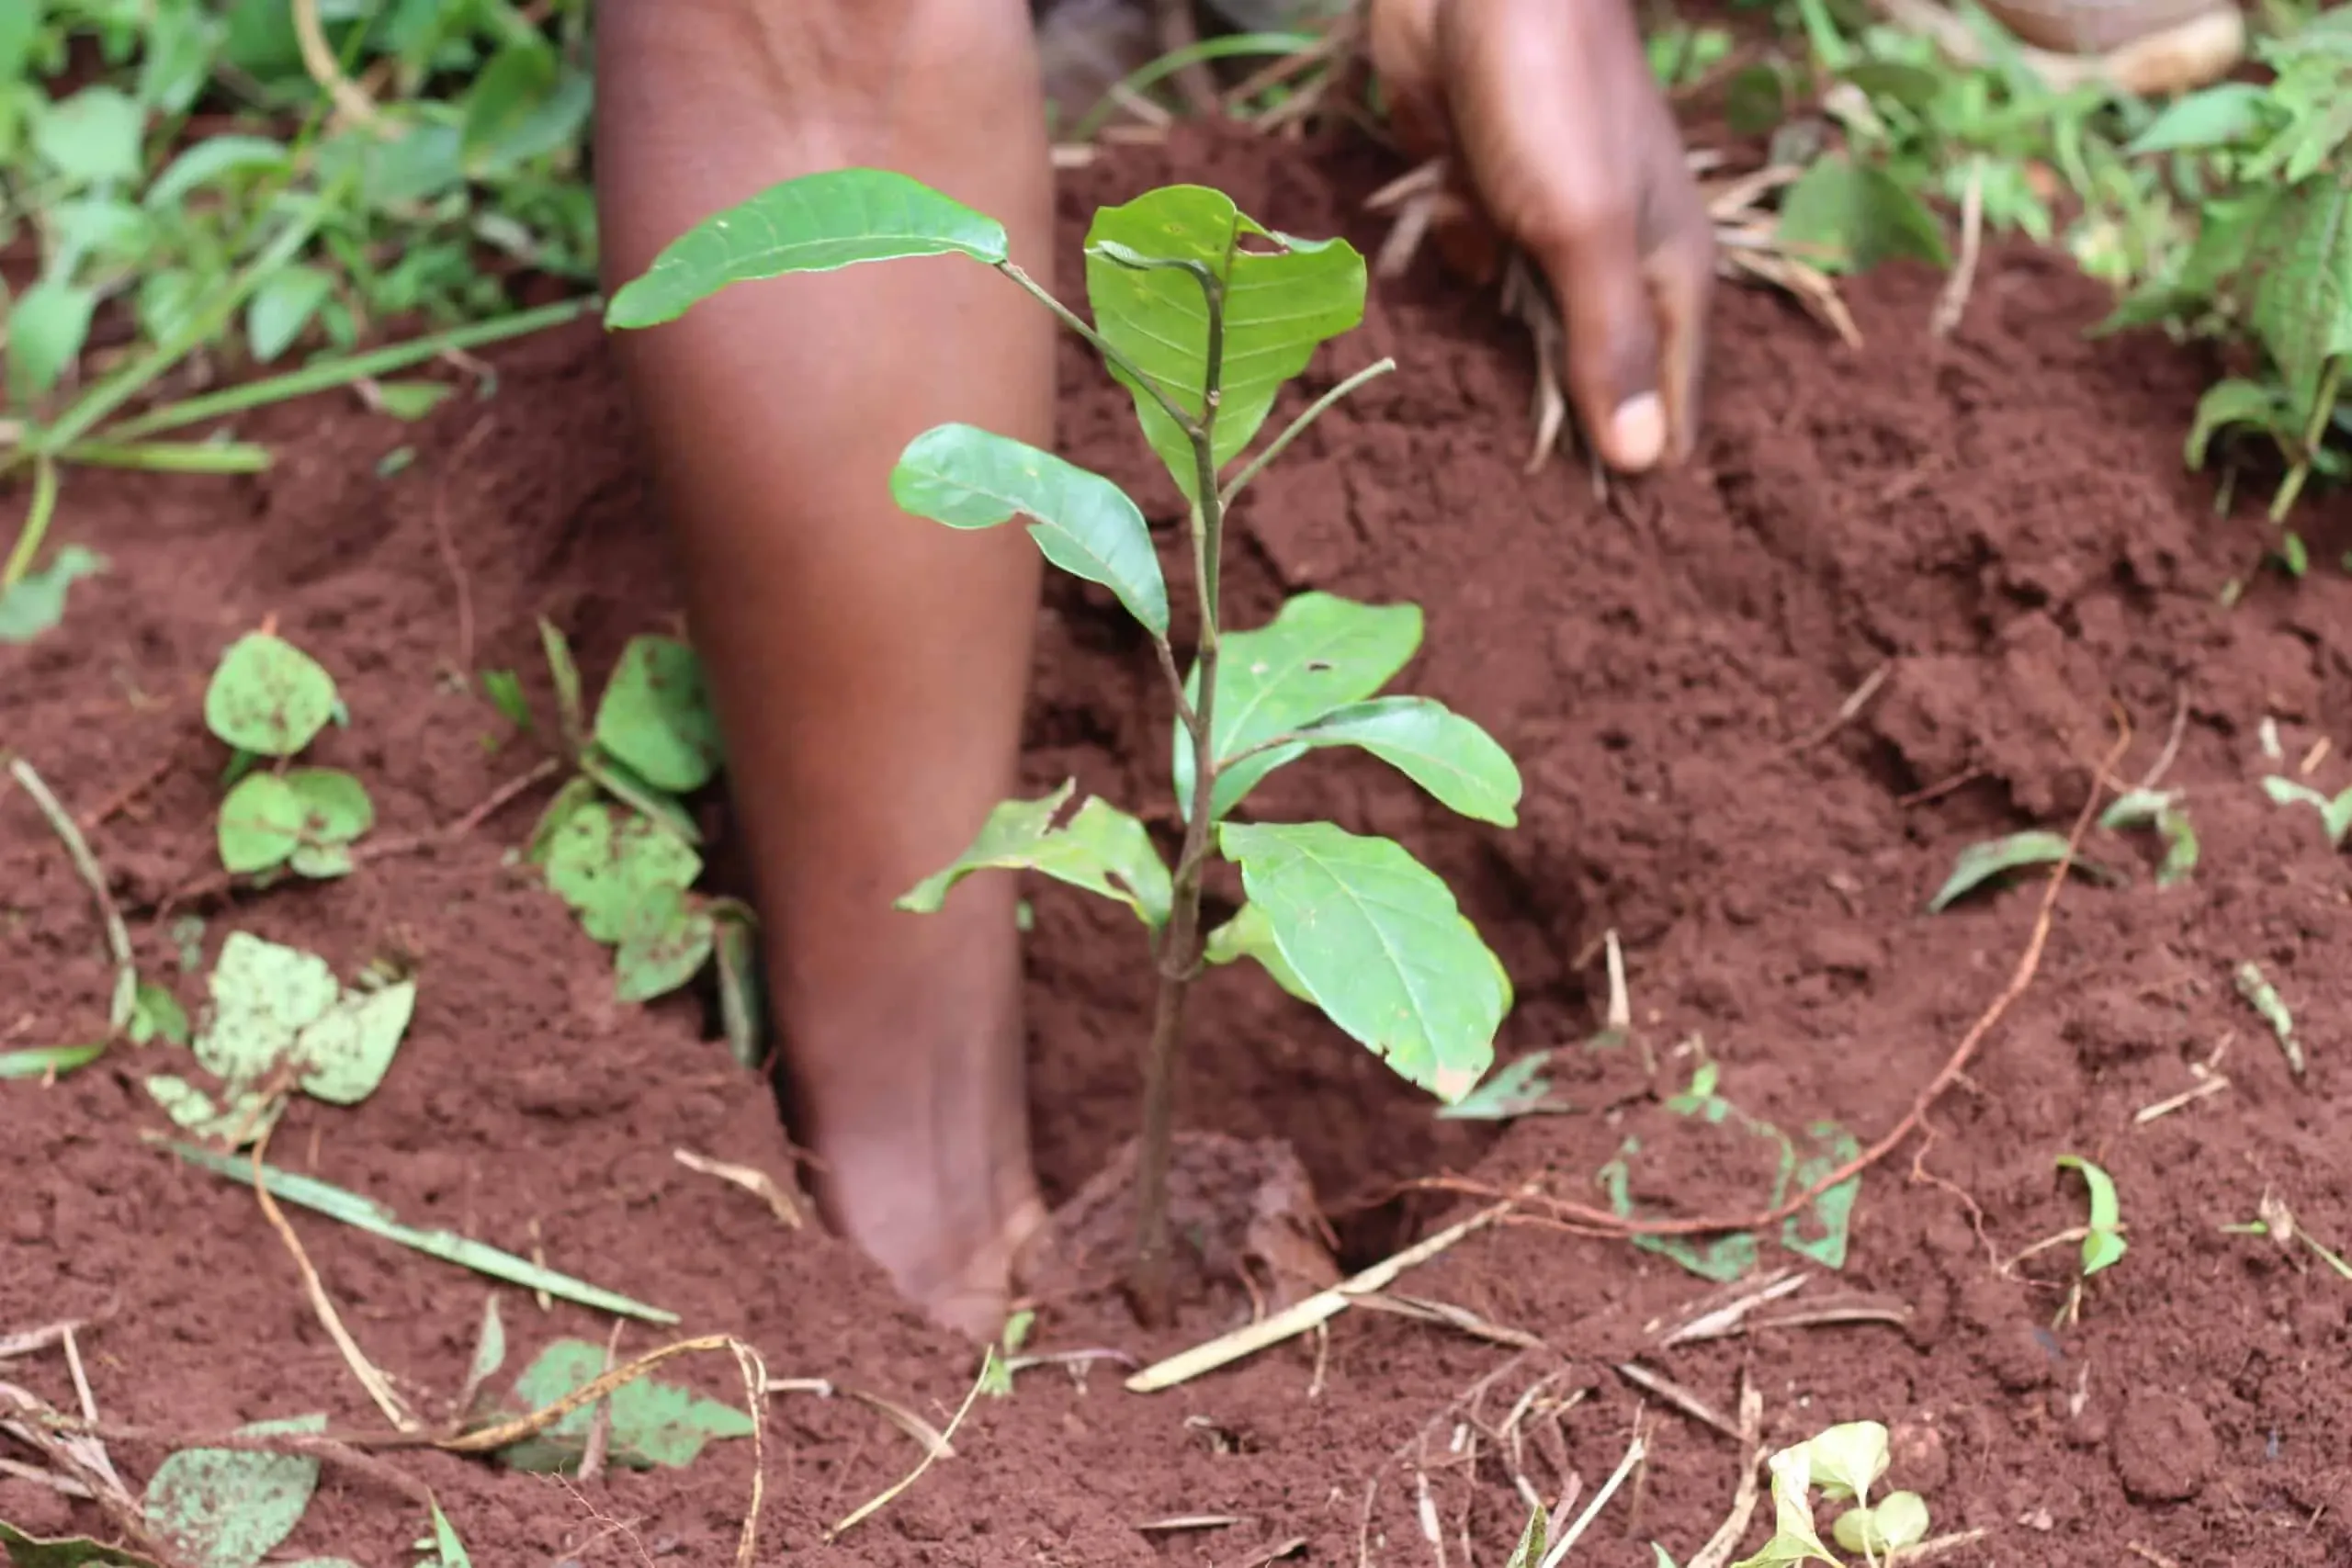
Now, place the plant in the hole, making sure it’s at the same depth it was in the pot. You don’t want to bury the stem or leave the roots exposed. It’s like making sure your plant is sitting just right in its new home. Fill in the hole with soil, pressing it down gently but firmly. Water the plant thoroughly to help the soil settle and provide moisture for the roots. For more on proper watering techniques, check out our guide.
Step | Action | Tip |
|---|---|---|
1 | Gather tools | Use a trowel, gloves, and a watering can |
2 | Prepare the hole | Make it slightly larger and deeper |
3 | Place plant in hole | Ensure it’s at the same depth |
4 | Fill with soil | Press down gently but firmly |
5 | Water thoroughly | Helps soil settle and provides moisture |
Top Transplanting Tips for Success

Top Transplanting Tips For Success
Watering Wisdom: The Goldilocks Approach
Okay, so you've got your perfectly timed transplanting day, your plant's prepped like a pro athlete, and the hole's ready. But here's the thing: watering isn't just about splashing some water around. It's a delicate dance! Too little water, and your plant's like a wilting flower in a desert. Too much, and you risk root rot – that's like drowning your plant in a bathtub. You need to find that perfect "just right" spot.
I like to water gently but thoroughly, making sure the soil is moist but not soggy. Think of it like giving your plant a refreshing drink, not a flood. And don't forget to water *before* you transplant, too! It helps reduce transplant shock. After transplanting, I usually wait a day or two before I water again, just to give the roots a chance to settle in. Need more watering advice? Check out my guide on for some extra tips!
- Water before transplanting
- Water gently and thoroughly after transplanting
- Avoid overwatering
Mulch Magic: A Protective Shield
Mulching is like giving your newly transplanted plant a cozy blanket. It helps retain moisture, keeps the soil cool, and prevents weeds from stealing your plant's precious nutrients. I use organic mulch, like shredded bark or compost. It's like giving your plant a natural hug! You can learn more about different types of mulch in my article on .
Remember, mulch should be spread around the base of your plant, but not directly touching the stem. That could cause rot. I usually spread a layer about 2-3 inches deep. It’s not an exact science, you can adjust based on your plant's needs. It’s like finding the perfect Goldilocks amount of mulch – not too much, not too little, just right! Think of it as a protective shield against harsh weather conditions, helping your plant stay comfy and focused on growing.
Mulch Type | Benefits |
|---|---|
Shredded Bark | Good drainage, retains moisture |
Compost | Adds nutrients, improves soil structure |
Final Thought
Transplanting your plants doesn't have to be a stressful experience. By following these transplanting tips, you can ensure your plants have the best chance to grow and flourish. Remember, the key is in the preparation and timing. With a little care and attention, your garden will be the envy of all your neighbors. Happy gardening from lilyflower.homes!