Table of Contents
Ever seen a flower that looks like it has spider legs? That's probably a spider lily, and they're way cooler than actual spiders, trust me. These plants aren't true lilies, but they're part of the amaryllis family, and they have these crazy-looking flowers with thin petals and long, spidery stamens that make them a real showstopper in any garden. Now, if you're thinking about adding one of these beauties to your collection, you need to know the basics of spider lily plant care. Don't worry; it's not rocket science, though it might feel a little magical when you see those blooms pop up. This guide will walk you through everything from planting and watering to dealing with common issues, ensuring your spider lilies thrive. We'll cover the different types of these unique plants, how to keep them happy through the seasons, and even how to get more of them. Think of this as your cheat sheet to becoming a spider lily whisperer. So, let's get started and make your garden the envy of the neighborhood.
Understanding Spider Lily Plant Care

Understanding Spider Lily Plant Care
Different Types of Spider Lilies and Their Unique Care Needs

Different Types of Spider Lilies and Their Unique Care Needs
The Classic White Spider Lily
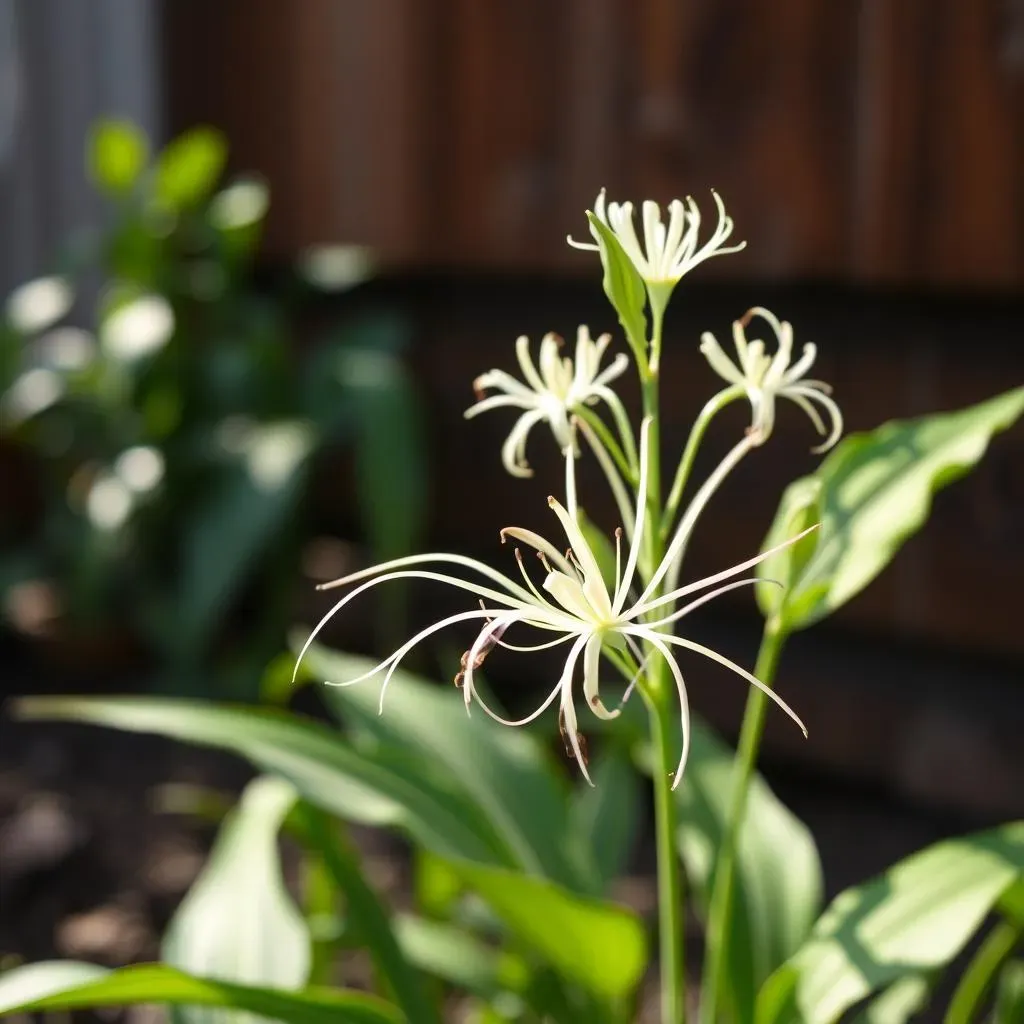
Okay, so you're getting into spider lilies, that's awesome! Let's start with the classic: the white spider lily, also known as Hymenocallis littoralis. These are the ones that often pop into people's minds when they picture a spider lily. They’ve got these amazing, pure white flowers that look like delicate spiders hanging in the air. They're super fragrant, especially in the evening, which makes them perfect for planting near patios or windows where you can enjoy the scent. They usually grow to about 3 feet tall, and they love a good dose of sunlight. But here’s the thing, they’re not super picky about soil as long as it drains well, which, honestly, is a good rule of thumb for most plants.
The white ones are pretty easy to care for, but they do have their quirks. Like, they really don’t like their roots sitting in soggy soil, so make sure you don’t overwater them. They're also a bit more sensitive to cold than some of the other varieties, so if you live somewhere that gets chilly, you might want to consider bringing them indoors during the winter or at least giving them a good layer of mulch to protect their bulbs. Think of them as the elegant divas of the spider lily world, they need a little extra pampering, but it's worth it for those gorgeous blooms.
Type | Color | Height | Special Needs |
|---|---|---|---|
White Spider Lily (Hymenocallis littoralis) | White | Up to 3 ft | Good drainage, protect from cold |
Red Spider Lily (Lycoris radiata) | Red | 1-2 ft | Prefers drier soil during dormancy |
Golden Spider Lily (Lycoris aurea) | Golden Yellow | 1-2 ft | Less cold hardy, needs extra warmth |
The Fiery Red and Golden Wonders
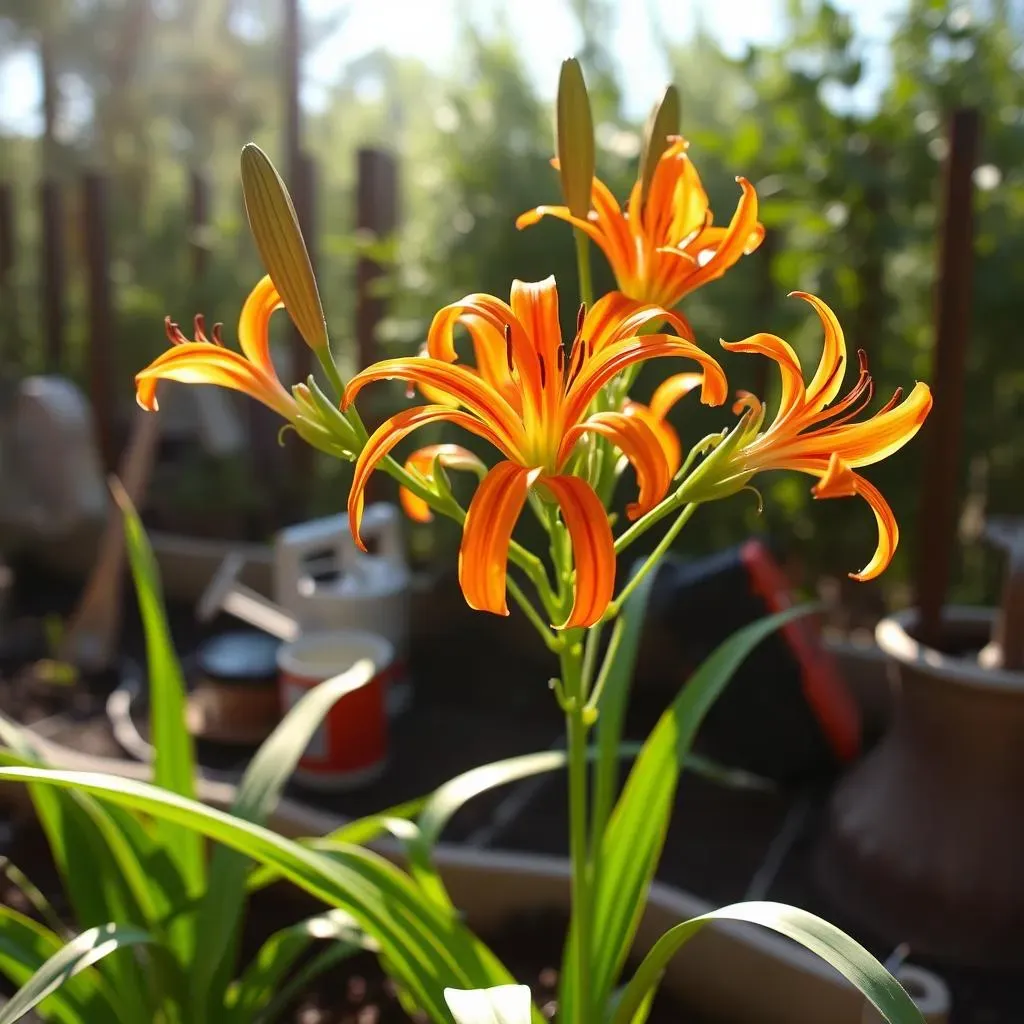
Now, let's talk about the red spider lily, or Lycoris radiata. These guys are a bit different. They’re often called "surprise lilies" or "hurricane lilies" because they seem to magically pop up in late summer or early fall, with their bright red flowers appearing on bare stems. It’s like, where did that come from? They’re a bit shorter than the white ones, usually around 1 to 2 feet tall, and they have this vibrant, almost fiery red color that really makes them stand out. They’re not as fragrant as the white ones, but they make up for it in sheer visual impact. These guys are also super interesting since the flowers bloom before the leaves. Talk about a dramatic entrance!
Then there's the golden spider lily, Lycoris aurea. These are a bit rarer, and they're just as stunning as their red and white cousins. They have this beautiful golden-yellow hue that adds a touch of sunshine to any garden. They also bloom in late summer or early fall, and they prefer a warmer climate. You’ll find that the golden type are not as cold-hardy as the other two, so if you are in a colder area, you'll have to take extra care to protect them over winter. All of these different types of spider lilies, while similar, have their own unique needs, and understanding them will help you get the best blooms. It’s like having a family, each member has their own personality and needs.
How to Propagate, Pot, and Overwinter Your Spider Lilies

How to Propagate, Pot, and Overwinter Your Spider Lilies
Alright, so you've got the hang of the different spider lily types, now let's get down to the nitty-gritty: how to make more of them, where to put them if you're not planting them in the ground, and how to keep them alive through the winter. First off, propagation. The easiest way to make more spider lilies is by division. Basically, these plants multiply by creating new bulbs around the main bulb. Once the plant has gone dormant, usually in late fall or early winter, you can gently dig up the clump, separate the bulbs, and replant them. It’s like giving them a little space to breathe and grow. Be careful when you are digging, you don't want to damage the bulbs.
Now, if you are like me, and you don't always have the ideal spot in the ground, you might want to pot your spider lilies. When potting, make sure you use a large container with good drainage. Spider lilies don't like sitting in waterlogged soil. Use a well-draining potting mix, and plant the bulbs with the top of the bulb just barely showing above the soil line. It's also good to know that if you have them in a pot, they'll need a little more care during the winter months than if they are in the ground. Which brings me to overwintering. If you live in an area with cold winters, you'll need to protect your spider lilies. In the ground you can add a thick layer of mulch to help insulate the bulbs. If they are in pots, you can bring them indoors to a cool, dry place. It might seem like a lot, but it's really not that bad once you get the hang of it. Think of it like tucking them in for a long nap.
Here's a quick guide to help you with that:
Task | How To |
|---|---|
Propagate | Divide bulbs after dormancy, replant |
Potting | Large container, good drainage, bulb top slightly exposed |
Overwintering | Mulch in ground, indoors for pots |
Getting Your Spider Lilies to Bloom and Troubleshooting Common Issues

Getting Your Spider Lilies to Bloom and Troubleshooting Common Issues
Okay, so you've babied your spider lilies, you've given them the best soil, and now you're staring at them wondering, "Where are the flowers?" Getting spider lilies to bloom can sometimes feel like a waiting game, but there are a few things you can do to encourage those gorgeous blossoms. First off, make sure they're getting enough sunlight. Spider lilies love a good dose of sunshine, and if they're in too much shade, they might not bloom as much. Also, remember that these plants have a dormant period. They typically grow their leaves after flowering, so don't panic if you see leaves before or after flowers. During the growing season, make sure they are getting enough water, they love moist but well-drained soil, so don't let them sit in soggy soil. Also, a little fertilizer can help. In early spring, use a high-nitrogen fertilizer to encourage leaf growth, and in the fall, switch to a high-phosphorus fertilizer to help with blooms. It's like giving them a little boost to get the show going.
Now, let's talk about some common issues. One of the most frequent problems people have with spider lilies is yellowing leaves. Usually, this is because of too much water, or because they are going dormant. Remember, during their summer dormant period, they don’t need much water at all. If you notice the leaves turning yellow, check the soil, and if it's soggy, back off on the watering. Another problem can be pests, though spider lilies are generally pretty resistant. If you do find any pests, you can usually get rid of them with a little insecticidal soap. It's all about keeping an eye on them and catching any problems early. Also, remember that spider lilies don’t like to be moved, so once you plant them, leave them there. They like to settle in.
Here is a quick look at some common problems and how to address them:
Problem | Cause | Solution |
|---|---|---|
Yellowing Leaves | Overwatering or dormancy | Reduce watering, check soil drainage |
No Blooms | Too much shade, lack of fertilizer | Move to sunnier spot, fertilize correctly |
Pests | Infestation | Use insecticidal soap |