Table of Contents
Ever been captivated by the delicate, almost ethereal beauty of a spider lily? It's a flower that seems to dance on the edge of reality, with its slender petals and dramatic form. If you've ever wanted to capture that magic on paper, you're in the right place. This article is your friendly guide to mastering the art of spider lily flower drawing. We'll start by getting to know the flower a little better, exploring its unique shape and what it represents. Then, we'll break down the drawing process into easy-to-follow steps, perfect for beginners and experienced artists alike. Finally, we'll spark your creativity with ideas on how to use your newfound skill. Whether you're sketching in a notebook or planning a full-blown artwork, this journey into spider lily flower drawing is for you. Let's get started and transform those petals into a masterpiece together!
Understanding the Spider Lily: Anatomy and Symbolism

Understanding the Spider Lily: Anatomy and Symbolism
The Spider Lily's Striking Features
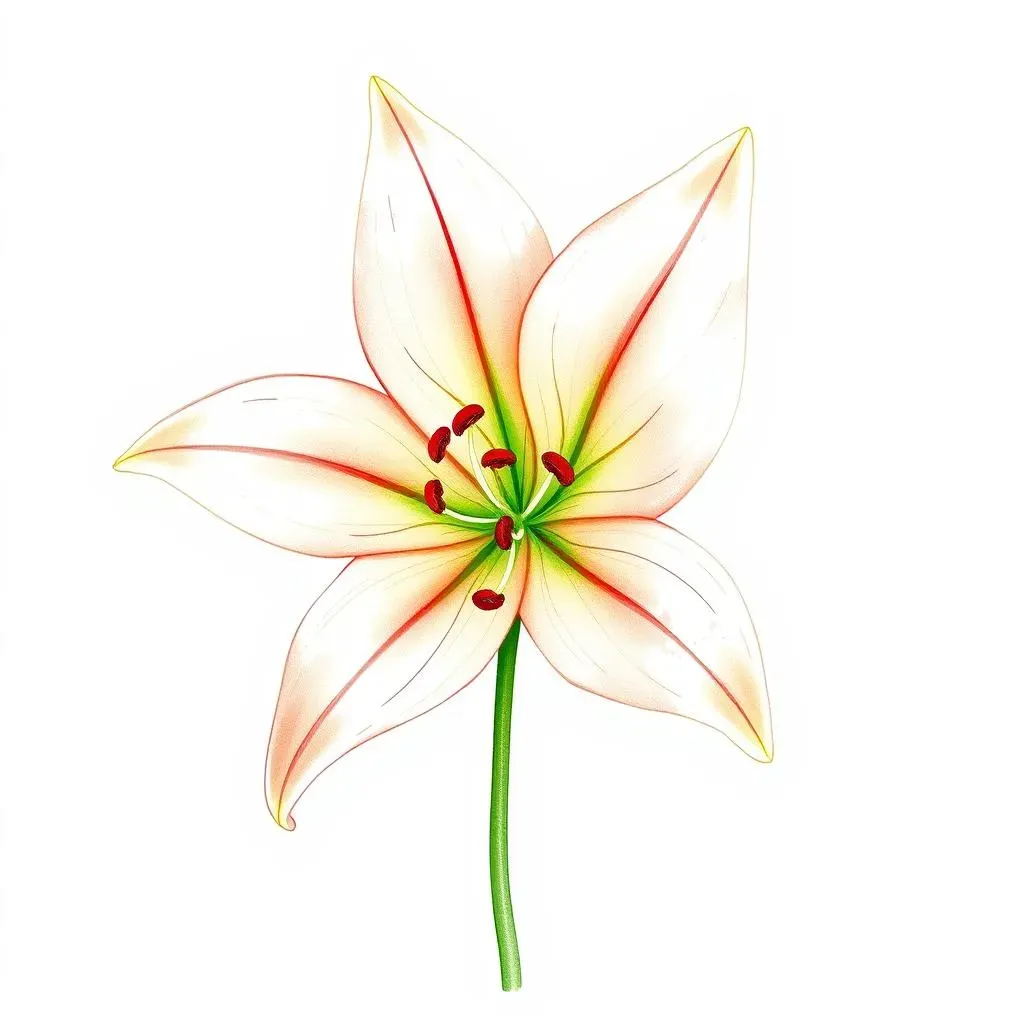
Okay, so you're about to draw a spider lily, but have you really looked at one? It's not your average flower. Those long, curved petals? They're what give it that spidery look, hence the name. Each petal kind of reaches out like a leg, almost like it's ready to grab your attention. And the stamens? They're super long and stick out, adding to the dramatic effect. They are not like your regular rose or daisy, this flower has a unique anatomy that makes it very interesting to draw. It's almost like nature was showing off when it made this one.
It is also often called the "Higanbana" in Japan, which translates to "flower of the other shore" or "flower of the equinox".
Decoding the Symbolism
The spider lily isn't just pretty; it's got a lot of meaning packed into those petals. In many cultures, especially in Japan, it's associated with death and final goodbyes. You might see them near cemeteries, where it is believed that they guide the spirits to the afterlife. It's a bit heavy, I know, but it's also a beautiful way to think about life's journey. These flowers are a reminder of the fleeting nature of beauty and the cycle of life. They bloom in late summer or early autumn, when other flowers are starting to fade, so they are also symbolic of the end of summer and the start of autumn.
I remember when I first learned about this, it made me look at the flower differently, it added a layer of depth to the drawing.
Symbolism | Meaning |
|---|---|
Death | Often associated with funerals and the afterlife. |
Final Goodbyes | Represents farewells and parting. |
Rebirth | Symbolizes the transition and cycle of life. |
Autumn | Blooms during the end of summer and beginning of autumn. |
Why This Matters for Your Drawing
Knowing the anatomy and symbolism of the spider lily isn't just for trivia night. It's going to help your drawing! Understanding how the petals curve and the stamens reach will give your work more realism. And being aware of the flower's deeper meanings can add an emotional layer to your art. It's the difference between just drawing a flower and telling a story with your art. When you draw with understanding, your work will have more depth and your viewers will feel something. It's that extra touch that will make your spider lily flower drawing truly special.
It is like when you are trying to cook a new dish, knowing the ingredients and understanding how they interact is key to making something delicious.
Easy Steps to Drawing a Spider Lily Flower

Easy Steps to Drawing a Spider Lily Flower
Starting with the Basics: The Center and Stems
Alright, let's get our hands dirty, or rather, our pencils moving! When drawing a spider lily, I like to start with the basics. Think of it like building a house; you need a strong foundation. So, first, lightly sketch a small circle or oval. This is going to be the center of your flower where all the petals will come from. Next, draw a few long, thin lines coming down from the center. These are your stems, and they don't have to be perfectly straight. Remember, nature isn't perfect, and neither should your drawing be. Think of them as the flower's support system, reaching down to the earth.
Don't worry about making them look perfect; it's all about getting the basic structure down first. It's just like when you are learning to ride a bike, you start with the basics of balance before you can do any fancy tricks.
Petal by Petal: Shaping the Spider Lily
Now for the fun part: the petals! The spider lily has these long, slender petals that curve and twist in all sorts of directions. I like to draw each petal individually, starting from the center and working my way outwards. Imagine each petal as a ribbon that's been curled and stretched. Don't be afraid to make them a little different, some shorter, some longer, some more curved than others. This is what gives the flower its unique, organic look. And remember, they don't all have to be identical; it's the small variations that make it interesting.
It's a bit like adding different ingredients to a recipe; each one adds its unique flavor to the dish. So, let your petals have their own personality!
Step | Description |
|---|---|
1 | Draw a small circle or oval for the center. |
2 | Sketch thin lines for the stems. |
3 | Draw individual petals, curving and twisting them. |
4 | Add long, protruding stamens. |
5 | Refine your lines and add shading. |
Adding the Stamens and Details
Okay, so you have your petals, now let's add those super cool stamens. These are the long, thread-like things that stick out from the center. They add a lot of character to the flower. Draw them coming out from the center, making them long and thin. Some might be straight, some might curve a little, just like the petals. Now, for the final touches, go back over your lines and make them darker and more defined. Add some shading to give your drawing depth. Think about where the light is coming from and make some areas darker than others. It might seem like a lot, but it is just about adding layers to your drawing.
It’s like when you're putting on makeup, you start with the base and then add details to make it pop.
Refining Your Drawing: Shading and Texture
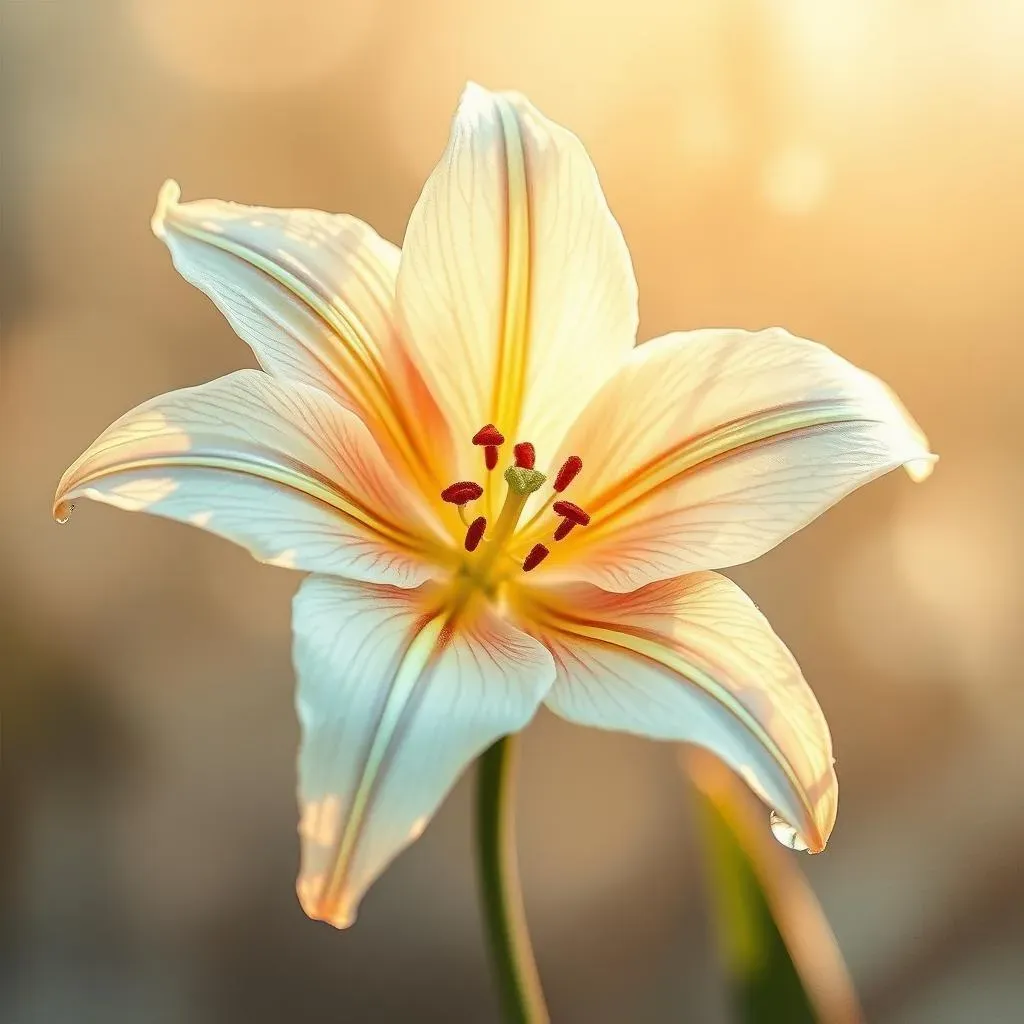
This is where we transform our sketch into a real drawing. Now that you have the basic shape, it's time to refine the lines and add some depth with shading. Look at your reference photo of the spider lily. Where are the shadows? Where are the highlights? Use these to guide your shading. Lightly shade the areas that are in shadow, and leave the areas that are hit by the light mostly untouched. You can use your pencil to add texture to the petals, making them look more realistic. Don't be afraid to experiment with different shading techniques. It's all about adding depth and making your drawing come to life. This can be the most fun part because you see how all the small details add up to a beautiful drawing.
It’s like when you are polishing a car; the final touches make it shine.
"The details are not the details. They make the design." - Charles Eames
Creative Ideas for Your Spider Lily Flower Drawing

Creative Ideas for Your Spider Lily Flower Drawing
Spider Lilies in Different Styles
Okay, so you've got the basic spider lily down, but why stop there? Let's get a little experimental! Try drawing your spider lily in different styles. Maybe a super realistic, detailed version, or perhaps a more stylized, cartoon-like drawing. Think about how you can use different line weights to add depth and interest. You can also try using different mediums, like watercolor paints, colored pencils, or even digital drawing tools. Each one will give your drawing a totally different feel. It's like trying on different outfits; each style shows a different side of the flower's personality. Don't be afraid to step out of your comfort zone and see what you can create.
I remember one time I tried to draw a spider lily using only dots, it was a fun challenge and made me think about the flower in a new way.
Adding Context and Storytelling
Now, let’s add a bit more to the story! Instead of just drawing a single spider lily, why not create a whole scene around it? Imagine the flower in its natural habitat, maybe surrounded by other plants, or under a full moon. Think about the emotions you want to convey. Is it a peaceful scene or something more dramatic? You could add other elements like butterflies, a small tombstone, or even a flowing stream. It’s like writing a story, but with images. Each element adds a new layer of meaning and turns your drawing into more than just a picture of a flower. It becomes a narrative, a moment captured in time. So, think about what story you want to tell with your art and let your imagination run wild.
It's like when you are arranging flowers in a vase, the way you position them can change the whole feeling of the arrangement.
Style | Description |
|---|---|
Realistic | Focus on accurate details and shading. |
Stylized | Simplify shapes and add your own artistic flair. |
Abstract | Use colors and shapes to express the essence of the flower. |
Narrative | Add surrounding elements to tell a story. |
Spider Lily in Art and Design
The spider lily isn't just for sketchbooks; it can be a great addition to all sorts of projects. Think about incorporating your spider lily drawings into greeting cards, posters, or even tattoo designs. The flower's unique shape makes it perfect for adding a bit of elegance and drama to your work. You can use your drawings as a starting point for other artistic endeavors, like digital art or textile design. The possibilities are endless! It’s like finding that one ingredient that just elevates all your cooking. The spider lily drawing can be that for your art projects.
I’ve seen people use spider lily designs in everything from phone cases to murals, and they always look stunning.
Experimenting with Color
Let’s talk colors! While spider lilies are often red, why not play around with different color palettes? Imagine a spider lily with purple petals, or maybe even a blue one. You could use colors to express different moods or emotions. Think about how different colors can change the way the flower is perceived. You can also try using different shading and highlighting techniques to make your colors pop. Remember, there are no rules when it comes to art, so don't be afraid to experiment and see what you can create. It's like when you are trying a new recipe, you can change the spices to give it a different flavor.
I once saw a drawing where the artist used metallic colors for the spider lily, and it looked absolutely magical.
"Every artist dips his brush in his own soul, and paints his own nature into his pictures." - Henry Ward Beecher