Table of Contents
Ever looked at a calla lily and thought, "Wow, I wish I could draw that?" Well, you're in luck! This isn't some complicated art class; it's your personal guide on how to draw a calla lily flower, broken down into simple, easy-to-follow steps. We're not aiming for museum-level masterpieces here, just a fun way to capture the elegant beauty of this flower on paper. Forget those intimidating art textbooks; think of me as your friendly art buddy, showing you the ropes. We'll start with the basic shapes, then gradually add those signature curves and details. I'll even show you some sneaky shading tricks to make your lily pop off the page! By the end of this adventure, you'll not only know how to draw a calla lily flower, but also gain confidence to tackle other drawings, and maybe even impress your friends. So, grab a pencil, some paper, and let's get started. We're about to make some art magic, I promise it won't be as scary as it sounds.
Getting Started: The Basic Shapes of a Calla Lily Flower

Getting Started: The Basic Shapes of a Calla Lily Flower
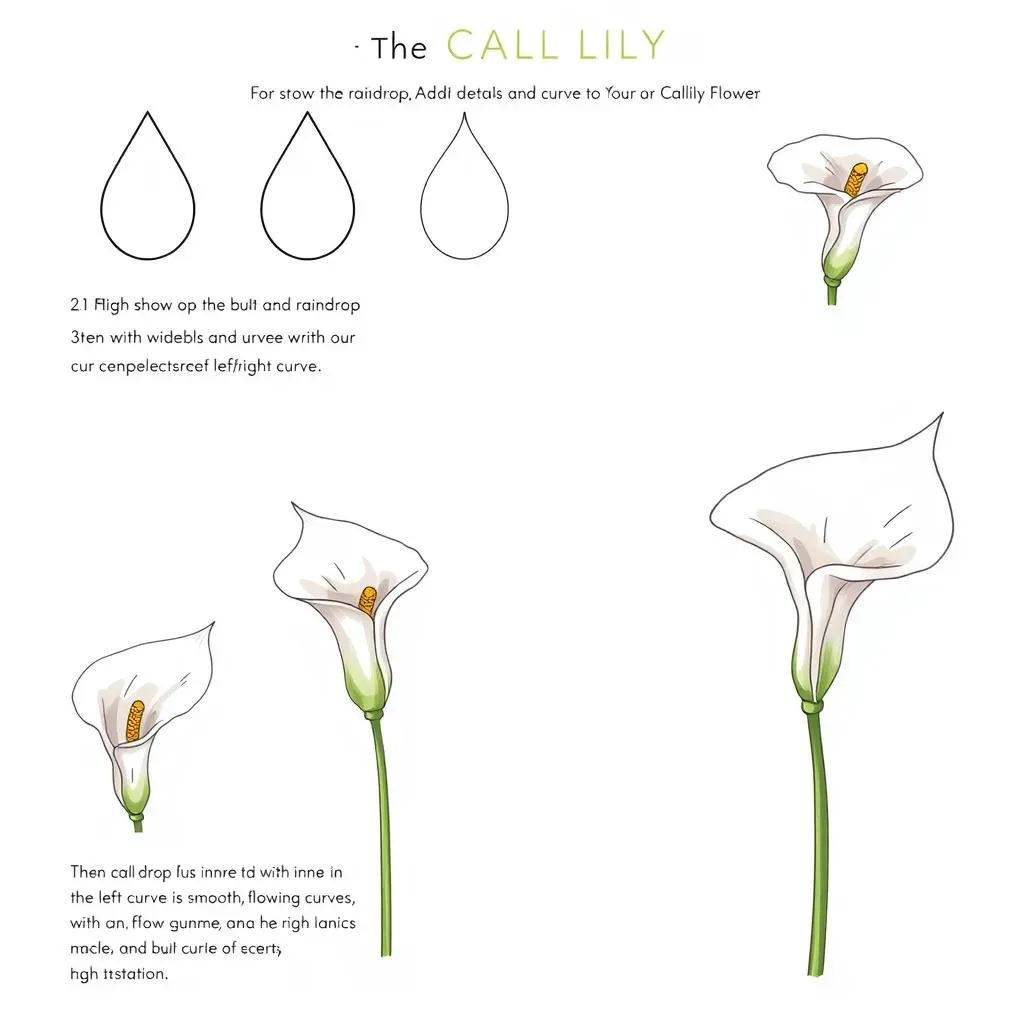
Alright, let's kick things off by not overthinking it. When you're figuring out how to draw a calla lily flower, the secret is in seeing the simple shapes hiding within. Forget about those fancy botanical illustrations for now. Instead, picture a slightly tilted, stretched-out raindrop. That's your main guideline for the flower's overall shape. It's not a perfect circle, and it's definitely not a square, it's got this elegant lean to the right, like it's whispering a secret. Now, before you panic about getting it perfect, remember that it's a guideline, not a jail cell for your drawing. It’s there to help you get the general size and direction of your flower right. Think of it like building a house, you start with the foundation, right? This raindrop shape is your foundation for a beautiful calla lily.
Building the Bloom: Adding Details and Curves to Your Calla Lily Flower

Building the Bloom: Adding Details and Curves to Your Calla Lily Flower
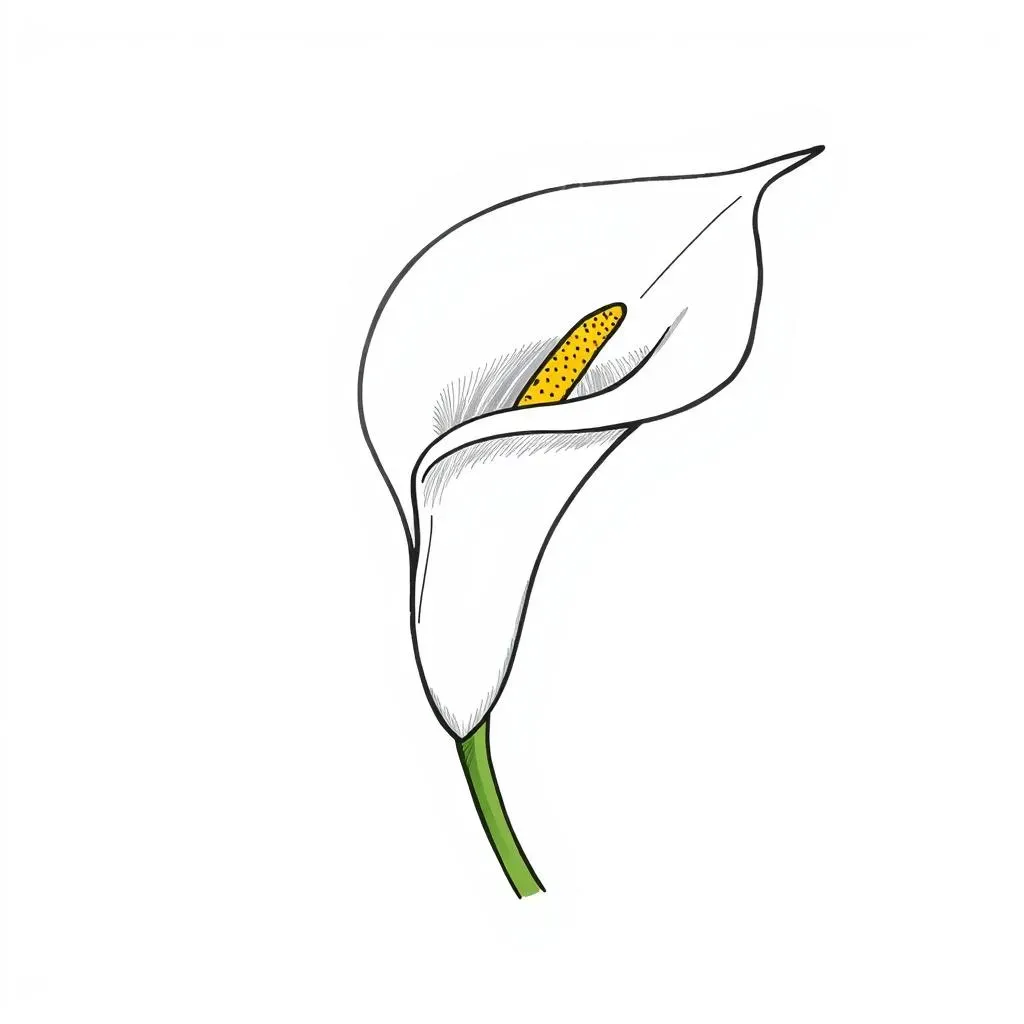
Okay, so you've got your raindrop, right? Now comes the fun part: turning that simple shape into a recognizable calla lily. Imagine the raindrop having a cozy blanket inside it, that’s the inner line. Start at the base of your raindrop and draw a curved line that sweeps upwards, almost like a hug, but don't let it touch the sides of the raindrop outline yet. This line is going to create that elegant, cupped shape that makes a calla lily so distinctive. Think of it like a slide that gently curves up. It's not a straight line, and it shouldn't be too dramatic, keep it smooth and flowing. Don't worry about making it perfect on the first go, because we're going to be adding more curves and details to make it feel more like a calla lily.
Next, let's work on that outer curve. Starting from where that inner line began, draw another curve that follows the raindrop shape, but this time, let it meet the top of the inner curve. This is like adding the outer edge of the slide, making it look more three-dimensional. Now that your lily is starting to take shape, we need to address the core stem. Draw a thin, slightly curved line down from the base of the flower's main shape. This doesn't need to be perfectly straight; in fact, a slight curve adds a touch of natural grace. Think of it like a delicate stem gently bending under the weight of the flower.
Now, let’s add those left and right curves that complete the calla lily. On the left side, draw a curve that starts from the inner line and swoops out to meet the outer edge of the flower, creating a sort of petal-like shape. Repeat this on the right side, mirroring the curve to create balance. These curves aren't perfectly symmetrical, and that’s okay. Real flowers aren't perfect, and your drawing shouldn't be either. Remember, we're going for the feeling of a calla lily, not an exact replica.
Step | Action | Tip |
|---|---|---|
1 | Draw inner curve | Imagine a gentle slide |
2 | Draw outer curve | Connects to the inner curve |
3 | Draw core stem | Slightly curved, not straight |
4 | Add left and right curves | Mirror each other, but not perfectly |
Adding Depth: Shading Techniques for Your Calla Lily Drawing

Adding Depth: Shading Techniques for Your Calla Lily Drawing
Where the Light Falls
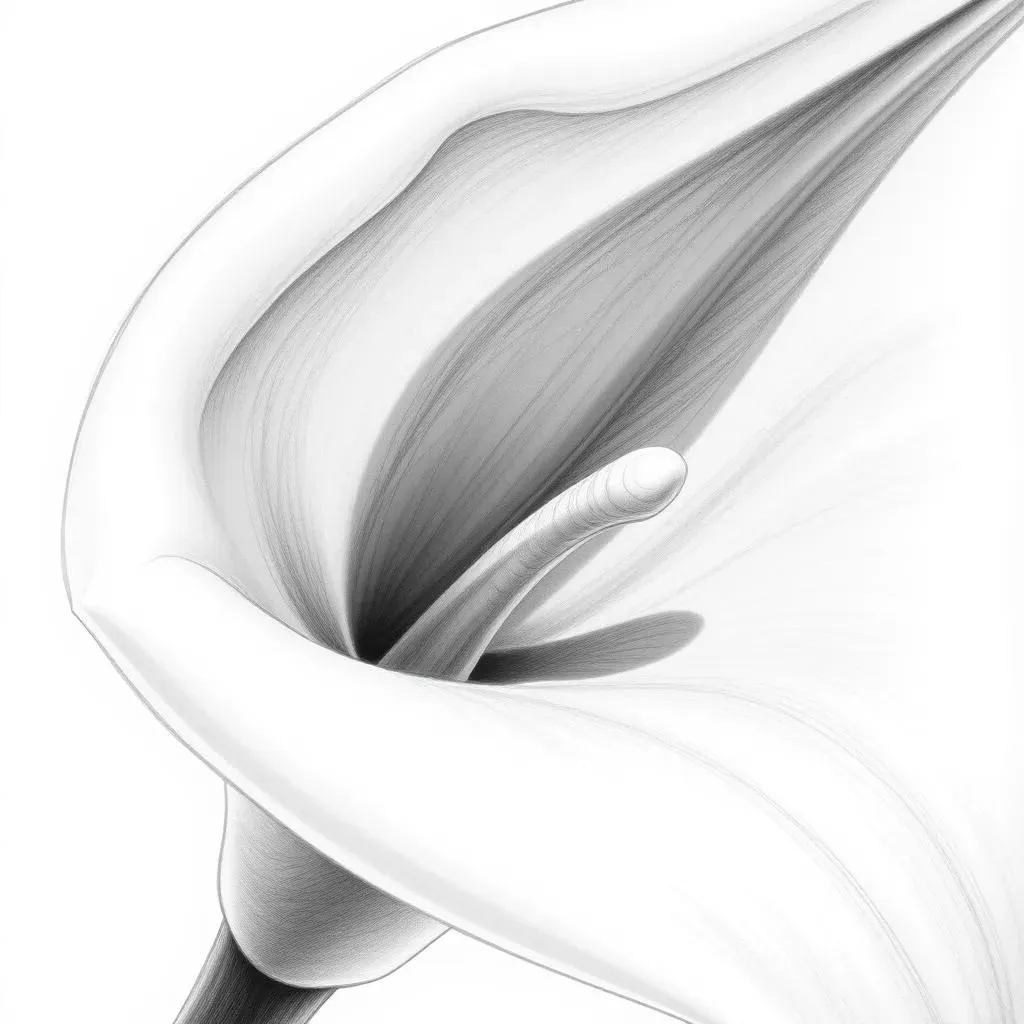
Okay, so your calla lily is looking pretty good, but it’s a bit flat, right? That's where shading comes in. Think of shading as the magic trick that makes your drawing go from a 2D doodle to a 3D masterpiece. It's all about understanding where the light hits your flower. Imagine a light source shining from the top left. This means that the areas facing the light will be lighter, and areas tucked away from it will be darker. We're not talking about dramatic, heavy shadows, just subtle shifts in tone to give your lily that rounded, three-dimensional feel. Start by lightly shading the areas that are naturally hidden, like the inside of the flower cup and the base of the stem. Use the side of your pencil, not the tip, for softer, smoother transitions. It's like gently painting with your pencil, not stabbing at the paper.
Blending for Realism
Now, let's talk blending, the secret ingredient for smooth shadows. Once you’ve laid down your initial shading, it's time to make those transitions less harsh. You can use a blending stump, your finger (clean, please!), or even a piece of tissue to gently rub the shaded areas. This softens the lines, making the shadows appear more natural and less like a bunch of scribbles. The goal is to create a gradient, where the tone gradually transitions from light to dark. Think of it like the soft glow of sunrise, not the harsh glare of midday sun. Focus on the curves of the flower, letting the shading emphasize those beautiful, elegant shapes we worked so hard to create. Remember, shading is about suggestion, not perfection. It's about creating the illusion of depth, not drawing every single shadow line.
Technique | How to do it | Why it works |
|---|---|---|
Light Source | Imagine light from top left | Creates realistic shadows |
Side of Pencil | Use the side, not the tip | Softer, smoother shading |
Blending | Use stump, finger, or tissue | Smooth transitions, gradient look |
Finishing Touches: Refining Your Calla Lily Flower and Beyond

Finishing Touches: Refining Your Calla Lily Flower and Beyond
Alright, you’ve drawn your calla lily, you’ve shaded it like a pro, and now it’s time to really make it sing. This is where we add those little details that take your drawing from "pretty good" to "wow, did you draw that?" First, let’s focus on the top of the flower. Calla lilies have a distinct pointed tip, almost like a tiny elf’s hat. Use a few curved lines to create this shape, making sure it flows naturally from the rest of the flower. This isn't about making it super sharp or pointy, it's about capturing the delicate curve that gives the lily its unique character. It’s like adding a tiny crown to your beautiful flower. Now, take a step back and look at your drawing. Are there any lines that look a bit too harsh or out of place? This is your chance to refine them, erase any mistakes, and make sure everything flows smoothly. It's like giving your drawing a final polish.
Now, for the moment of truth: erasing that initial guideline circle. It's served its purpose, and it's time to set it free. Gently erase the circle, leaving only your beautiful calla lily behind. This step always feels so satisfying, like watching a caterpillar transform into a butterfly. Once you've done that, you can consider adding some extra touches to make your drawing even more personal. Maybe add a few leaves curving from the stem? Or perhaps sketch out a simple background to give your lily some context. Remember, this is your art, so feel free to let your creativity flow. And most importantly, once you’re happy with your drawing, take a moment to admire your work! You did it! You learned how to draw a calla lily flower, and that’s something to be proud of. Keep practicing, keep drawing, and who knows, maybe you'll be the next great artist!
Detail | Action | Why it matters |
|---|---|---|
Pointed Tip | Use curved lines | Adds unique character |
Refine Lines | Erase harsh lines | Smooth, flowing look |
Erase Guideline | Gently erase circle | Clean, finished drawing |
Personal Touches | Add leaves, background | Make it your own |