Table of Contents
Drawing a tiger lily flower can be a rewarding and relaxing activity. Whether you're a seasoned artist or a beginner, the step-by-step guide provided here will help you create a beautiful and realistic tiger lily. We'll cover everything from the materials you need to the techniques that will bring your drawing to life. At lilyflower.homes, we believe that anyone can learn to draw with the right guidance and practice. So, grab your pencils and let's get started on this floral art experience!

How To Draw A Tiger Lily Flower: Ultimate Step-by-step Guide
How to Draw a Tiger Lily Flower: StepbyStep Guide

How To Draw A Tiger Lily Flower Stepbystep Guide
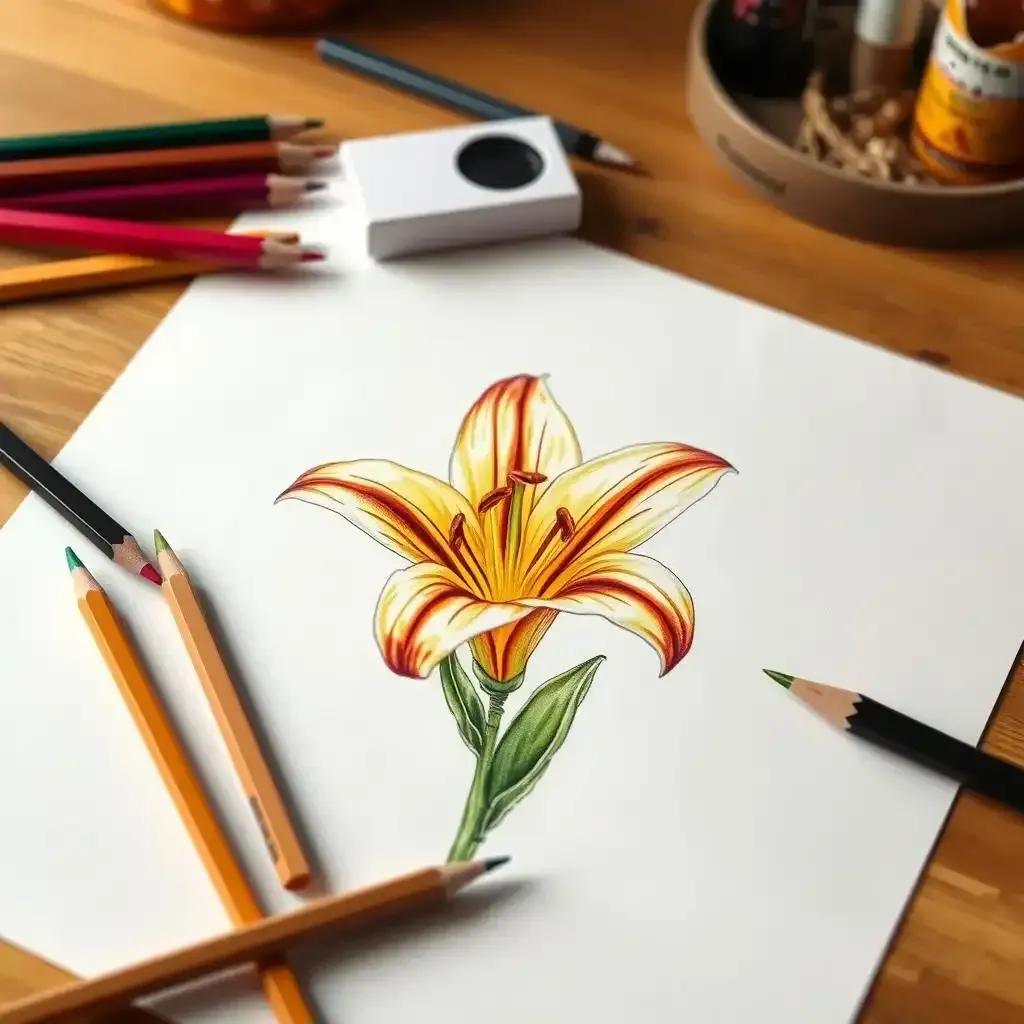
Let's investigate into the fun and rewarding process of drawing a tiger lily flower. Each step is designed to make it easy and enjoyable, even if you're a beginner. Grab your pencils and let's get started!
Start with the Basic Shape
The first step is to sketch the basic shape of the tiger lily. Use a light pencil to draw a simple oval for the blooming part of the flower. This will be the foundation for the petals. Don’t worry about making it perfect; you can always refine it later.
To make it easier, imagine you're drawing a small pizza with six slices. Each slice will become a petal. This will help you maintain symmetry and balance in your drawing. Once you have the oval and the "slices," you can start adding the details.
- Draw a light oval
- Divide the oval into six equal slices
- These slices will become petals
Draw the Petals
Now that you have the basic shape, it's time to draw the petals. Start by extending the lines of the slices to form the petals. Make the petals slightly curved and taper them towards the tips. Tiger lily petals are known for their dramatic, outward-facing shape.
As you draw each petal, try to vary their lengths and angles slightly. This will make your tiger lily look more natural and less stiff. Think of the petals as having a bit of a dance, each one moving in its own unique way.
Step | What to Do |
|---|---|
Extend lines | Form the petals |
Curve petals slightly | Taper towards tips |
Vary lengths and angles | Add natural look |
Add the Marks and Details
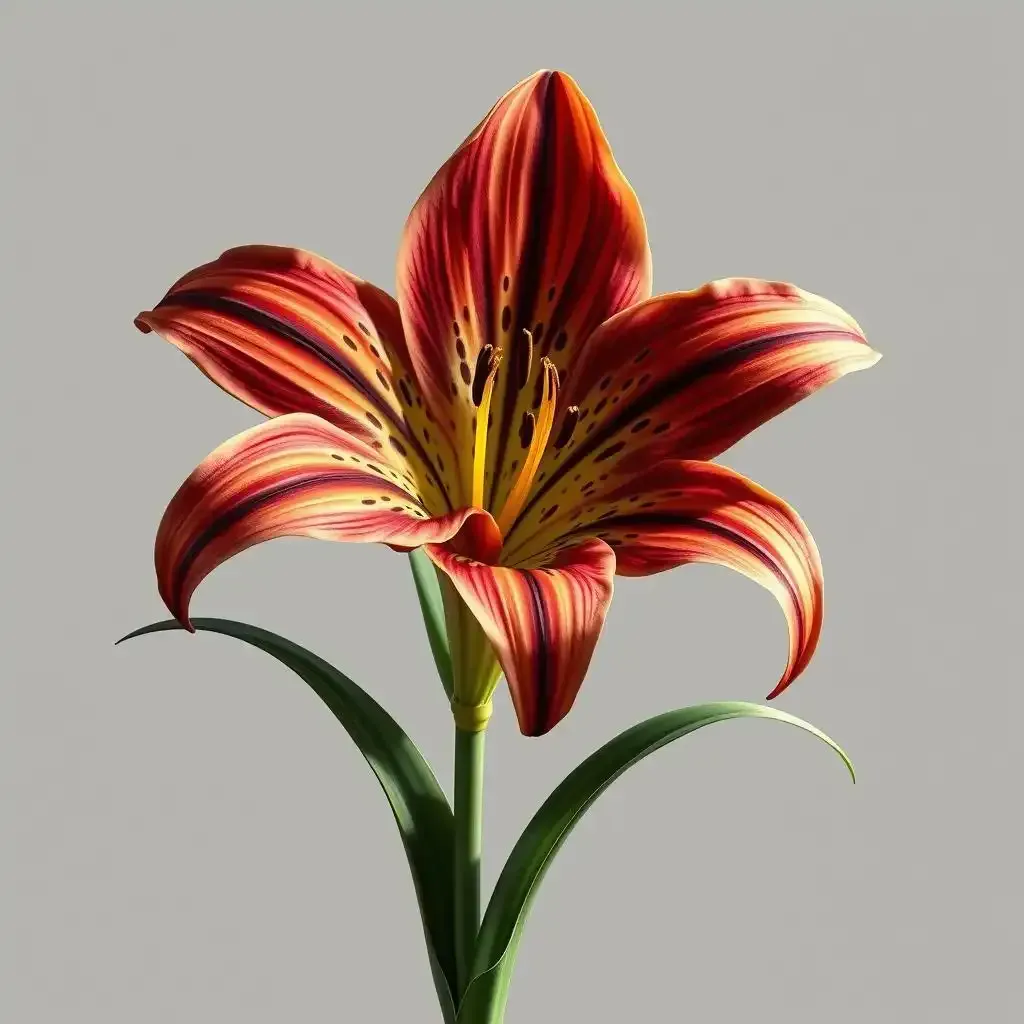
The tiger lily gets its name from the distinctive markings on its petals. These spots and stripes give it a wild, vibrant look. Use a darker pencil to add these marks. Start by drawing small, irregular spots scattered across the petals. Then, add a few bold, curved lines to create the tiger-like stripes.
Don’t forget to add the stamens and pistils in the center of the flower. These are the parts that hold the pollen. Draw thin, curved lines extending from the center, and add small dots at the tips to represent the anthers. This will make your tiger lily look more realistic and complete.
Final Touches and Shading
Once you have the basic structure and details in place, it's time to add some final touches and shading. Use a blending tool or your finger to smooth out the pencil marks and create a more natural look. Add darker shading in the areas where the petals overlap or fold, and lighter shading in the areas where the light hits the flower.
If you're feeling adventurous, you can add a few leaves to your drawing. Sketch a few long, narrow leaves extending from the base of the flower. These should be slightly curved and point upwards. This will make your drawing look more complete and give it some context.
- Blend pencil marks
- Shade overlapping areas
- Add lighter shading where light hits
- Sketch a few leaves
By following these steps, you'll be able to draw a beautiful and realistic tiger lily. Don’t be afraid to experiment and make it your own. The more you practice, the better you'll get. Happy drawing!
For more tips on caring for your lily plants, check out our and articles.
Materials You Need for Drawing a Tiger Lily

Materials You Need For Drawing A Tiger Lily
Picking Your Pencils and Paper
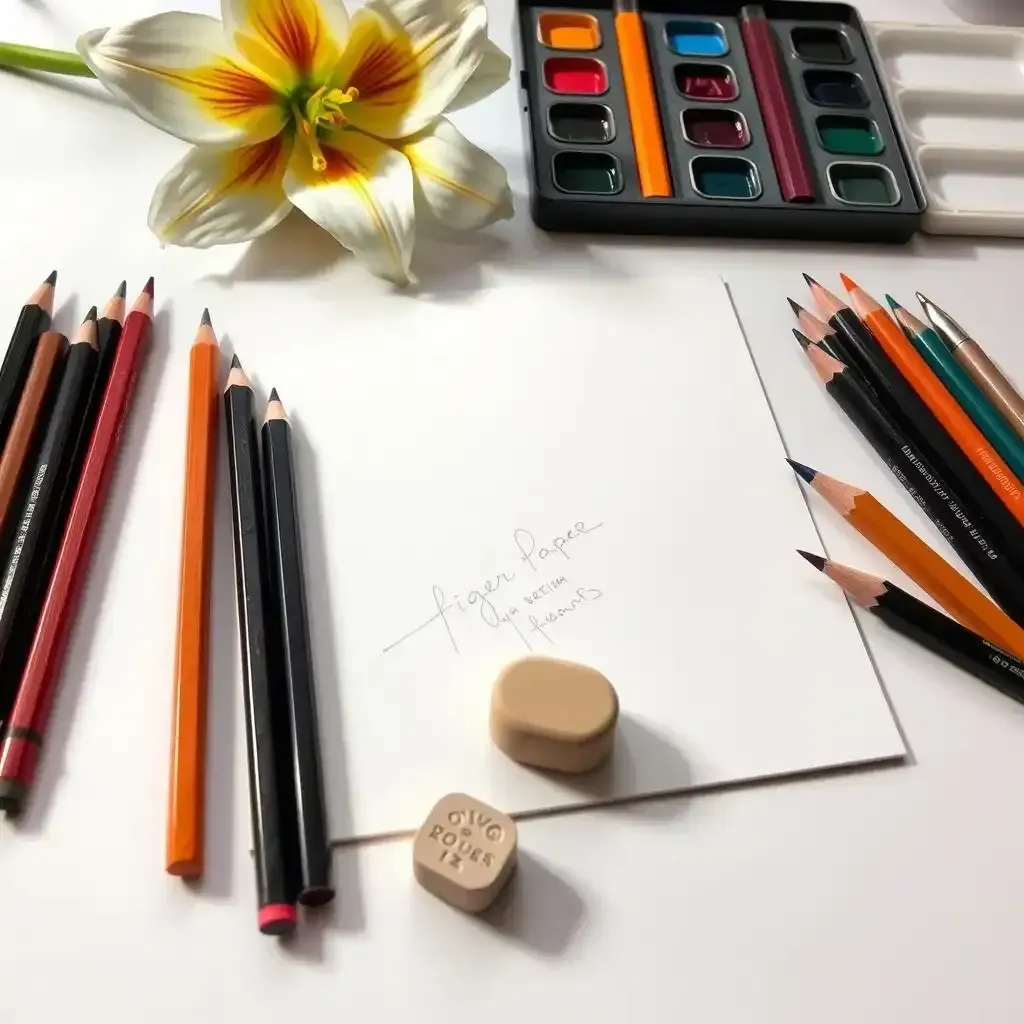
First things first, you need the right tools. Pencils and paper are your basic necessities. For pencils, I recommend getting a set that includes both soft and hard leads. Soft leads (like 2B or 4B) are great for shading and adding depth. Hard leads (like HB or 2H) are perfect for detailed lines and outlines.
When it comes to paper, choose a smooth, medium-weight sketch paper. This type of paper is ideal because it can handle both light sketching and heavier shading without tearing. If you want to go the extra mile, get a sketchbook. It’s like a personal art diary where you can practice and store your drawings.
Pencil Type | Best For |
|---|---|
2B | Shading |
4B | Deep shading |
HB | Outlines |
2H | Details |
Essential Art Supplies to Enhance Your Drawing
Once you have your pencils and paper, you’ll need a few more items to make your tiger lily drawing pop. A kneaded eraser is a must. It’s like a magic eraser that can lift pencil marks without leaving smudges. You can also use it to create highlights by lightly pressing it onto the paper.
Blending stumps are another great tool for smoothing out your shading. They help create a seamless transition between light and dark areas, giving your drawing a more professional look. If you’re not a fan of blending stumps, you can use a cotton swab or even your finger. Just be careful not to smudge your work too much.
- Kneaded eraser
- Blending stumps
- Cotton swabs
For adding color, you can use colored pencils or watercolors. Colored pencils are great for precise details, while watercolors give a more fluid, artistic touch. If you’re using watercolors, make sure you have a set of brushes in different sizes. This will help you control the flow of paint and create the perfect texture for your tiger lily.
Don’t forget a good light source. Natural sunlight is ideal, but if that’s not available, a good desk lamp will do. Proper lighting helps you see the details and shadows in your drawing, making it easier to capture the tiger lily’s unique features. For more tips on setting up your workspace, check out our guide.
Observing the Tiger Lily: Key Features to Capture
Understanding the Structure of the Tiger Lily
The first step in drawing a tiger lily is to understand its structure. Take a good look at a real tiger lily or a high-quality photo. Notice how the petals are arranged. There are usually six petals, and they curve outward dramatically. The center of the flower is where the stamens and pistil are located. These are the parts that hold the pollen and help the flower reproduce.
When you observe the tiger lily, pay attention to how the petals curve and overlap. This will help you create a more realistic drawing. Don’t worry if it’s not perfect the first time. Drawing is all about practice and observation. For more tips on observing plants, check out our guide.
Part of the Flower | Description |
|---|---|
Petals | Curved outward, usually six in number |
Stamens | Hold the pollen, located in the center |
Pistil | Reproductive part, also in the center |
Capturing the Unique Markings
The tiger lily gets its name from the distinctive spots and stripes on its petals. These markings are what give the flower its wild, vibrant look. When you draw the tiger lily, make sure to include these spots and stripes. They are what make the tiger lily unique and recognizable.
Start by drawing small, irregular spots scattered across the petals. Then, add a few bold, curved lines to create the tiger-like stripes. Don’t be afraid to vary the size and shape of the spots and stripes. This will make your drawing look more natural and less stiff. For more detailed information on the tiger lily, visit our page.
Noticing the Leaves and Stem
While the petals and markings are the main focus, don’t forget about the leaves and stem. The leaves of the tiger lily are long and narrow, and they grow in a spiral pattern around the stem. This gives the plant a dynamic, flowing look. The stem is usually tall and strong, supporting the weight of the flower.
To draw the leaves and stem, start with light, gentle lines. The leaves should be slightly curved and point upwards. The stem should be straight and strong, but you can add a few subtle curves to make it look more natural. For more tips on drawing plants, check out our article.
- Long, narrow leaves
- Spiral pattern around the stem
- Straight and strong stem
Drawing Techniques to Enhance Your Tiger Lily

Drawing Techniques To Enhance Your Tiger Lily
Adding Depth and Dimension
One of the most important aspects of drawing a tiger lily is adding depth and dimension. This makes your drawing look more realistic and engaging. Start by understanding the light source. Where is the light coming from? This will determine where the shadows fall. For example, if the light is coming from the top left, the shadows will be on the bottom right. Use a 2B or 4B pencil for shading to create a smooth, natural look. Don't be afraid to layer your shading. It’s like building a house; you need a solid foundation before you can add the details.
Think of adding depth as giving your tiger lily a 3D look. Imagine you’re sculpting the flower with your pencil. Pay attention to the curves and folds of the petals. Where do they overlap? Where do they catch the light? For more tips on creating depth in your drawings, check out our page.
- Understand the light source
- Use 2B or 4B pencils for shading
- Layer your shading
Creating Realistic Texture
Texture is what gives your tiger lily its unique feel. The petals have a smooth, slightly waxy surface, while the spots and stripes add a rougher texture. To create this, use a combination of hatching and cross-hatching. Hatching involves drawing parallel lines, while cross-hatching involves drawing lines that intersect. This technique can help you create the illusion of texture without overworking your drawing.
For the spots and stripes, use a 4B pencil to create bold, defined marks. These should be irregular and varied in size to mimic the natural look of a tiger lily. Don’t worry if they’re not perfect; imperfections can make your drawing look more realistic. For more detailed information on creating texture, visit our guide.
Final Touches and Details
Once you have the basic structure and texture in place, it’s time to add the final touches. This includes refining the details and adding any additional elements to give your drawing more context. For example, you might want to add a few leaves or a stem. The leaves of the tiger lily are long and narrow, and they grow in a spiral pattern around the stem. This gives the plant a dynamic, flowing look.
To draw the leaves and stem, start with light, gentle lines. The leaves should be slightly curved and point upwards. The stem should be straight and strong, but you can add a few subtle curves to make it look more natural. For more tips on drawing plants, check out our article.
Part of the Plant | Description |
|---|---|
Leaves | Long, narrow, and slightly curved |
Stem | Straight and strong, with subtle curves |
How to Add Color to Your Tiger Lily Flower
Choosing the Right Colored Pencils
Adding color to your tiger lily drawing can really bring it to life. Start by choosing the right colored pencils. Colored pencils are perfect for this because they allow you to build up layers of color and create detailed textures. For the base color of the petals, go for a light orange or peach. This will give your tiger lily a natural look. Remember, the key is to start light and build up the color gradually. For more tips on choosing art supplies, check out our article.
To create the distinctive spots and stripes, use a darker brown or black pencil. These marks should be irregular and varied in size to mimic the natural look of a tiger lily. Don’t be afraid to layer your colors. This technique helps to create depth and realism. Adding a bit of red or maroon can also enhance the vibrant look of the spots.
Color | Purpose |
|---|---|
Light orange or peach | Base color for petals |
Dark brown or black | Spots and stripes |
Red or maroon | Enhance spots and stripes |
Using Watercolors for a Fluid Touch
If you prefer a more fluid and artistic touch, watercolors are a great choice. Start by sketching your tiger lily in pencil and then lightly go over it with a wet brush. This will create a delicate, watercolor effect. Use a light orange or yellow for the base color of the petals. Gradually build up the color, adding more layers as needed. For a more detailed approach, check out our guide.
To create the spots and stripes, use a small brush and a darker brown or black watercolor. Dab the brush onto the paper to create small, irregular spots. For the stripes, use a thin brush and create bold, curved lines. The key is to be gentle and let the watercolor do the work. Adding a touch of red or maroon can also give your tiger lily a more vibrant look.
Final Touches and Shading
Once you have the base colors and spots in place, it’s time to add the final touches. Use a lighter color, like yellow, to add highlights to the petals. This will give your tiger lily a sense of depth and make it look more three-dimensional. For the stamens and pistils, use a dark brown or black pencil to add thin, curved lines extending from the center of the flower. Add small dots at the tips to represent the anthers.
Don’t forget to add a few leaves to your drawing. Use a light green pencil for the leaves, and add some darker green shading to create the veins. This will make your tiger lily look more complete and give it some context. For more tips on drawing plants, check out our article.
- Use yellow for highlights
- Add stamens and pistils with dark brown or black
- Draw leaves with light green and shading for veins