Table of Contents
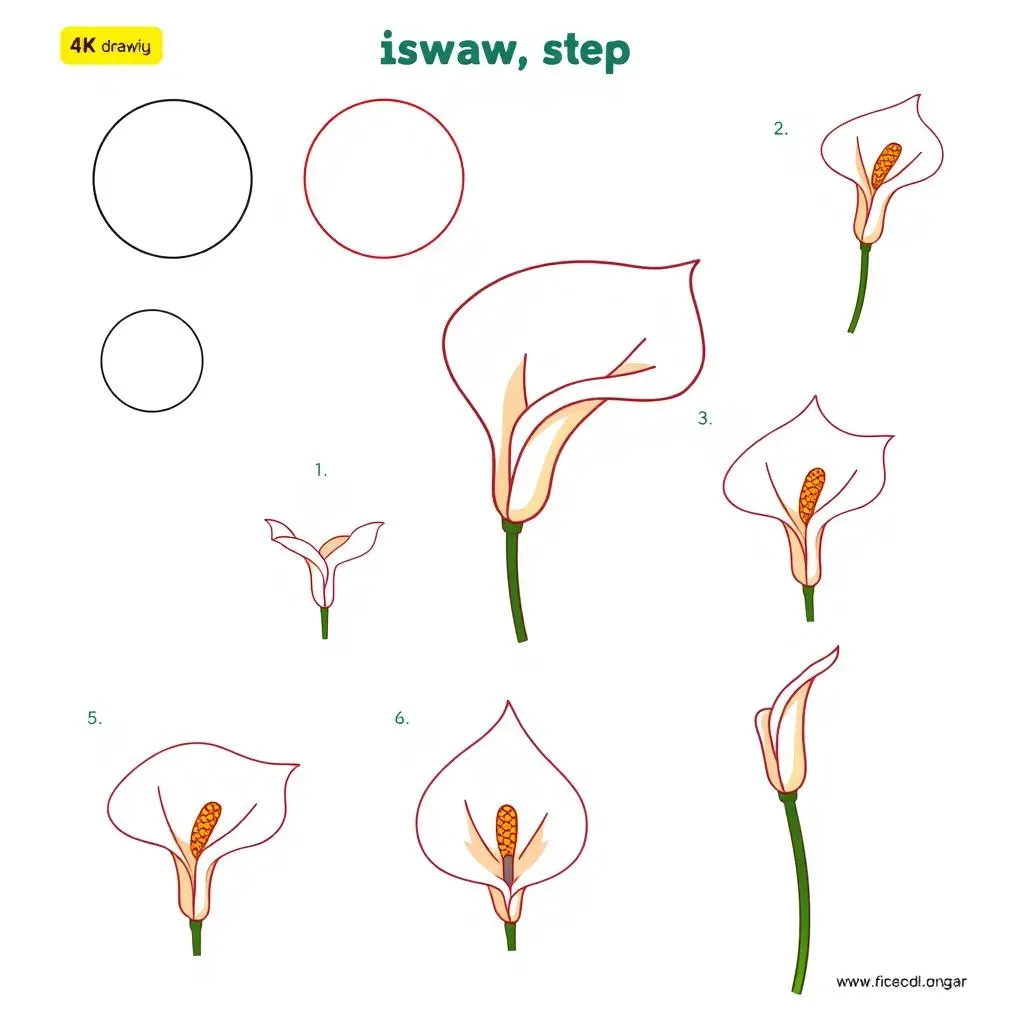
Ever wanted to capture the elegant beauty of a calla lily on paper? You're in the right place! This guide will show you exactly how to draw a calla lily flower step by step, even if you're just starting out. Forget complicated techniques; we'll break it down into simple, easy-to-follow steps. We'll start with the basic shapes and gradually add details, transforming a simple circle into a stunning floral masterpiece. You'll learn how to create those signature curves, add the core stem, and even include some leaves. Don't worry about making mistakes; they're part of the process. By the end of this tutorial, you'll not only know how to draw a calla lily, but you'll also have a better understanding of how to approach drawing in general. So, grab your pencil, some paper, and let's get started on this fun and rewarding journey of learning how to draw a calla lily flower step by step! We'll also share some tips and tricks to help you refine your drawing skills.
StepbyStep Guide: How to Draw a Calla Lily Flower

StepbyStep Guide: How to Draw a Calla Lily Flower
Getting Started with the Basics
Alright, let's kick things off! The first step in our journey of learning how to draw a calla lily flower is creating a large circle. This circle is going to be the base for the flower's overall shape, so try to make it as big as you want your final flower to be. Don't worry about making it perfect, it’s just a guide. Think of it like laying the foundation for a house. We're starting with the big picture, and then we'll add the smaller details later. It’s like when you’re building with LEGOs, you start with the base, right?
Now, inside that circle, draw a smaller, slightly curved line that looks like a stretched out "U." This line will help us define the inner part of the flower, where the petal starts to curve. This might seem weird now, but trust me, it’s an important part of getting the shape right. You are essentially mapping out the flow of the petal's curve. Think of it as the skeleton of your lily, we need to build on top of it.
Creating the Initial Shape
Next, let's work on the petal. Start by drawing a long, curving line from the base of that "U" shape we just made. Let it curve upwards and outwards, overlapping the top of the "U" a bit. This line will be the main curve of the calla lily's petal. It's the most striking feature of the flower, so give it some love. Imagine you’re drawing a slightly bent slide – a smooth, flowing curve is what we’re after. Don't be afraid to make it a bit dramatic. This is where you start to see the calla lily’s form taking shape.
Remember, this is a guideline, not a perfect contour. If it looks a little wonky, don't panic. Drawing is all about adjusting and correcting. It's like when you are baking a cake, sometimes you have to adjust the recipe as you go. Let's keep going, and we’ll refine things as we go along. It is a process, not a race.
Step | Description |
|---|---|
1 | Draw a large circle. |
2 | Draw a stretched "U" inside the circle. |
3 | Draw a curved line from the base of the "U" to create the petal shape. |
Adding the Core and Refining
Now, let's add the core of the lily. Inside the curve of the petal, draw a long, thin shape that looks like a gently curved finger. This is the spadix, the central part of the calla lily, and it adds a lot of character to the flower. This part is important, since it gives the flower it's signature look. Think of it as the heart of the flower, it's what makes it a calla lily and not another kind of flower.
Finally, take a moment to look at your drawing. Are the curves flowing nicely? Are the proportions looking right? If not, don't be afraid to erase and adjust. Drawing is not about getting it right the first time, it’s about getting it right over time. It's like learning to ride a bike, you fall a few times, but eventually you get the hang of it. This is where you start to polish your work. And remember, practice makes perfect.
Drawing the Calla Lily's Shape and Curves

Drawing the Calla Lily's Shape and Curves
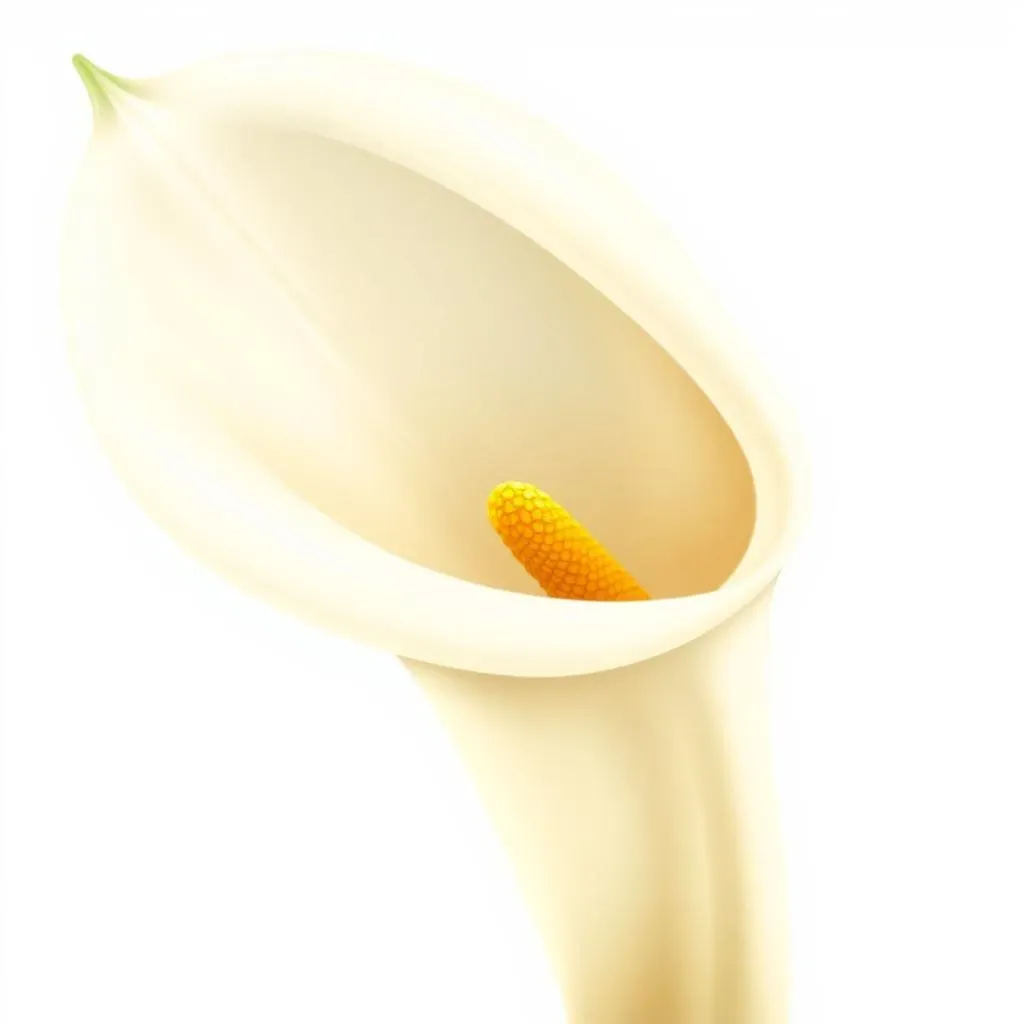
Okay, so you've got your basic shapes down, right? Now, this is where things get a little more interesting. We're going to focus on really making that petal curve look like a calla lily. Remember that long, curved line we drew earlier? It's time to give it some character. Start at the base of your "U" shape and follow that curve, but this time, let it swell out a bit, like it’s gently puffing up. Then, as it curves upwards, let it narrow slightly towards the tip. This gives that elegant, almost trumpet-like shape. It's like you're inflating a balloon, but instead of making it round, you're making it a long, graceful curve. It's all about capturing that gentle, flowing movement of the petal. Don’t rush this part; take your time and really observe the curves.
Now, let's think about the overall flow of your drawing. The calla lily isn't just a bunch of random curves; they all work together. The petal's curve should feel like it's wrapping around the spadix, the inner core, we added before. It's like a gentle hug. Imagine the petal is a soft blanket, and the spadix is a small, precious object you're trying to protect. This will give your drawing a sense of depth and dimension. And remember, it's okay if it doesn't look exactly like the picture. The goal isn't to create a perfect copy, it's about capturing the essence and beauty of the calla lily. Each drawing has its own unique charm.
Tip | Description |
|---|---|
Observe | Look at real calla lilies or photos of them closely. |
Flow | Make sure the curves flow smoothly and naturally. |
Puff | Let the petal curve swell out a bit for dimension. |
Adding Details: The Core Stem and Leaves

Adding Details: The Core Stem and Leaves
The Core: Adding the Spadix
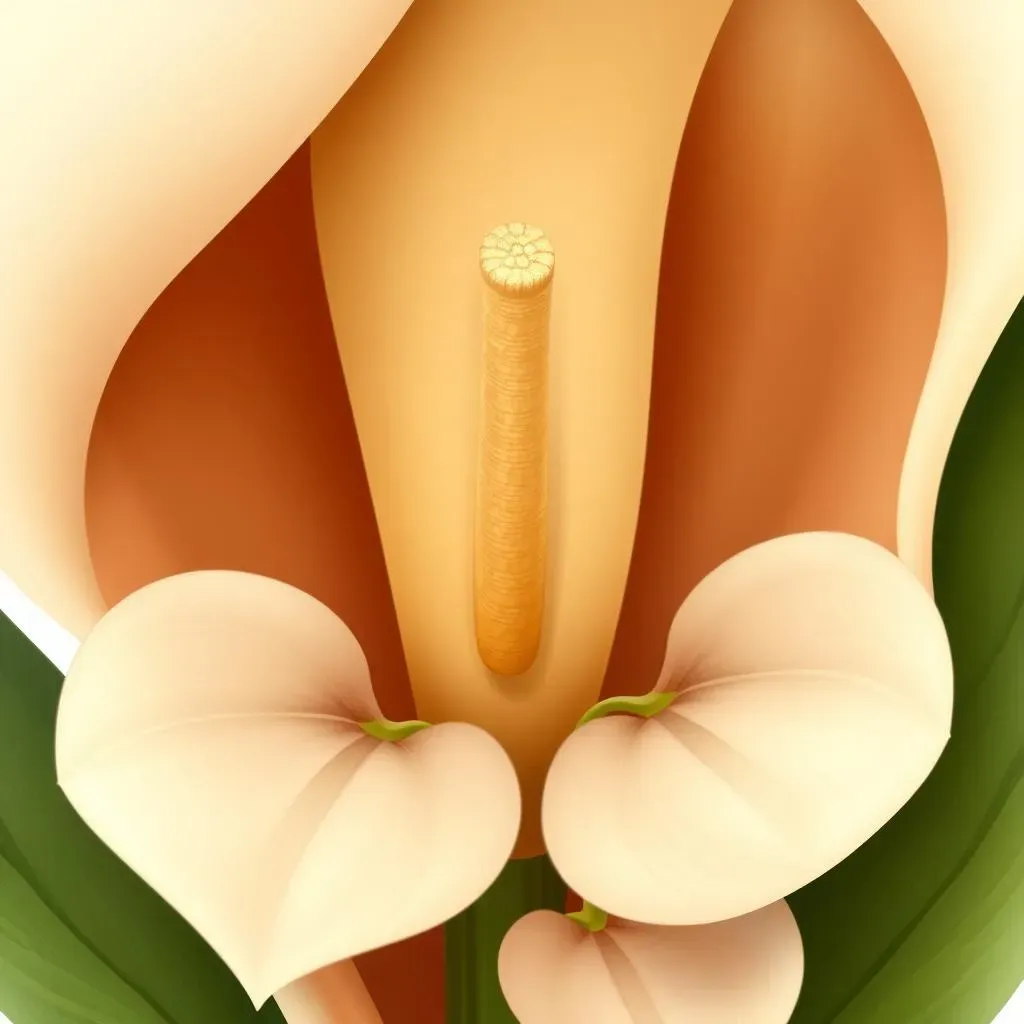
Alright, let's get to the heart of our calla lily – the spadix. Remember that gently curved finger-like shape we talked about? It's time to give it some definition. Start at the base where it meets the inner curve of the petal and draw a smooth, thin shape that tapers slightly as it goes up. It should nestle snugly inside the petal, almost like it's peeking out. The spadix isn't perfectly straight; it has a slight curve that follows the flow of the petal. Think of it as the delicate center of a scoop of ice cream, just a little bit curved and smooth. This is what gives the calla lily its unique look.
Don't be afraid to experiment with the length and curve of your spadix. Some calla lilies have longer, more pronounced spadixes, while others are shorter and more subtle. It's your drawing, so make it your own! The spadix adds depth and character, it is the flower's focal point. It's like adding that final touch of seasoning to a dish – it completes the flavor profile. This part is crucial, so take your time and make sure it feels right to you.
Element | Description |
|---|---|
Shape | Gently curved, finger-like. |
Placement | Inside the petal curve. |
Taper | Thinner at the top. |
Adding the Stem
Now, let’s get down to the stem. It’s the foundation of the flower. Draw two parallel lines extending downwards from the base of the flower. These lines don’t have to be perfectly straight; give them a slight curve to make it more natural. Think of a straw; it’s not perfectly straight but has a natural flow. The stem is what holds the flower up, so it’s important to give it a solid base. It should be strong and sturdy, but also graceful and elegant. It’s like the spine of a book, it holds everything together. Remember, it is the unseen support, it is very important.
The stem should be thicker near the base of the flower and slightly thinner as it goes down. This gives it a more realistic look. You can also add a few subtle curves along the length of the stem to make it look more organic. Think of a tree trunk, it's not perfectly straight, it has its own natural curves and bends. It is details like this that will make your drawing come to life. Don't rush this part, take your time and make sure it feels right.
Leaves and Final Touches
To add a bit more life to your drawing, let's add some leaves. Calla lily leaves are large, smooth, and often heart-shaped. Draw a few of these leaves coming out from the base of the flower stem. They can be overlapping, and they don't need to be perfect. Think of them as gentle waves flowing around the base of the flower. They should be large enough to be noticeable, but not so large that they overpower the flower itself. It is like adding the finishing touches to a painting, it brings everything together.
Finally, take a step back and look at your creation. Does it feel balanced? Are the proportions right? If you see any areas that need tweaking, don't hesitate to make adjustments. Drawing is a process of constant refinement. It’s like sculpting; you chip away at the excess until you reveal the final form. It's okay if it's not perfect, it is your unique creation. And remember, the more you practice, the better you will get. So, keep drawing and keep exploring!
- Leaves: Large, smooth, heart-shaped
- Placement: Base of the stem
- Final Touch: Adjust and refine
Refining Your Drawing: Tips and Tricks for a Perfect Calla Lily Flower

Refining Your Drawing: Tips and Tricks for a Perfect Calla Lily Flower
Observe and Adjust
Okay, so you've got your calla lily drawn, but something feels a little off? That's totally normal! This is where the magic of observation comes in. Take a good, long look at your drawing, then find a picture of a real calla lily. Don't just glance at it; really study the curves, the proportions, and how the different parts connect. Does your petal curve enough? Is your spadix the right size? Are the leaves flowing naturally? It's like being a detective, looking for clues that can help you improve your drawing. Maybe your curve is too sharp, or your spadix is a little short; these are things that you can fix. And don't be afraid to erase, it's part of the process. It's like editing a story, sometimes you have to rewrite a paragraph to make it perfect.
Now, try to see your drawing with fresh eyes. Sometimes it helps to step away for a few minutes and come back. You’ll see things you didn’t notice before. Focus on the overall harmony of the drawing. It should feel balanced and natural. The curves should flow smoothly, and the different parts should work together. It is like conducting an orchestra; all the different instruments have to play in harmony to create a beautiful sound. And remember, it is not about perfection, it is about progress. Each drawing is a step forward. You’re not trying to make it perfect, you’re trying to make it better.
Practice and Experiment
Alright, so you've made some adjustments, and your drawing is looking better, but you're still not quite satisfied? That's okay! Drawing is a skill, and like any skill, it takes practice. The more you draw, the better you'll become. Don’t just draw one calla lily and call it a day; try drawing a bunch of them. Try different angles, different sizes, different styles. Experiment with the curves, make some petals more dramatic, and some more subtle. It's like trying out different recipes to see what tastes best. The more you experiment, the more you’ll learn, and the more confident you'll become. This is your opportunity to find your own unique style.
Don’t be afraid to make mistakes. Mistakes are part of the learning process. Every time you make a mistake, you learn something new. It is like when you are learning a new sport, you might stumble and fall a few times, but you learn from those stumbles. The key is not to give up. Keep drawing, keep experimenting, and keep learning. Each drawing is a chance to improve. It's like a video game; each level gets a little harder, but you also get better at playing. And remember, the journey is just as important as the destination. Enjoy the process, have fun, and see where your drawing takes you.
Tip | Description |
|---|---|
Multiple Drawings | Draw many calla lilies. |
Different Angles | Experiment with various perspectives. |
Own Style | Find your own unique approach. |
Tools and Techniques
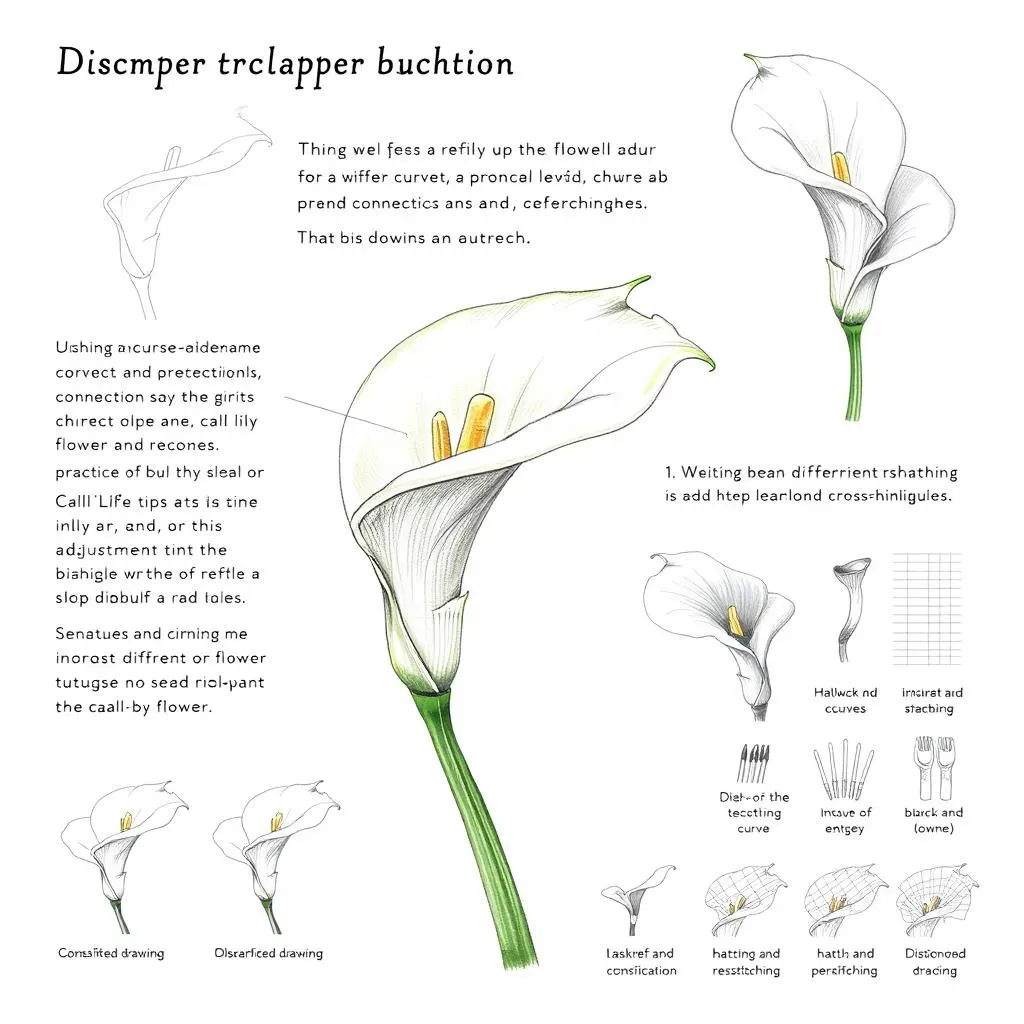
Now, let’s talk about tools and techniques. You don’t need fancy materials to create a beautiful drawing; a simple pencil and paper will do. However, experimenting with different tools can be fun. Try using different types of pencils, like a soft pencil for shading and a hard pencil for fine lines. You can also try using charcoal or colored pencils to add different effects to your drawing. It's like being an artist with a full palette; you have different tools to bring your vision to life. And don’t forget about erasers; they are just as important as pencils. They are your secret weapon to correct mistakes and make adjustments.
Technique-wise, try to focus on your line quality. A good drawing has confident, flowing lines. Don’t be afraid to make bold strokes, but also practice drawing delicate, subtle lines. Try using hatching or cross-hatching to add depth and shading to your drawing. These are techniques that will help you make your drawing more realistic. It’s like learning to play a musical instrument; you have to master different techniques to create a beautiful melody. And remember, the key is not just about having the right tools, but also about how you use them. Practice, experiment, and find what works best for you. Keep exploring your creativity!