Table of Contents
Ever wanted to capture the elegant curve of a calla lily on paper? You're not alone! The calla lily, with its sleek lines and graceful form, is a favorite subject for artists of all levels. This article is your friendly guide to mastering the art of drawing a calla lily flower. We'll start by getting to know the flower a bit, understanding its unique shape and features. Then, we'll break down the drawing process into simple, manageable steps, using basic shapes as our foundation. From there, we’ll move onto adding the details that will bring your calla lily drawing to life, giving it that touch of realism. Finally, I'll share some insider tips and tricks that'll help your artwork really shine. Whether you're a complete beginner or an experienced artist looking for a new challenge, this guide will give you the skills and confidence you need to start drawing a calla lily flower like a pro. So, grab your pencil and let's get started!
Understanding the Calla Lily: Before You Start Drawing

Understanding the Calla Lily: Before You Start Drawing
Why bother learning about the flower?
Okay, so you wanna draw a calla lily, right? But, before you just jump in and start sketching, let's take a sec to actually *look* at one. It's like trying to build a Lego castle without knowing what the pieces look like. You *could* do it, but it'll probably be a mess. When you understand the flower's form, the unique ways it curves and bends, it makes drawing it much easier. It's not just about copying what you see; it's about understanding it. That's where the real magic happens. Think of it like this: if you wanna draw a cat, you probably wouldn't start with the tail, right? You'd think about the body, the head, all that jazz. It's the same with flowers, even if they don't meow.
Calla Lily Anatomy 101
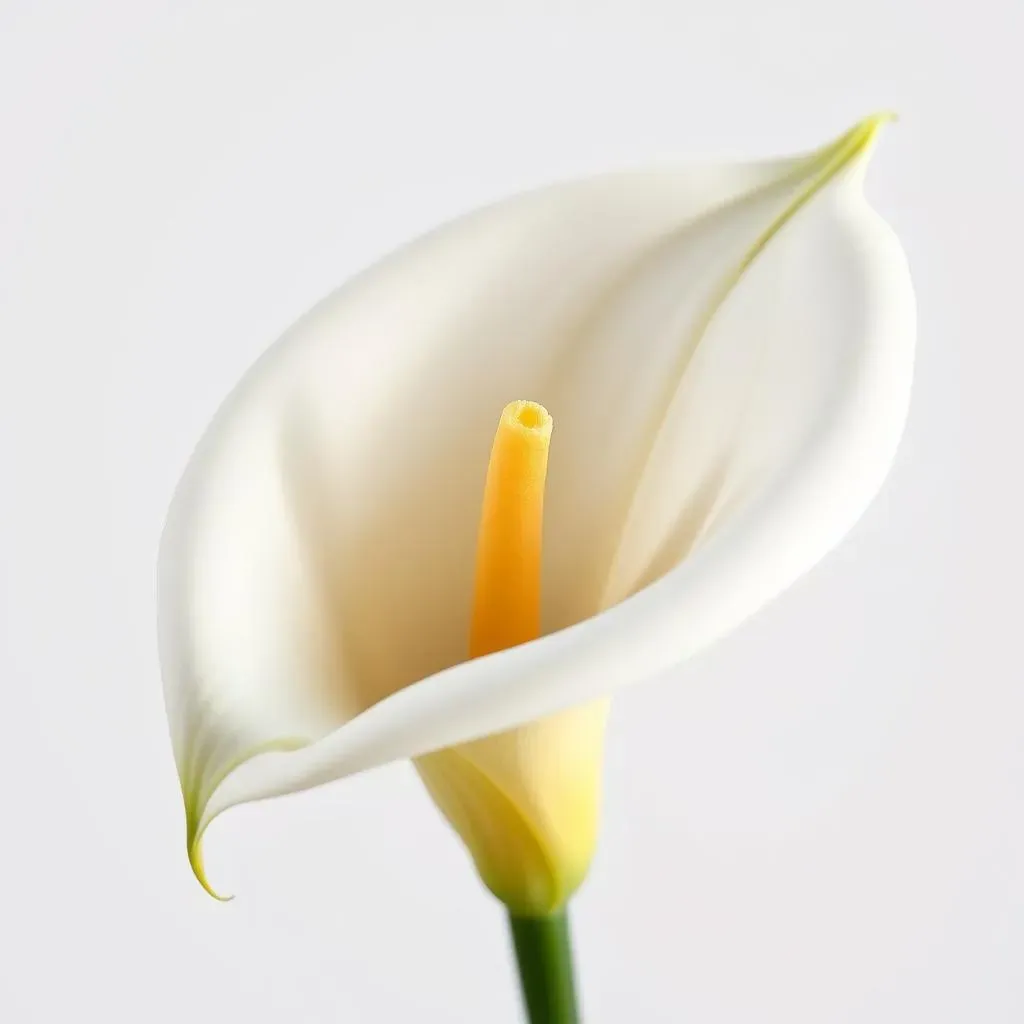
The calla lily isn’t your typical flower. It has a single, large petal that curves around a central spike called a spadix. That petal isn’t technically a petal but a modified leaf called a spathe. It's kind of like the flower's own little elegant cloak. The spadix is where the actual tiny flowers are located. Now, you might not think that's super important when you're drawing but, trust me, understanding this stuff helps. It explains why the calla lily has such a unique shape, and it'll help you avoid just drawing a generic blob. It's all about those subtle details, the way the spathe curls, and the angle of the spadix. It is like knowing the difference between a triangle and a square, when you know the difference drawing them is much easier.
Part | Description |
|---|---|
Spathe | The large, modified leaf that looks like a petal |
Spadix | The central spike where the tiny flowers are located |
Observing the Calla Lily's Form
Now, for the fun part! Grab a real calla lily if you can, or find some good pictures. Don't just stare at it like it's a TV screen. Really look! Notice how the spathe (remember, that big "petal"?) unfurls. How does it curve? Does it have smooth lines, or are there little bumps and folds? Pay attention to the way light hits the flower. Where are the highlights and shadows? These are the things that will give your drawing dimension. It's like being a detective, but instead of solving a crime, you're solving the mystery of a flower's shape. And the more you observe, the better your drawing will be. It's like learning to play a song, the more you listen the more you'll understand how to play it.
Basic Shapes for Drawing a Calla Lily Flower

Basic Shapes for Drawing a Calla Lily Flower
The Foundation: Simple Starting Points
Alright, so now that we've gotten acquainted with the calla lily, it's time to start drawing! But don't worry, we're not jumping straight into intricate details. Instead, we'll begin with some simple shapes that form the base of our drawing. Think of it like building a house: you don't start with the roof, you start with the foundation. For the calla lily, we're talking about a gentle curve for the spathe and a straight line for the spadix. These shapes are like the skeleton of your flower; they’ll guide you as you add more details. It's okay if they're not perfect at first; we’re just getting a feel for the overall form.
Don’t get bogged down with making it exactly like the picture right away. The goal here is to get the basic structure down. I like to start with the spathe, drawing a big, slightly curved line, like a sideways “C”. Then, I'll add a straight line inside that curve for the spadix. It's kinda like drawing a hotdog in a bun, but way more elegant! It’s all about getting those initial proportions right. It’s much easier to tweak things later than to try and fix a wonky base.
Shape | Purpose |
|---|---|
Curved Line | Represents the spathe (the petal-like part) |
Straight Line | Represents the spadix (the central spike) |
Building Up: From Basic to Beautiful
Now that you’ve got your basic curve and line, it’s time to play around a bit. Think of it like sculpting, we are slowly adding to the structure. The spathe isn't just a flat curve; it has volume and depth. Try making your curve a bit thicker in some places and thinner in others. Imagine it wrapping around the spadix, almost like a cone. This gives it a more three-dimensional feel. Remember, it’s not about drawing a perfect shape, it’s about capturing the essence of the calla lily. Don't be afraid to erase and redraw. That’s part of the process. It's like trying a new recipe, you might need to adjust the ingredients a bit to get it just right.
You can also start to adjust the angle of the spadix. It might be perfectly straight, or it might tilt slightly depending on the flower you're looking at. These slight variations are what make each calla lily unique, and they’ll make your drawing much more interesting. It’s like having your own unique signature. So, take your time, experiment, and have fun with these basic shapes. This is where the magic begins, where your simple lines start to look like a beautiful calla lily flower. It's like learning the basic chords on a guitar, once you know those you can play almost any song.
Adding Details to Your Calla Lily Drawing

Adding Details to Your Calla Lily Drawing
Refining the Spathe
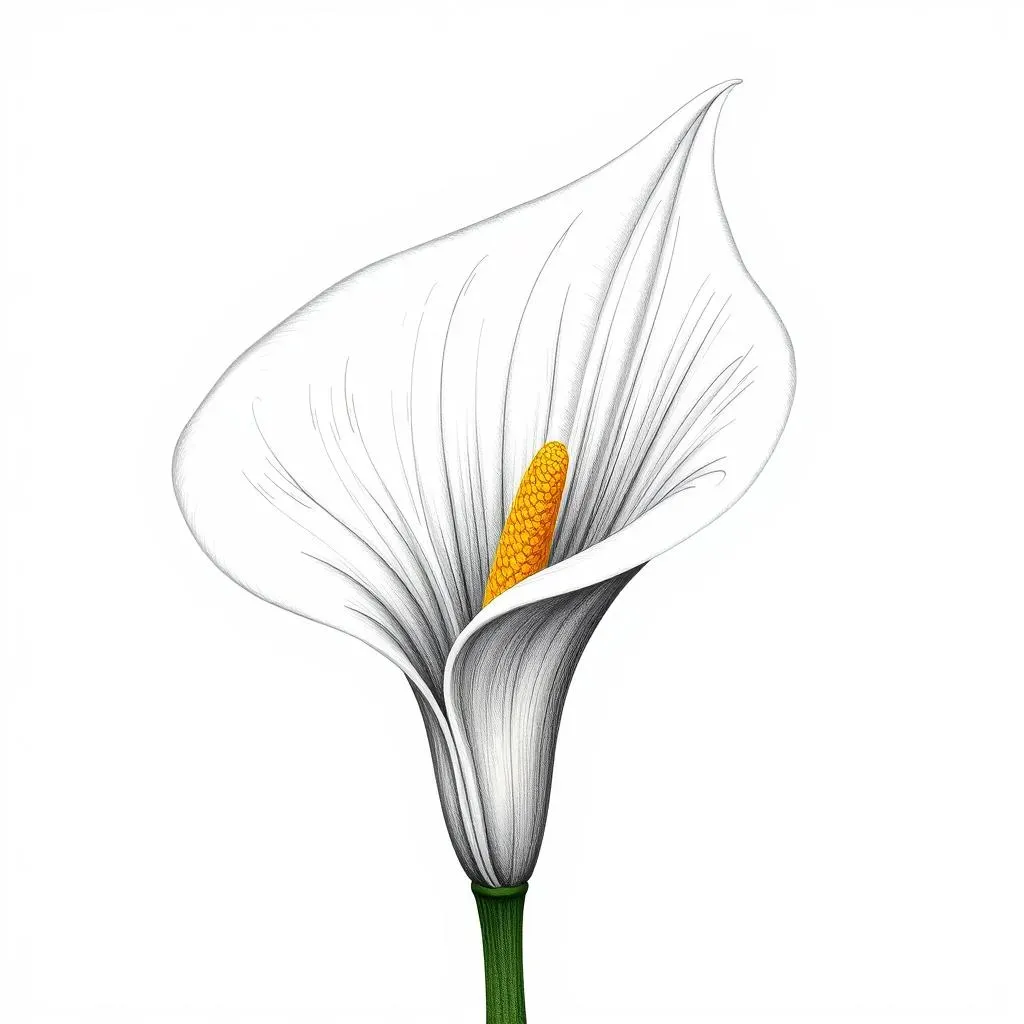
Okay, so you've got the basic shape of your calla lily down, right? Now, it's time to give that spathe some personality. Remember how we talked about the curves and folds? This is where you really bring them to life. Think about adding some subtle curves along the edge of the spathe. It's not perfectly smooth; it has little dips and rises. These small imperfections are what make it look real. Also, look at how the spathe wraps around the spadix. It's not just a flat shape; it has depth. Try adding some shading to show how it curves in and out. It’s like giving your drawing a 3D effect, even though it's on a flat surface.
Don't just draw a single outline. Think about the thickness of the spathe. It's usually a bit thicker at the base and then tapers as it curves towards the tip. These small changes in line thickness can make a huge difference. It's like adding spices to a dish, you need the right amount for it to taste perfect. And while you're at it, check out how the spathe connects to the stem. It's not a straight line; it has a bit of a curve and a slight flare. It's all these tiny details that make your drawing look like a calla lily, not just a generic flower shape.
Bringing the Spadix to Life
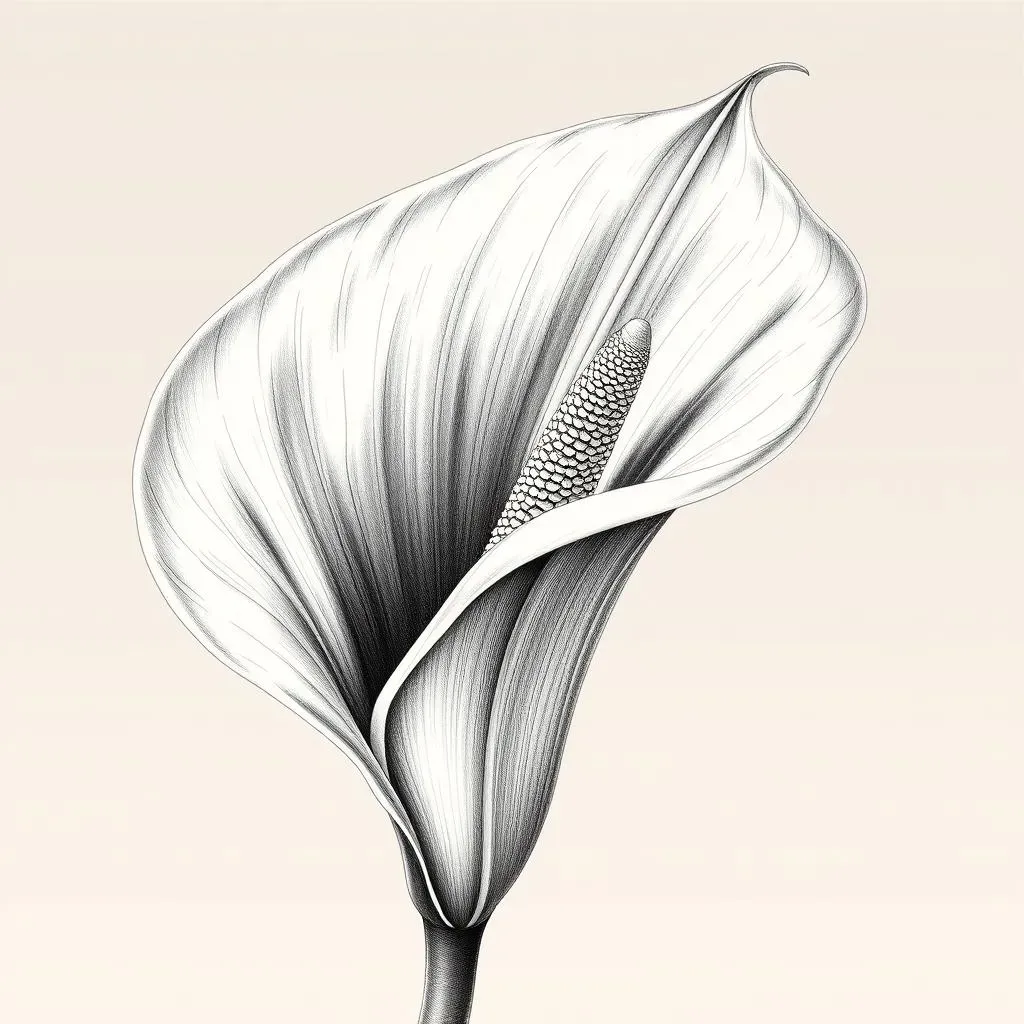
Now, let's give some attention to the spadix, that central spike. It's not just a straight line either. It often has a slight curve or a bit of a bend, and it's usually thicker at the base and thinner at the tip. Think of it like a tiny, elegant candle. You can add some subtle shading to show its roundness. Remember, even though it looks simple, it has a form. You also want to look at the texture. The spadix isn't perfectly smooth; it has tiny bumps and lines. You can add these with light, short strokes. It's these details that make it seem less like a drawing and more like a real object.
When you're drawing the spadix, pay attention to how it sits within the spathe. It's not just stuck on; it's cradled by it. You can use shading to show how the spathe overlaps and surrounds the spadix. This adds depth and makes your drawing look more realistic. It’s like puzzle pieces fitting together, each part helps to make the whole picture. And don't forget the very tip of the spadix; it often has a slightly different shape or color. These tiny details are the secret ingredients that make your drawing special. It's all about the small things!
Detail | Description |
|---|---|
Spathe Edge | Add subtle curves and folds for a natural look |
Spathe Thickness | Vary the line thickness to show depth |
Spadix Curve | Add a slight curve or bend to the spadix |
Spadix Texture | Use short strokes to show bumps and lines |
Adding Shading and Highlights
Okay, so you’ve got the form and the details down, now it’s time to make this flower pop! Shading and highlights are the magic tools that can turn a flat drawing into a three-dimensional masterpiece. Think about where the light is coming from. The areas that are closest to the light source will be the brightest, and the areas that are turned away will be darker. You can use light pencil strokes for the highlights and slightly darker strokes for the shadows. It’s like sculpting with light and dark. Don’t be afraid to experiment, you can always erase and try again. It’s like learning to dance, you might stumble a few times but eventually, you'll find your rhythm.
Look closely at your reference photo. Where do you see the darkest shadows? Where are the brightest highlights? Pay attention to the subtle shifts in tone. You can use different pencil pressures to create different shades of gray. It’s not just about making things dark or light, it’s about creating transitions. And don’t forget about the reflected light. Sometimes, the light bounces off a surface and creates a soft highlight in a shaded area. These small details can make a big difference. It’s like adding the final brushstrokes to a painting, it’s what brings it all together. It’s all about making your calla lily drawing look as real as possible.
Tips and Tricks for a Realistic Calla Lily Flower Drawing

Tips and Tricks for a Realistic Calla Lily Flower Drawing
Practice Makes Perfect, Seriously
Okay, so you've followed all the steps, you've got your basic shapes, you've added the details, and you've even done some shading, but it still doesn't quite look like the calla lily you were hoping for? Don't sweat it! Drawing is a skill, and like any skill, it takes practice. It’s like learning to ride a bike, you might fall a few times before you get the hang of it. The more you practice, the better you'll get at capturing the curves, the folds, and the subtleties of this beautiful flower. So, don't just draw one calla lily and call it quits. Draw a whole bunch! Draw them from different angles, in different lighting, and with different levels of detail. It’s all about training your eye and your hand. The more you do it, the more natural it will feel. It's like learning a new language, the more you speak it the more fluent you become.
And while you're practicing, don't be afraid to experiment with different techniques. Try drawing with different pencils, use different shading methods, and try different paper types. Each little change can have a big impact. It’s like being a chef, you need to try different ingredients and techniques to discover what you like. And most importantly, don’t be too hard on yourself. Every artist makes mistakes, it's all part of the process. Just keep practicing, keep experimenting, and keep having fun. Each drawing you do is a step closer to mastering the art of drawing a calla lily flower. It's a journey, not a race!
Use References Wisely
While it's important to practice, it's also important to use references wisely. Don't just blindly copy a picture; use it as a guide. Think of it like using a map, it helps you get to your destination, but you still need to walk the path. Start by looking at a real calla lily or a good photograph. Really study the shapes, the curves, and the way the light hits the flower. Pay attention to the details we talked about earlier, like the edge of the spathe, the curve of the spadix, and the subtle shading. Then, when you start drawing, use those observations to guide your hand. Don’t just copy the lines, try to understand what they represent. It’s like learning to cook by understanding the ingredients, not just by following a recipe.
And remember, your reference is just that, a reference, not a rulebook. Feel free to add your own artistic flair. You can change the angle, the lighting, or even the style to make it your own. It’s like writing your own story, you can take inspiration from others, but you still need to make it your own. And don't be afraid to combine multiple references. You can use one photo for the shape of the spathe, another for the spadix, and another for the lighting. It's all about using your resources to create your own unique drawing. It's like being a DJ, you mix different songs to create a unique sound. Just be sure to give credit to the original artist if you share your work online.
Tip | Description |
|---|---|
Practice | Draw many calla lilies from different angles and lighting conditions |
References | Use real flowers or photos as guides, not rules |
Experiment | Try different pencils, shading methods, and paper types |
Embrace Imperfection
Here’s a little secret: no drawing is ever truly perfect. Even the most skilled artists make mistakes. The key is not to strive for perfection, but to embrace imperfection. It’s like a jazz musician, they don’t try to play every note perfectly, they improvise and make it their own. Don't get hung up on every little line or curve. If your drawing doesn't look exactly like the reference, that's okay! It's your unique interpretation of the calla lily. It’s like having your own handwriting, it might not be perfect, but it's uniquely yours.
And don't compare your work to others. Everyone is at a different stage in their artistic journey. It’s like comparing a beginner runner to a marathon champion, it's not fair to either. Instead, focus on your own progress. Look at how far you've come, and be proud of what you've accomplished. And if you're feeling frustrated, take a break. Sometimes, a fresh perspective is all you need. It’s like taking a break from studying, you come back feeling refreshed and ready to learn. Just remember, the goal is not to create a perfect replica, but to create something beautiful and meaningful. And that’s something that only you can do. It's like planting a seed, it will grow into something unique and beautiful.
Have Fun with It!
Finally, and perhaps most importantly, remember to have fun! Drawing should be an enjoyable and relaxing activity. It's like playing a game, you should enjoy the process, not just the outcome. If you're feeling stressed or pressured, take a step back and try to approach it with a more playful attitude. Experiment with different colors, different styles, and different techniques. Don't be afraid to try new things and make mistakes. That's how you learn and grow as an artist. It’s like riding a rollercoaster, it might be a little scary at first, but it’s also a lot of fun!
And share your work with others! Get feedback from your friends, family, or online art communities. It's a great way to get different perspectives and learn from other artists. It’s like being in a band, you need to collaborate with others to make great music. But most importantly, draw what you love, and draw with passion. That's what will make your art truly special. It's like cooking your favorite meal, you put your heart into it and it tastes amazing. So, grab your pencil, find a beautiful calla lily, and let the fun begin! You’ve got this!