Table of Contents
Ever wanted to craft a beautiful, everlasting flower? Well, you're in luck! This article is your gateway to creating stunning crochet calla lilies. I'll walk you through each step, from grabbing your hook and yarn to admiring your finished bloom. We'll be using a free pattern that’s totally beginner-friendly, meaning you don't need to be a crochet expert to make these elegant flowers. This "crochet calla lily flower free pattern" is designed to be simple and fun, focusing on basic stitches. We'll start by gathering our materials and then I will show you how to crochet the flower itself, then we'll move onto the sepal and the stamen. Finally, I’ll guide you through assembling all the pieces into a complete calla lily. By the end of this article, you'll not only have a gorgeous crochet calla lily but also the skills to create a whole bouquet. So, grab your yarn, and let's get started on this crochet adventure!
Materials and Difficulty for Your Crochet Calla Lily Flower

Materials and Difficulty for Your Crochet Calla Lily Flower
Gather Your Supplies
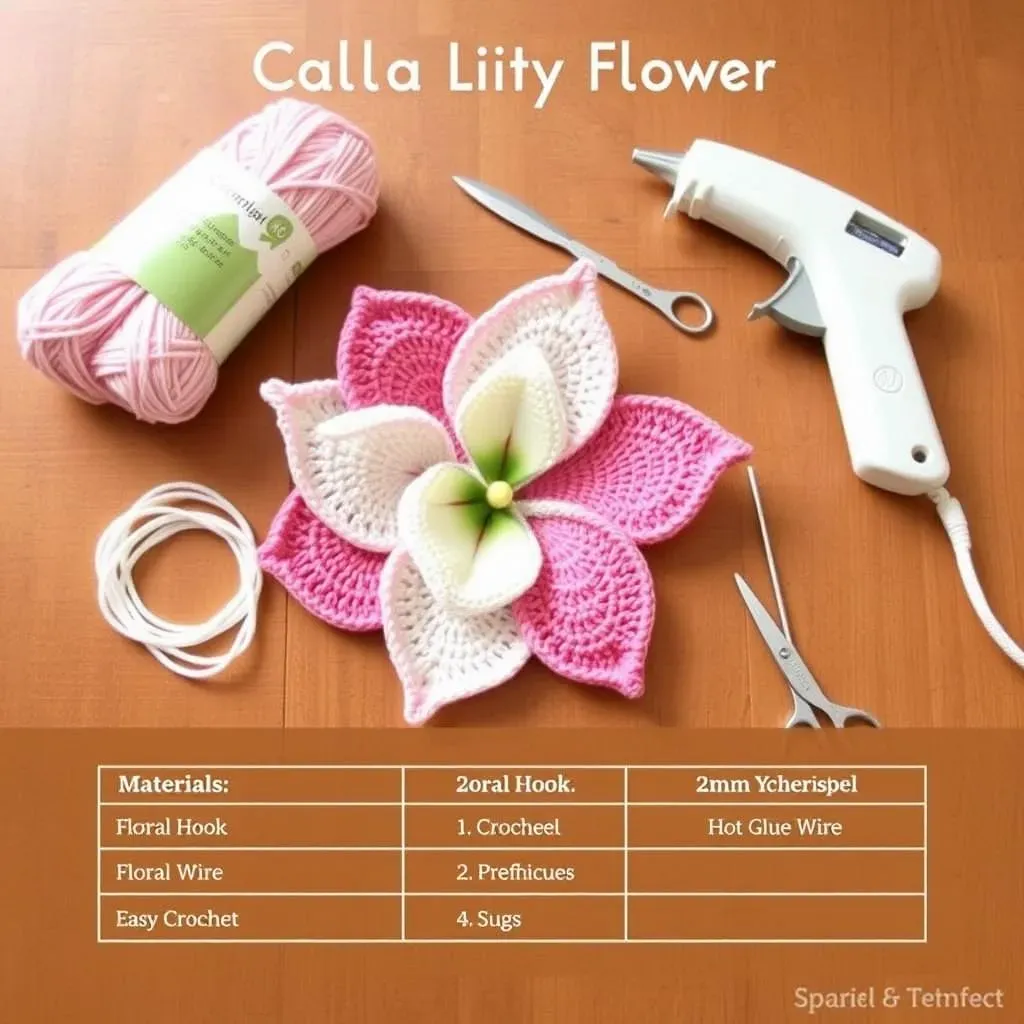
Alright, let’s talk about what you'll need to get started with this crochet calla lily flower free pattern. First off, you'll need some yarn. I like to use three different colors: a bright pink for the flower itself, a clean white for the stamen, and a fresh green for the sepal. You can always get creative with your color choices though! For the hook, a 2 mm or 2.5 mm crochet hook works great for creating a nice, tight stitch. You'll also need a flower rod, which is basically a sturdy, thin wire that will act as the stem of your lily. I use floral wire, you can find it at most craft stores. Finally, you'll need a bit of hot melt adhesive to stick everything together, and scissors for cutting your yarn. That's it, simple enough, right?
Difficulty Level: Easy Peasy
Now, for the difficulty level – I promise you, this pattern is super beginner-friendly. It's perfect if you’re just starting out with crochet. You only need to know two basic stitches: the chain stitch and the single crochet. That’s it! The rest is just about putting those stitches together in the right way. I've written the pattern in US terms, which is pretty standard for most crochet patterns. Don’t worry if you’re not familiar with US terms, there are tons of great resources online that can help you learn them quickly. The pattern involves working in rounds for the flower and stamen, and in rows for the sepal, it's all very straightforward. So if you've ever made a simple circle or square in crochet, you're already halfway there!
Material | Purpose |
|---|---|
Pink Yarn | Main flower petal |
White Yarn | Flower Stamen |
Green Yarn | Sepal (leaf part) |
2mm or 2.5mm Hook | Crocheting the parts |
Flower Rod/Wire | Flower stem |
Hot Melt Adhesive | Assembly |
No-Sweat Skills Needed
Seriously, the most challenging part of this project might be choosing which color yarn to use! If you've ever crocheted a simple chain or a single crochet, you’re golden. I’ve designed this "crochet calla lily flower free pattern" to be as accessible as possible. I know some patterns can be intimidating, but this one is all about enjoying the process and creating something beautiful. If you're a total newbie, just try a few practice stitches with your yarn and hook before starting the flower. You’ll get the hang of it in no time. And hey, even if your first flower isn't perfect, that's part of the fun! It's handmade, so it has character. Let’s start making some flowers!
StepbyStep: How to Crochet a Calla Lily Flower

StepbyStep: How to Crochet a Calla Lily Flower
Making the Flower Petal
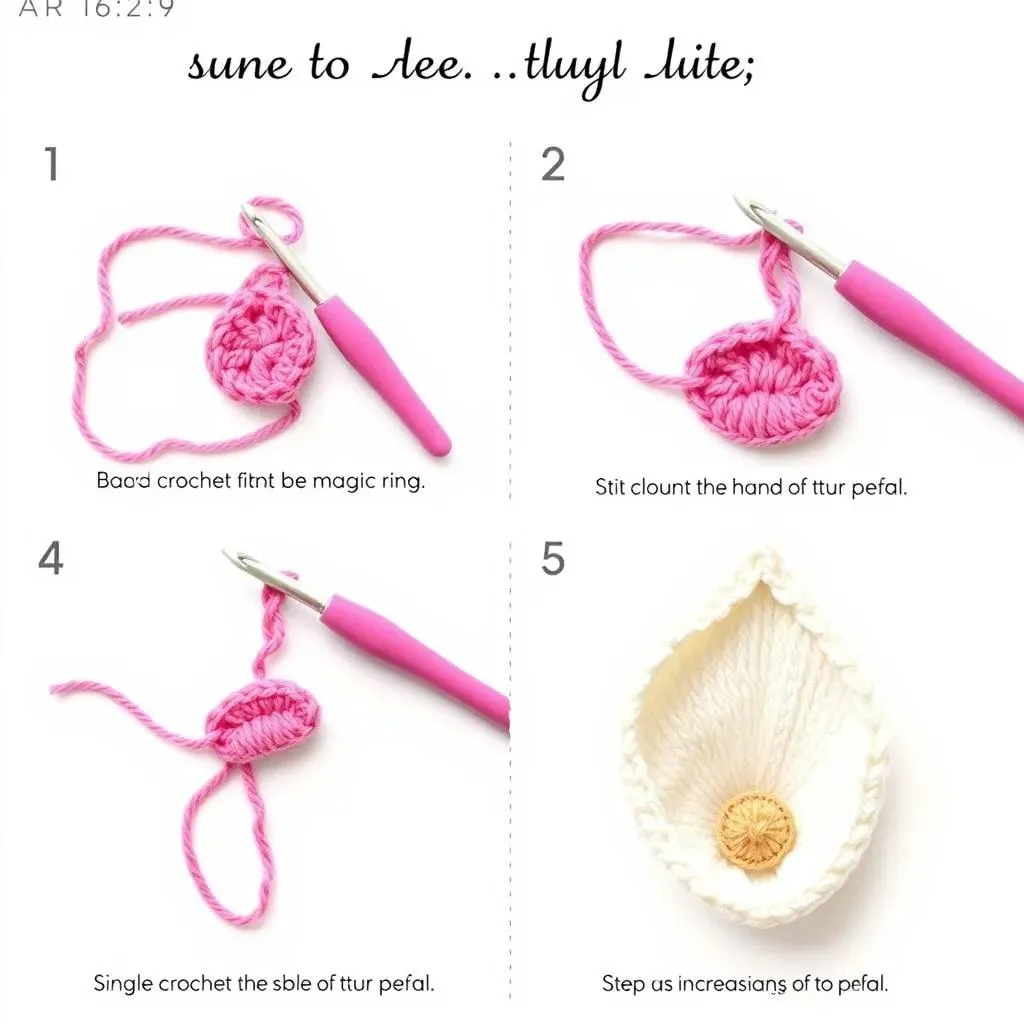
Okay, let's get to the fun part: crocheting the actual calla lily petal! Grab your pink yarn and your hook. We're going to start with a magic ring – if you're not familiar with that, it's a way to start a circle without leaving a hole in the middle. Once you have your ring, chain 1, and then work 6 single crochets into the ring. This is your first round. For the next round, you'll be doing 2 single crochets in each stitch, which will double your stitch count to 12. Then, continue to single crochet in each stitch to round 3, and round 4. By now, you should see a small circle forming. You keep increasing the stitches on the next rounds, but this time, it's not on every stitch. Instead, it's every other stitch. So, you will do one single crochet, then two single crochet in the next stitch, and repeat that all the way around. This creates the curve of the calla lily. Keep going, increasing on the next round, and you’ll see that petal start to take shape. It's like magic, I tell you!
Shaping the Petal
Now that you have the base of your petal, it’s time to give it that distinctive calla lily shape. After you finish increasing, you'll work a few rounds without any increases at all. This will make the petal start to curl up a bit. We'll be creating a slightly longer, trumpet shape. On the rounds, you will keep doing single crochet, but on the last 2 rounds, you will begin to work on the back loop only. What this does is, it creates a nice rib on the side of the petal. After the last round, fasten off and leave a long tail for sewing. Don't worry if it looks a little floppy right now. It'll all come together once we assemble it. The most important thing is to keep your tension consistent. If your stitches are too tight, the petal won't have enough room to form the curve, and if they are too loose, it won't hold its shape. Just keep practicing and you'll get the hang of it. Remember, each stitch is bringing you closer to your beautiful flower!
Round | Action |
|---|---|
1 | Magic ring, 6 single crochet (sc) |
2 | 2 sc in each stitch (12 sc) |
3 | sc in each stitch (12 sc) |
4 | sc in each stitch (12 sc) |
5 | *1 sc, 2 sc in next stitch*, repeat all around |
6-9 | sc in each stitch |
10-11 | sc in each stitch, back loop only |
Assembling Your Crochet Calla Lily: Sepal, Stamen, and Final Touches

Assembling Your Crochet Calla Lily: Sepal, Stamen, and Final Touches
Crocheting the Sepal and Stamen
Alright, now that we've got the main petal done, let's work on those finishing touches – the sepal and the stamen. For the sepal, grab your green yarn. We're going to start with a chain of 15, and then single crochet in each stitch back down the chain. You will then chain 1 and turn, and then work another row of single crochet. For the next row, you will decrease one stitch at the beginning and one at the end. This will make the sepal pointy. Then chain 1 and turn, and work another row of single crochet again. Then fasten off, leaving a tail for sewing it onto the flower. It's pretty simple, right? Now, for the stamen, switch to your white yarn. Make a magic ring, chain 1, and then work 6 single crochets into the ring. Then single crochet in each stitch for the next rounds. You should have a small white cylinder. Fasten off and leave a long tail.
The sepal might seem like a little leaf, but it adds a lot to the finished look of the flower. The stamen is the little heart of our calla lily, so try to keep the stitches nice and tight, to make it look like it's standing out. Remember, even though these parts are small, they're essential for making your crochet calla lily look realistic. So, take your time and enjoy the process. I know that sometimes the little details are the ones that make the difference, and that's certainly true here. Once these are done, we're ready to bring everything together!
Putting It All Together
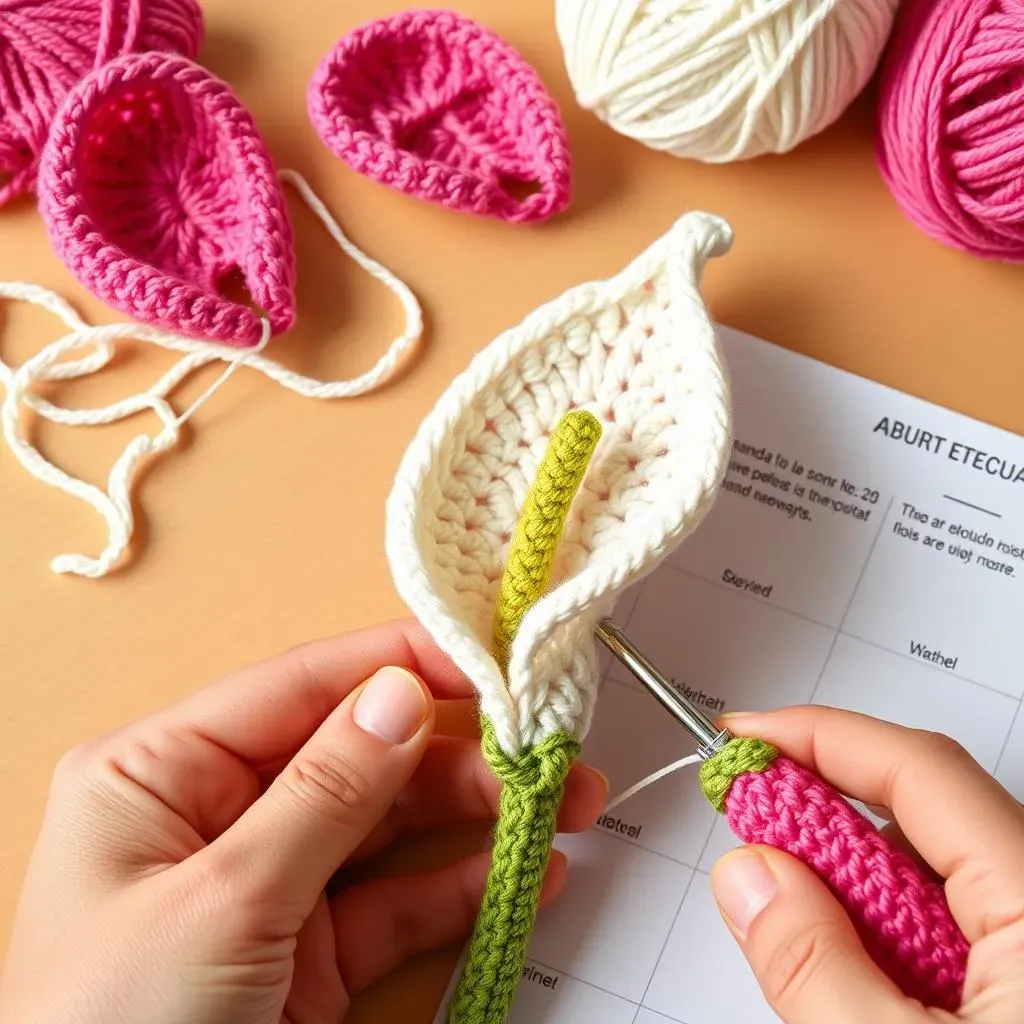
Okay, the moment we've been waiting for – assembly time! First, take your flower rod and carefully insert it into the base of the stamen, pushing it through the center. Now, gently wrap the pink petal around the stamen, making sure the stamen is slightly visible. You can shape the petal a bit to give it that nice, elegant curve. Once you're happy with the shape, use your hot melt adhesive to secure the petal to the base of the stamen and to the flower rod. Hold it in place for a few seconds until the glue sets. Now, take your sepal and position it at the base of the flower, using the glue to stick it to the rod. Make sure the sepal is facing the back of the flower. And there you have it – your very own crochet calla lily flower!
Now, this is where you can really get creative. You can adjust the shape, add more glue or even add some yarn on the flower rod for additional details. Feel free to experiment with different colors of yarn to make a bouquet of calla lilies. You can make a whole garden of crochet flowers if you want! The best part about making these is that they never wilt and can be a great gift for someone special or even a treat for yourself. Don’t forget to weave in all those loose ends, and give your flower a final check to make sure everything is secure. Now, you can proudly display your handmade calla lily and enjoy the fruits of your labor!
Part | Assembly Steps |
|---|---|
Stamen | Insert flower rod, position inside the petal. |
Petal | Wrap around stamen, shape the curve. |
Sepal | Attach to the base, facing back. |
Glue | Secure all parts with hot melt adhesive. |