Table of Contents
Thinking about adding a splash of vibrant color and neat fragrance to your patio, balcony, or even your doorstep? Container lilies might be the perfect solution! At lilyflower.homes, we're passionate about helping you cultivate these stunning blooms, even if you don't have a sprawling garden. This article will guide you through everything you need to know about successfully growing container lilies, from selecting the right pot and soil to tackling common challenges and creating breathtaking displays. We'll explore the various types of lilies that thrive in containers, offer practical advice on planting and care, and share some inspiring design ideas to help you showcase your beautiful blooms. Get ready to transform your outdoor space into a fragrant paradise with the help of our expert tips and tricks on container lilies!
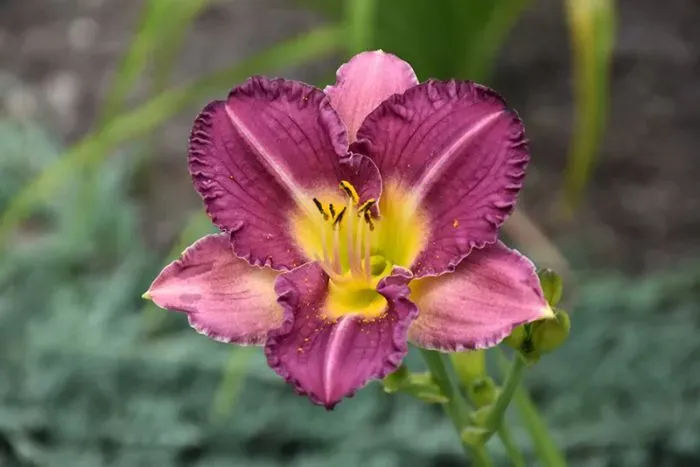
Reveal The Capability Of Container Lilies: A Beginner's Guide
Choosing the Perfect Container for Your Lilies
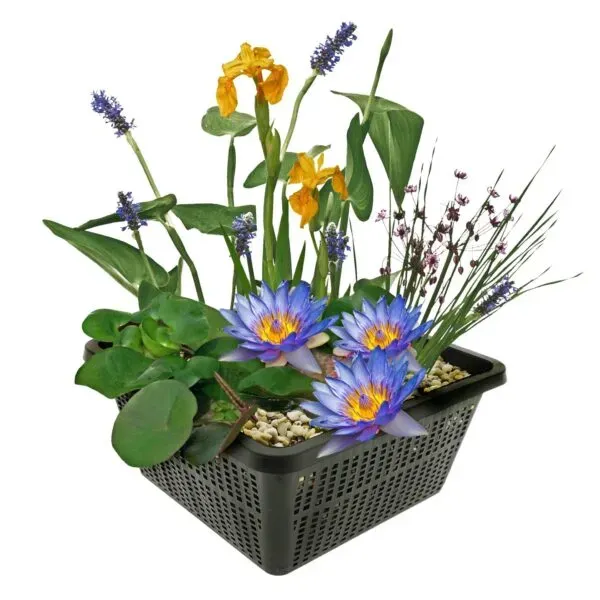
Choosing The Perfect Container For Your Lilies
Select a Container That Fits Your Space
When it comes to growing container lilies, the first step is choosing the right pot. The container should be large enough to accommodate the roots of your lilies as they grow. A good rule of thumb is to pick a pot that is at least 12 inches in diameter and 12 inches deep. This gives your lilies plenty of room to spread out and stay healthy.
But size isn't the only thing to consider. The material of the container also matters. Clay pots, for instance, are great for lilies because they allow for better air circulation and can help regulate soil moisture. On the other hand, plastic pots are lightweight and easy to move around, which is handy if you need to rearrange your patio or balcony. Check out more on for even more tips.
- Clay pots: Better air circulation and moisture regulation
- Plastic pots: Lightweight and easy to move
- Wooden planters: Natural look and good insulation
Ensure Proper Drainage
One of the most crucial aspects of choosing a container for your lilies is ensuring proper drainage. Lilies don't like soggy feet, and if the water doesn't drain properly, your plants can develop root rot. Make sure your pot has several drainage holes at the bottom to allow excess water to escape.
If you’re using a pot that doesn’t have holes, you can easily add them with a drill. Just be careful not to crack the pot. Another tip is to place a layer of small stones or gravel at the bottom of the pot before adding the soil. This helps prevent the drainage holes from getting clogged. For more on , head over to our guide.
Drainage Tip | Description |
|---|---|
Add drainage holes | Ensure water can escape easily |
Use gravel or stones | Prevent drainage holes from clogging |
Container Lilies: Planting and Care Tips
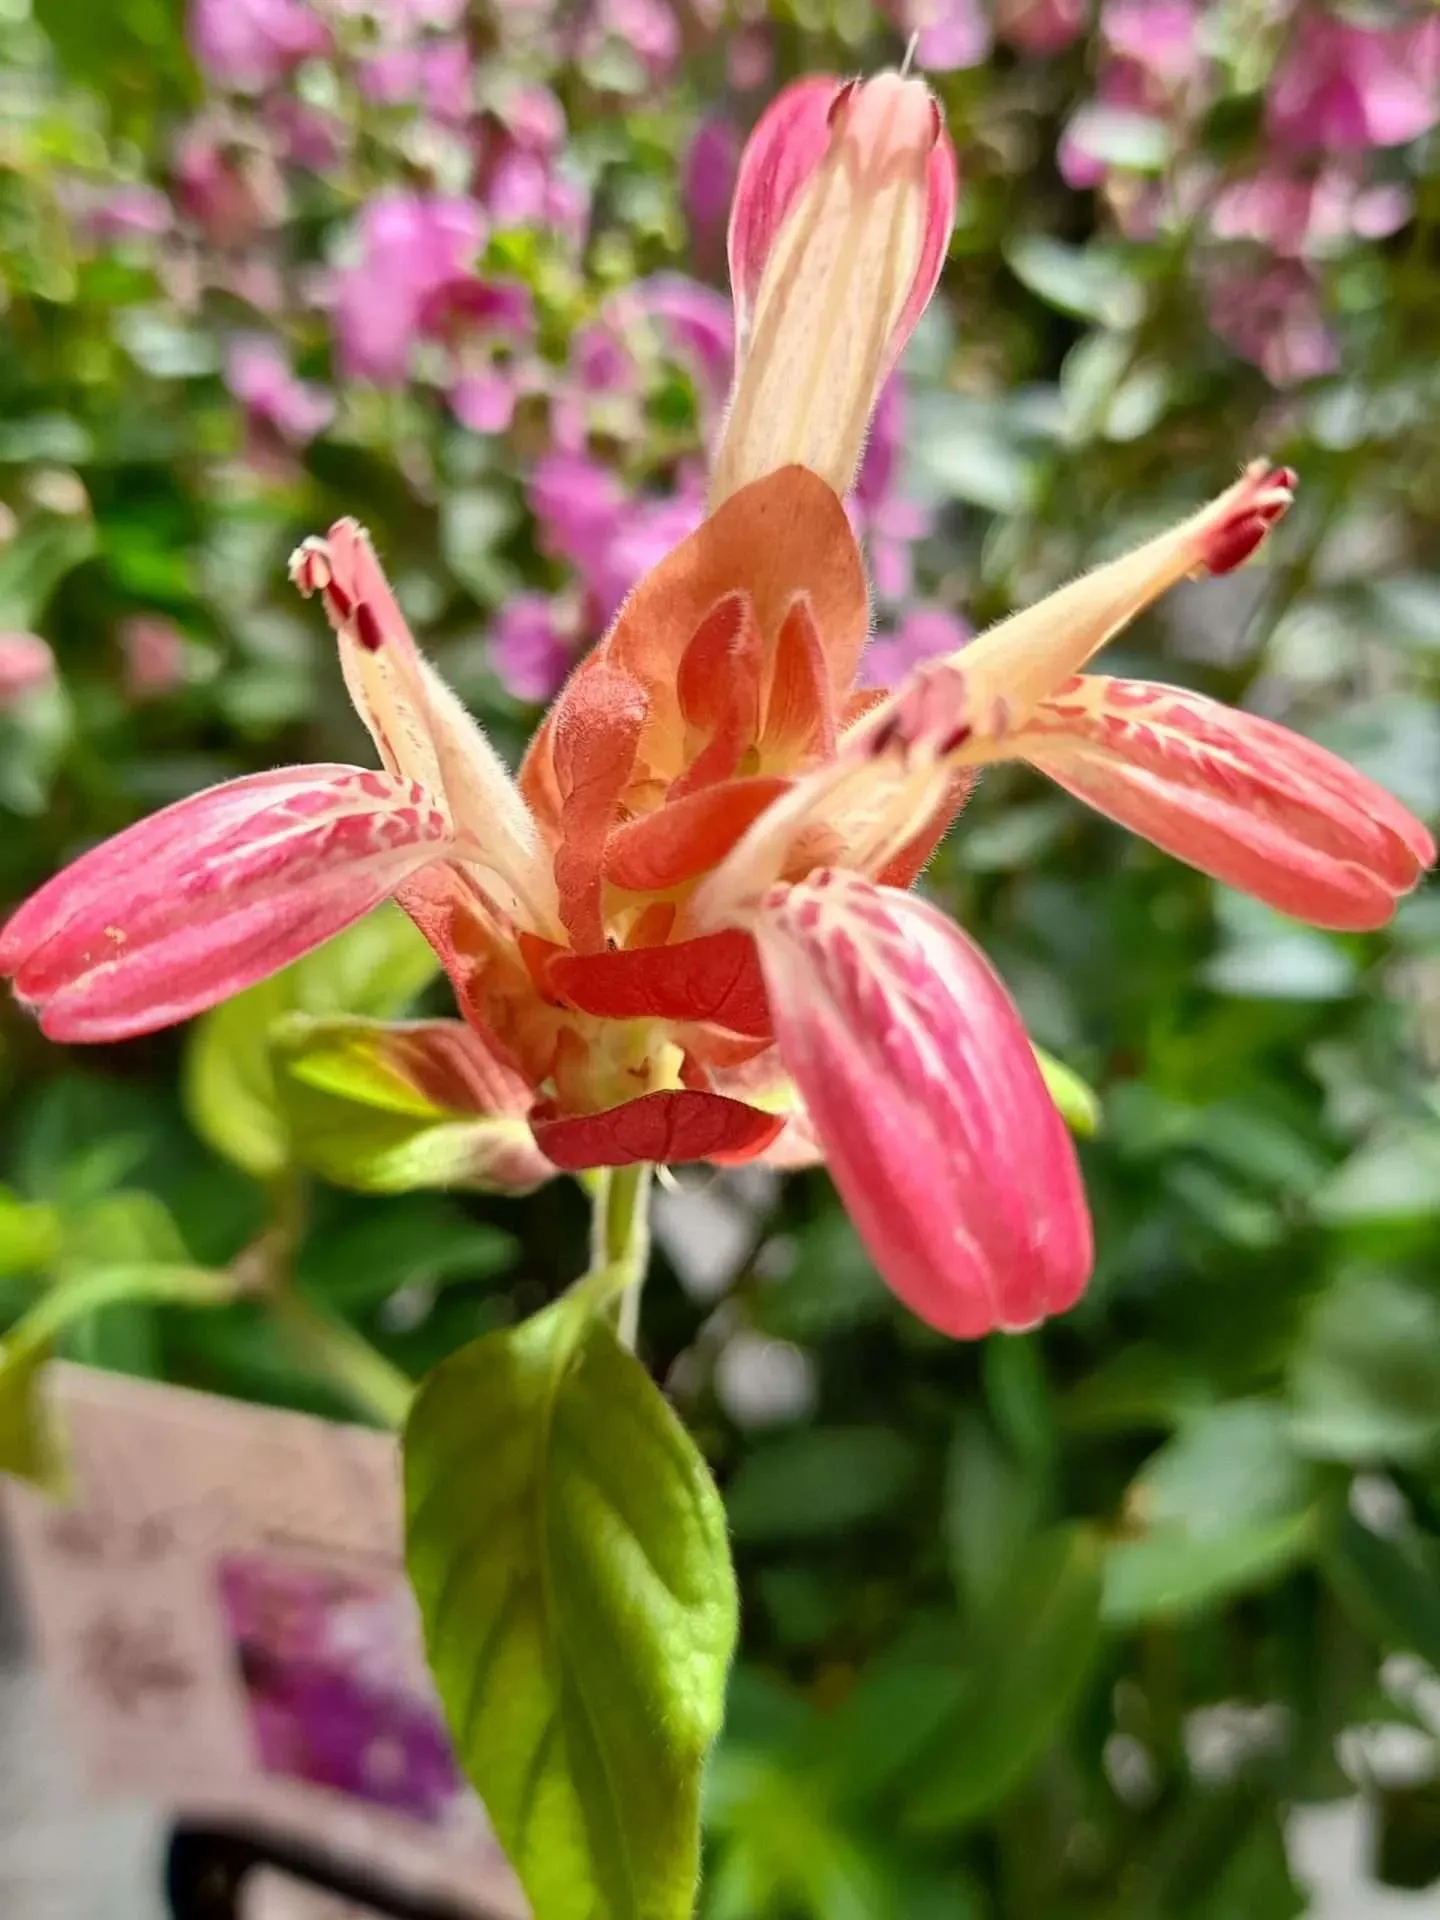
Container Lilies Planting And Care Tips
So, you've got your perfect pot – fantastic! Now, let's get those lilies in the ground. I always start with a good quality potting mix; think of it as a five-star hotel for your lily bulbs. Don't skimp here – cheap soil is like offering your lilies a cardboard box instead of a luxury suite. A well-draining mix is key; you don't want your lilies sitting in a soggy swamp. Remember those drainage holes we talked about? They're your lily's lifesavers!
Planting's easy peasy. Gently place your bulbs in the pot, pointy end up (it's not rocket science, folks!), covering them with soil. Don't bury them too deep – think of it like Goldilocks and the Three Bears: not too shallow, not too deep, just right. A good rule of thumb is to plant them about twice as deep as the bulb is tall. For more on choosing the perfect soil, check out our guide on .
- Use a well-draining potting mix
- Plant bulbs pointy-end up
- Don't bury them too deep
Watering is your next big journey. Think of your lilies as thirsty travelers in a desert – regular watering is essential, especially during hot spells. But don't drown them! Water deeply but less frequently, allowing the soil to dry out slightly between waterings. Overwatering is a common mistake, leading to those dreaded soggy roots. Learn more about proper watering techniques by visiting our page.
Sunlight is crucial for healthy blooms. Most lilies love at least six hours of sunshine a day. However, some varieties prefer a bit more shade, especially during the hottest part of the day. So, before you plant, check out our guide on to find the perfect spot for your chosen lily variety. Think of it like choosing the perfect beach spot – you wouldn't want to bake in the sun all day, right?
Lily Type | Sunlight Preference |
|---|---|
Asiatic Lilies | Full sun to partial shade |
Oriental Lilies | Partial shade |
Fertilizing is another important step. Think of fertilizer as a tasty energy drink for your lilies. A balanced, slow-release fertilizer will help them grow strong and produce abundant blooms. But don't overdo it! Too much fertilizer can burn the roots. Our guide on provides more details.
Finally, remember that pests and diseases can be a problem. Regularly inspect your plants for any signs of trouble – think of yourself as a lily detective! Early detection and treatment are key to keeping your lilies healthy and happy. For tips on dealing with common lily pests and diseases, check out our helpful guide on .
"A garden is a lovesome thing, God wot!" - Anon
Container Lilies: Troubleshooting Common Problems
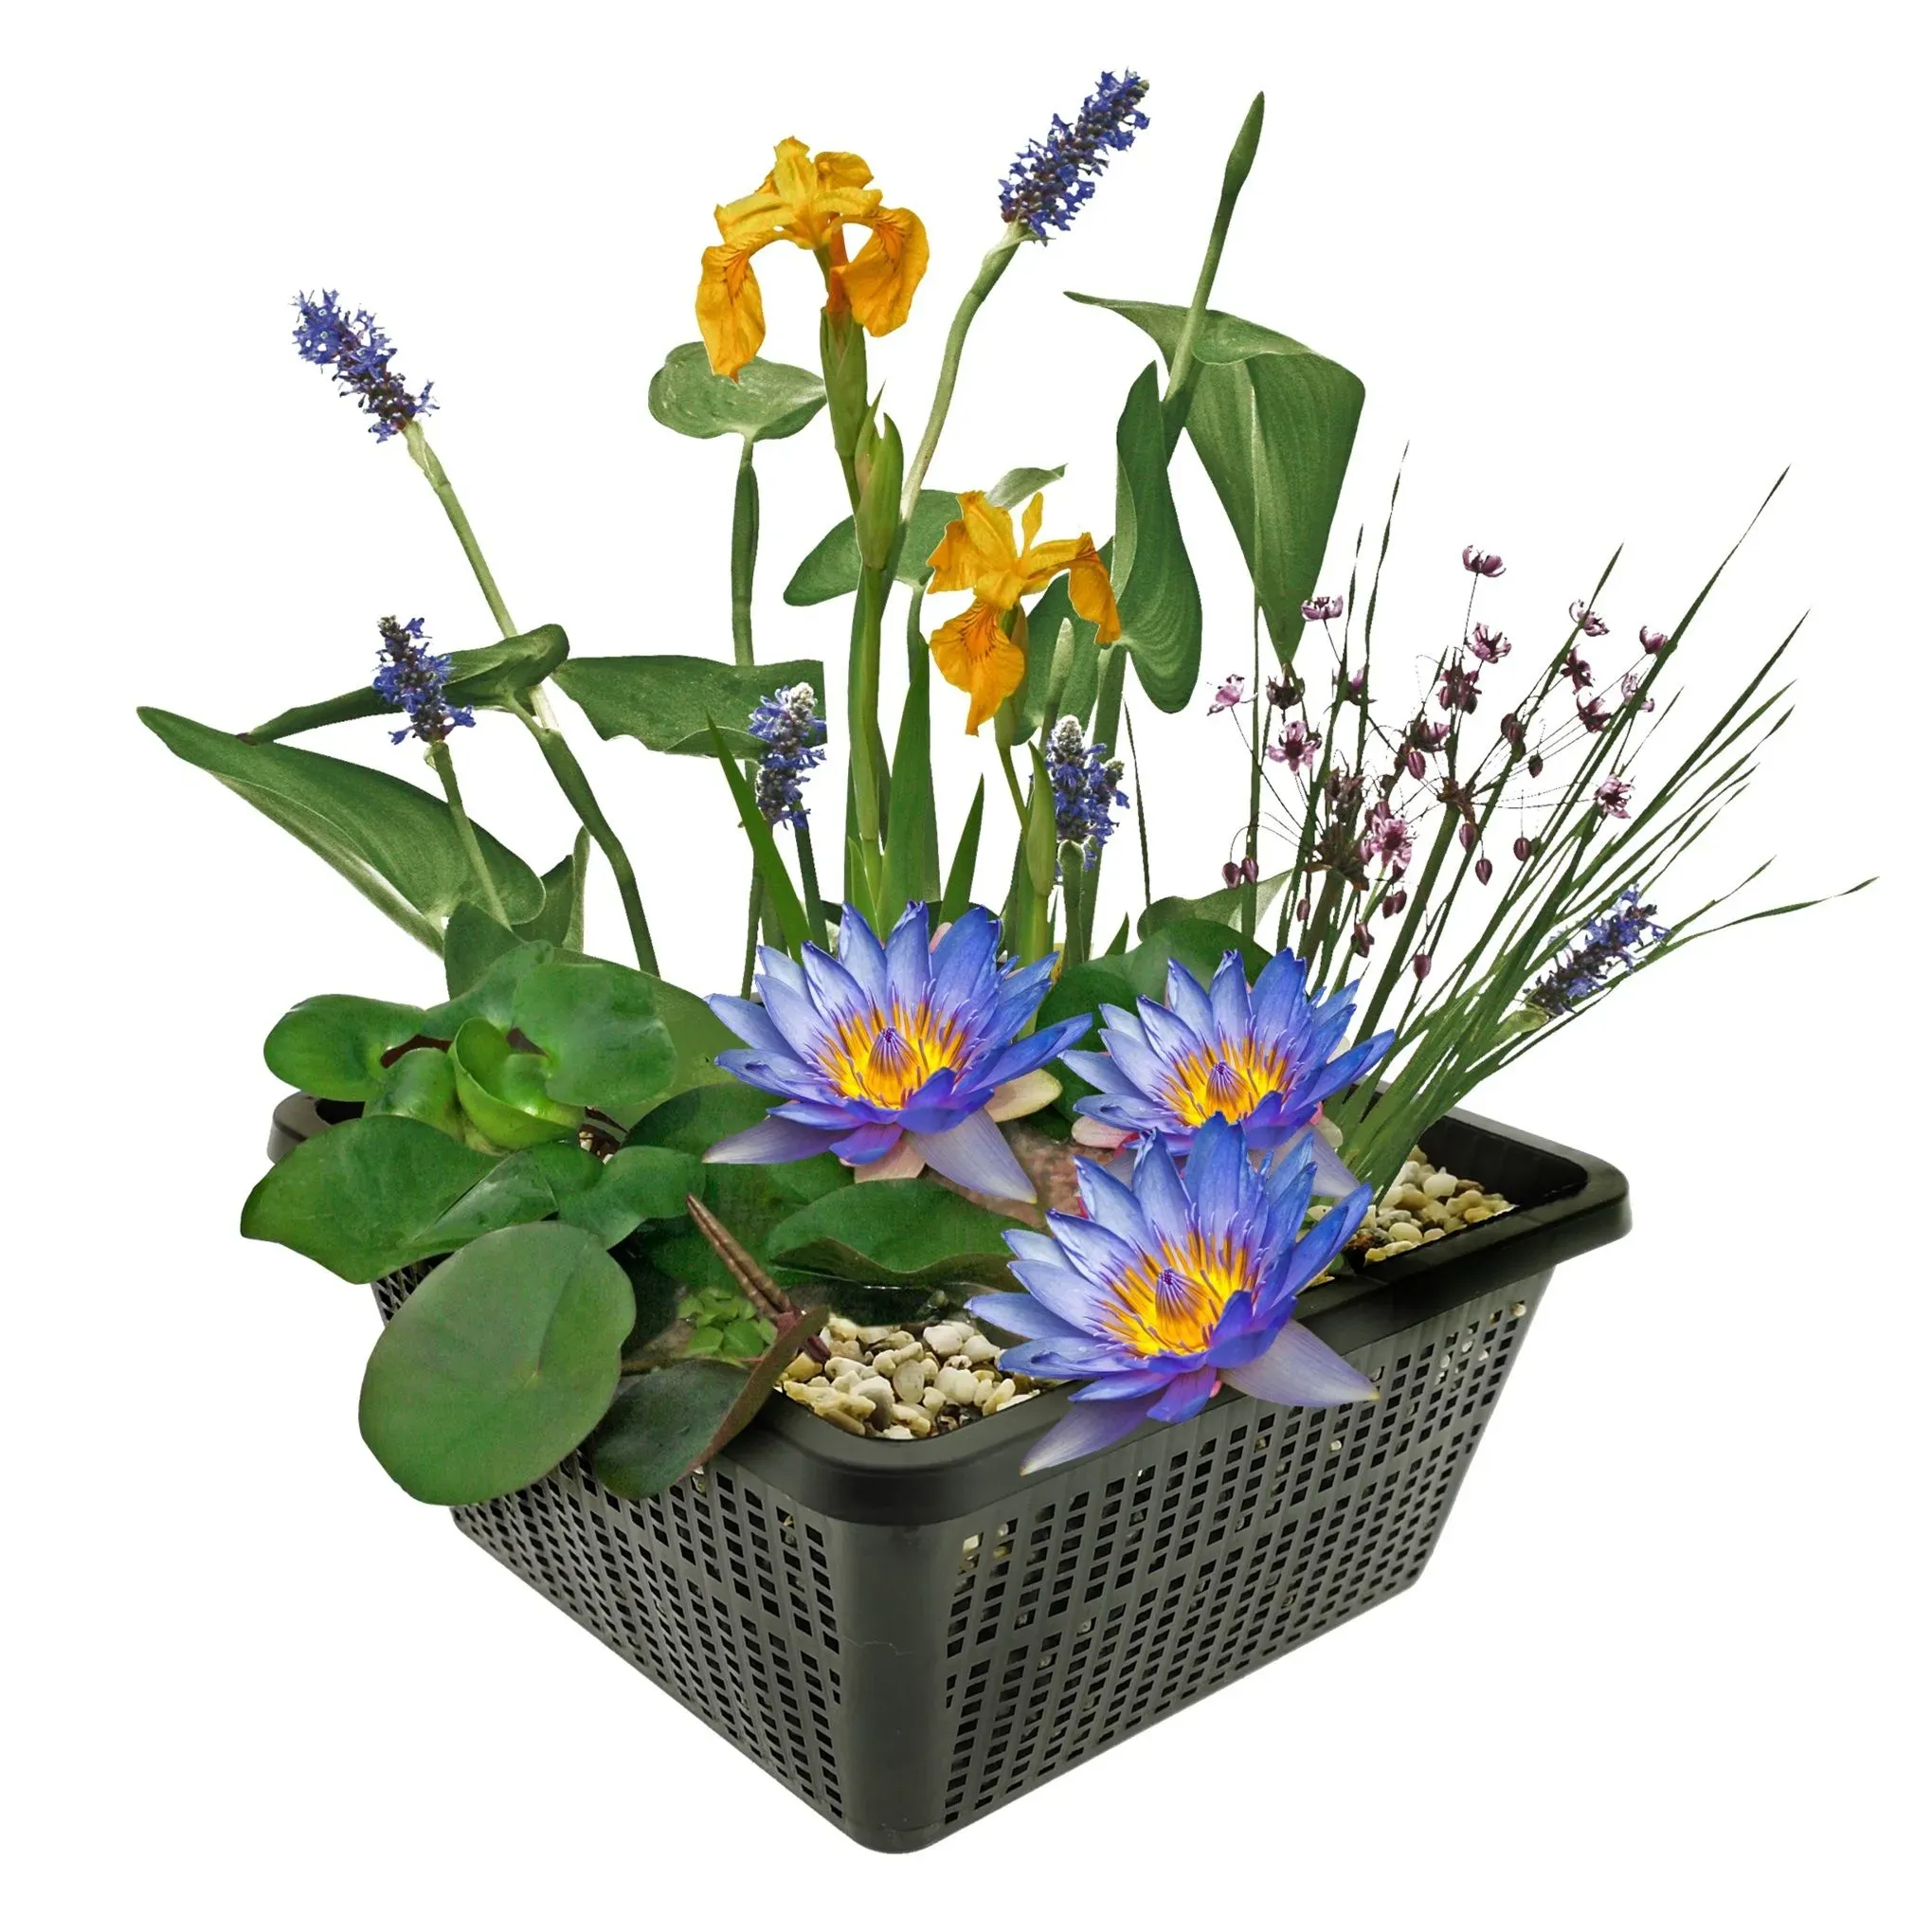
Container Lilies Troubleshooting Common Problems
Common Issues with Container Lilies
When growing container lilies, you may encounter some common issues that can affect their health and beauty. One of the most common problems is overwatering, which can cause the roots to rot and the plant to become susceptible to disease. To avoid this, make sure to check the soil regularly and only water when it feels dry to the touch. You can also use a well-draining potting mix and a pot with good drainage holes to prevent waterlogged soil. For more tips on watering your container lilies, check out our guide on watering lilies.
Another common issue with container lilies is pests. Aphids, whiteflies, and spider mites can all be problematic for lilies, and can cause damage to the leaves and flowers. To get rid of these pests, you can use insecticidal soap or neem oil. You can also introduce beneficial insects, such as ladybugs or lacewings, to your container garden to help control pest population. For more information on pests and how to control them, check out our guide on pests control.
Common Issues with Container Lilies | Solutions |
|---|---|
Overwatering | Use a well-draining potting mix and a pot with good drainage holes. Check the soil regularly and only water when it feels dry to the touch. |
Pests | Use insecticidal soap or neem oil. Introduce beneficial insects, such as ladybugs or lacewings, to your container garden. |
How to Solve Common Problems with Container Lilies
If you're experiencing problems with your container lilies, there are several steps you can take to solve them. First, make sure you're providing your lilies with the right growing conditions. This includes plenty of sunlight, well-draining soil, and regular watering. You should also fertilize your lilies regularly to promote healthy growth and blooming. For more information on fertilizing your container lilies, check out our guide on fertilizer for lilies.
If you're still experiencing problems with your container lilies, it may be helpful to repot them. This can give the roots more room to grow and help to prevent overwatering. You should also prune your lilies regularly to promote healthy growth and prevent the plant from becoming leggy. For more information on pruning your container lilies, check out our guide on pruning tips.
- Provide the right growing conditions, including plenty of sunlight and well-draining soil.
- Fertilize your lilies regularly to promote healthy growth and blooming.
- Repot your lilies to give the roots more room to grow and prevent overwatering.
- Prune your lilies regularly to promote healthy growth and prevent the plant from becoming leggy.
Beautiful Blooms: Styling Your Container Lilies for Maximum Impact
Beautiful Blooms Styling Your Container Lilies For Maximum Impact
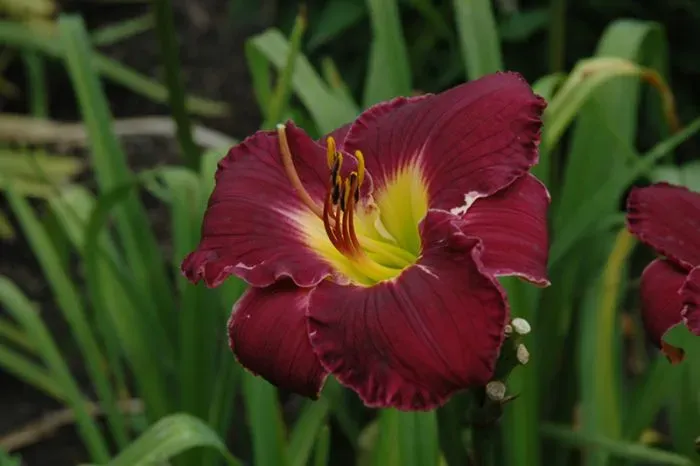
Okay, so you've got your gorgeous container lilies thriving – high five! Now, let's talk about showing them off. Think of your container lilies as the stars of a tiny, fragrant theater production. You wouldn't put a spotlight on a wilting sunflower, would you? The right presentation makes all the difference. I like to start with the container itself. A simple terracotta pot can be stunning, but you can also get really creative. Have you seen those fabulous upcycled containers? Old watering cans, repurposed buckets – the possibilities are endless! It’s all about finding something that complements your lilies and your style. For inspiration, check out some ideas on .
Next, consider the placement. Think about the backdrop. A vibrant wall of ivy? A lush green lawn? A weathered stone fence? All of these create different moods. My personal favorite is to place my container lilies near a sunny window, so I can enjoy their beauty from inside the house. But don't forget about scale! A tiny lily in a huge pot looks a bit lost, right? A big, bold lily in a tiny pot looks… well, a bit cramped. Find the right balance, and your lilies will thank you for it. You can even use different sized pots to create a really impactful display. For more on creating the perfect setting, visit our guide on .
Container Material | Pros | Cons |
|---|---|---|
Terracotta | Classic, porous (good drainage) | Can crack in frost, needs more frequent watering |
Plastic | Lightweight, durable | Can get hot in direct sun |
Metal | Stylish, modern | Can overheat, may need extra insulation |
Don't forget about companion planting! Think of it like choosing the perfect outfit – the right accessories can make all the difference. Certain plants can enhance the beauty of your lilies, and even improve their health. For example, herbs like rosemary and lavender can repel pests, keeping your lilies safe. And don't overlook the strength of color coordination. Think about the colors of your house, your furniture, and your other plants. A cohesive color scheme makes your patio or balcony look so much more polished and stylish. Our guide on has some great ideas.
Finally, don't be afraid to experiment! Try adding other elements to your displays. Ornamental grasses, colorful stones, even small sculptures can add a unique touch. I love adding a few strategically placed fairy lights for a magical evening glow. Remember, it's your space – have fun with it! And if you’re feeling overwhelmed, don't worry. Start small, experiment, and have fun. Gardening is a trip, not a race. For some tips on extending your lilies' bloom time, see our guide on .
- Choose containers that complement your lilies and your style.
- Consider the backdrop and scale when placing your container lilies.
- Experiment with companion planting to enhance beauty and health.
- Add other elements, like grasses, stones, or lights, for a unique touch.
"The glory of gardening: hands in the dirt, head in the sun, heart with nature. To nurture a garden is to feed not just the body, but the soul." - Alfred Austin
Final Thought
Growing container lilies can be a rewarding experience, bringing vibrant color and delightful fragrance to any space. By following these tips and paying attention to your lilies' needs, you can enjoy their beauty for years to come. Remember, at lilyflower.homes, we’re always here to help you on your progression to creating a stunning lily-filled oasis. Happy gardening!