Table of Contents
Ever wondered where those gorgeous calla lilies come from? It's not just magic; it's all about the fascinating process that happens after the flower blooms. Many people grow calla lilies from bulbs, but did you know you can also start new plants from the seeds inside the flower? That's right, hidden within those fading blooms are tiny treasures waiting to sprout. This article will walk you through the journey of the "calla lily seeds inside flower", from how they form to how you can grow your own calla lilies from those very seeds. We'll explore what these seeds look like, how they develop after the flower fades, and what you need to do to successfully grow them into new plants. Get ready to become a calla lily seed expert and learn the secrets of growing these elegant flowers from the very beginning.
Finding Calla Lily Seeds Inside the Flower

Finding Calla Lily Seeds Inside the Flower
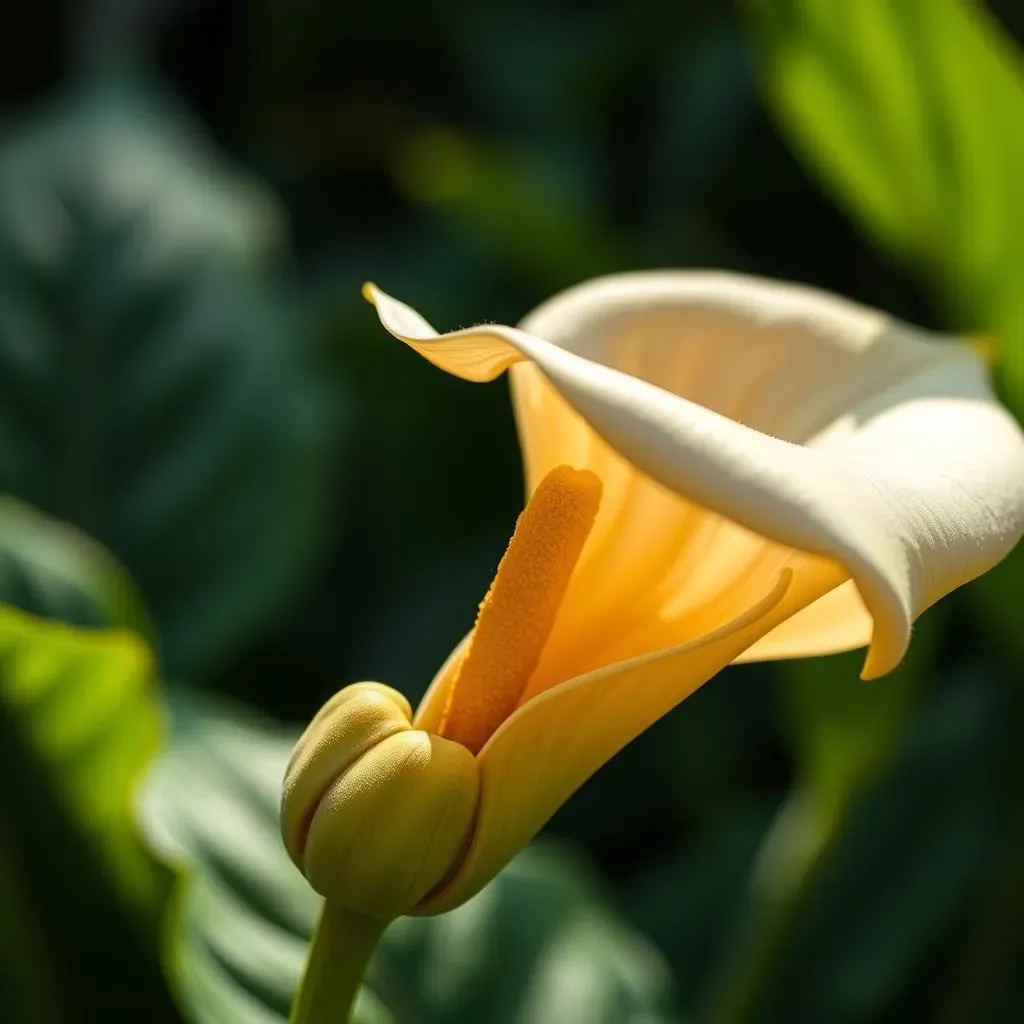
Alright, so you're on the hunt for calla lily seeds, huh? It's like a little treasure hunt, but instead of gold, you're looking for tiny seeds. Now, you won't find them while the flower is in its prime, all bright and showy. You've got to wait a bit, until the flower starts to fade and the petals begin to droop. This is when the magic happens. The base of the flower, that trumpet-like part, will start to swell. It’s not getting fat; it’s actually developing a seed pod. This pod is where you'll find your calla lily seeds. It starts off green, and then it gradually turns tan or even brown as it ripens. Think of it like a tiny, secret package hidden within the flower, waiting for you to discover it.
How Calla Lily Seeds Develop

How Calla Lily Seeds Develop
From Bloom to Pod: The Beginning
Okay, so you've found the seed pod, that little bulge at the base of the faded flower. Now, how did it get there? It's like a tiny science experiment happening right in your garden! After the calla lily flower is pollinated, either by a helpful bee or a little bit of wind, the magic starts. The flower's job is done, and it begins to focus on creating seeds. The base of the flower, where it meets the stem, starts to swell as the ovary inside begins to develop into a seed pod. This pod is where the calla lily seeds will grow. It's like the plant is saying, "Okay, time to make some babies!"
Inside this pod, tiny ovules are fertilized and start to transform into seeds. It’s a slow process, not like a popcorn kernel popping. It takes time for the seeds to develop fully. They start off as tiny, soft things, and slowly they mature and harden. Think of it like making a cake. You don't just throw all the ingredients together and have a cake instantly. It takes time, mixing, baking, and then, voila, a cake. It's similar with calla lily seeds, it is a process that requires some patience.
The Maturation Process: Getting Ready
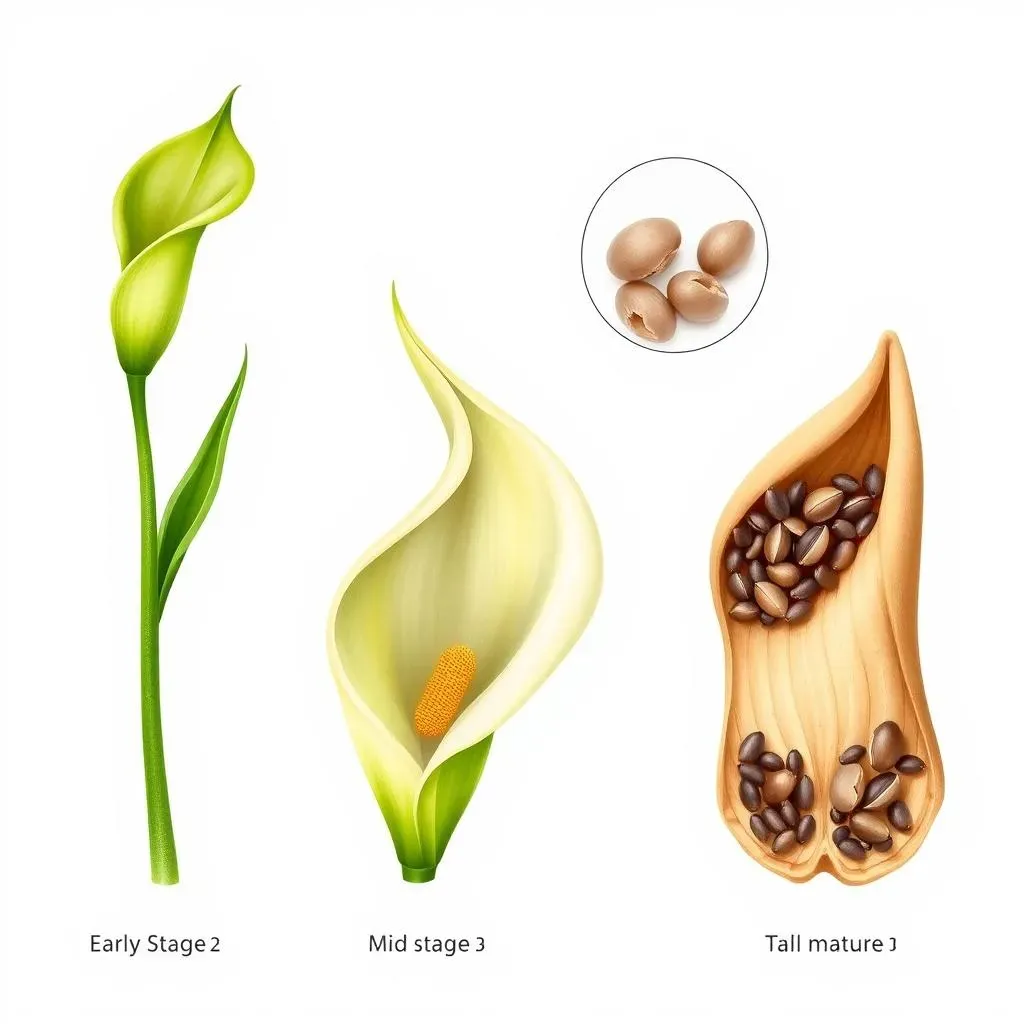
As the seed pod matures, you'll notice it changes color. It starts as a vibrant green, then slowly fades to a tan or light brown. This color shift is a sign that the seeds inside are developing and getting ready for their next phase. The pod itself will also change in texture, becoming drier and more papery. It’s like the plant is giving you a signal that the seeds are almost ready. Sometimes, you can even feel the seeds inside if you gently squeeze the pod – they'll feel like tiny, hard peas. But don't get too eager and open them up too early. You want to make sure the seeds are fully mature, or they might not grow properly.
It's a bit like waiting for fruit to ripen. You wouldn't pick a green apple, would you? It’s the same with calla lily seeds. Patience is key. The plant is doing its thing, and you need to let it finish. Once the seed pod is dry and papery, and the seeds inside feel hard, then you know it's time to harvest them. It’s like the plant is giving you a high-five, saying, “Alright, they're ready to go!”
Stage | Color of Pod | Texture of Pod | Seed Development |
|---|---|---|---|
Early Stage | Green | Firm, smooth | Ovules are developing |
Mid Stage | Light Green/Tan | Slightly less firm | Seeds are forming |
Mature Stage | Tan/Brown | Dry, papery | Seeds are hard and mature |
Growing New Plants from Calla Lily Seeds

Growing New Plants from Calla Lily Seeds
Getting Started: Preparing Your Seeds
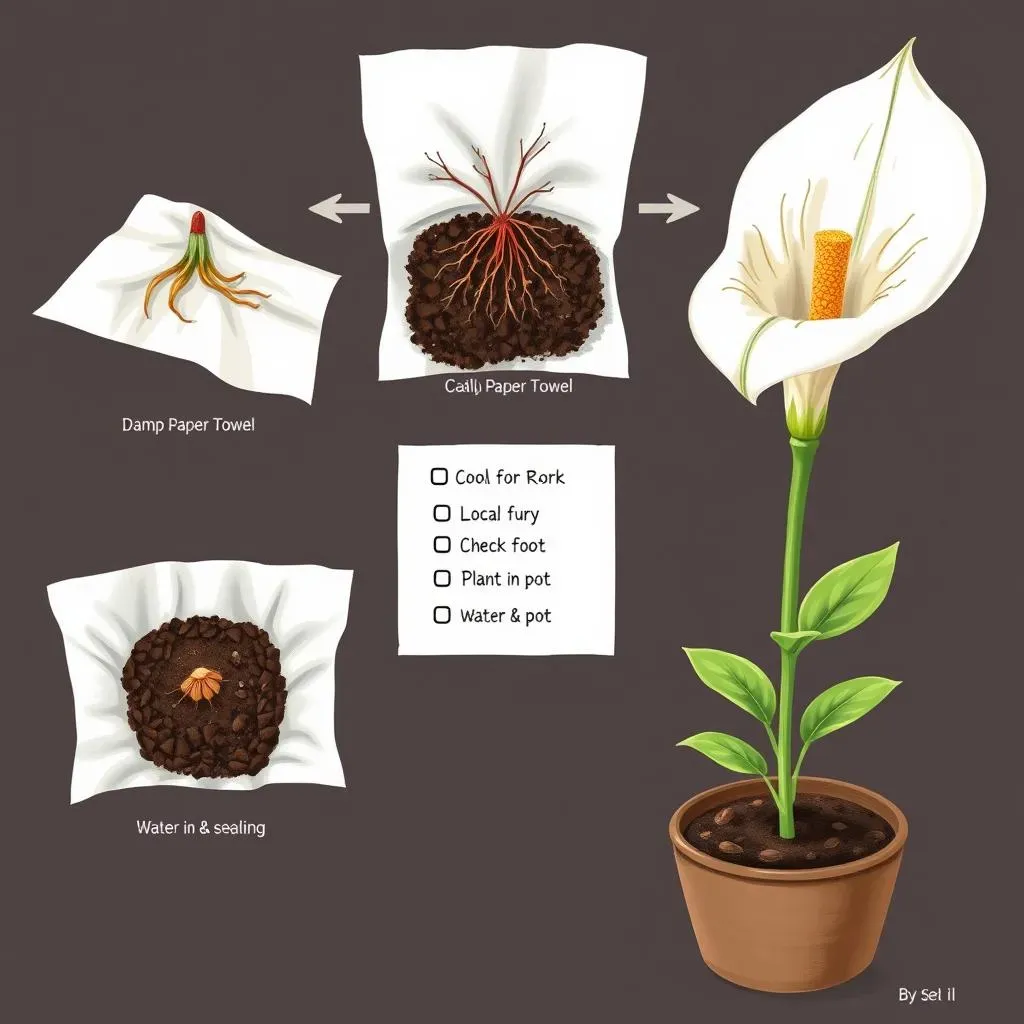
Alright, so you've got your calla lily seeds, now what? It's time to play gardener! First, you'll need to get those seeds ready to sprout. Unlike some seeds, calla lily seeds need a little head start before they're ready to go into soil. Think of it like giving them a little wake-up call. The best way to do this is by using a damp paper towel. Lay the seeds out on the towel, then fold the towel over them, making sure they’re all snug and cozy. You want the paper towel to be damp, not soaking wet – think of it like a wrung-out sponge. It's like tucking them into a little bed, so they can start to wake up and stretch their roots. Place the towel with the seeds in a plastic bag or container to keep the moisture in.
Now, you need to find a good spot for this little seed hotel. A cool, dark place is best, like a basement or even a cupboard that doesn’t get too warm. You don't want to cook them! After a few days, start checking on your seeds. You're looking for little white roots starting to poke out. It’s like seeing a tiny sprout reaching for the light. If they start growing mold, you might have made the paper towel too wet, or the container too sealed. If this happens, just try again with a fresh paper towel and a slightly less sealed container.
Planting Your Sprouted Seeds
Once you see those little roots, it's time to plant your seeds. Now, we are not going to just chuck them in the dirt outside. You'll need a small pot with good drainage, because calla lilies don't like soggy feet. Use a high-quality soilless mix, not just garden soil, as it can be too dense. It's like giving your seeds the best possible start in life, you know, like the best school. Make a little hole in the soil, gently place the sprouted seed in, and cover it lightly with the mix. You don't want to bury it too deep, just enough to keep it snug. It's like tucking a baby into a blanket, not smothering it.
Now comes the waiting game. Keep the soil moist, but not waterlogged. Think of it like giving the soil a drink, not a bath. Place the pot in a warm, bright location, but not in direct sunlight. It's like finding a nice spot by a window, where you can get some sun, but not too much. As the plants grow, you might find that more than one sprout comes up from a single seed. If that happens, wait until they are a little bigger, then carefully thin them out, keeping the strongest sprout. It's like choosing the strongest little seedling to grow big and strong.
Step | Action | Why? |
|---|---|---|
1 | Damp Paper Towel | To encourage root growth before planting. |
2 | Cool, Dark Location | To mimic natural germination conditions. |
3 | Check for Roots | To know when to move to soil. |
4 | Plant in Pot | To give the seedling a growing space. |
5 | Water and Light | To encourage growth after planting |
Transplanting and Continued Care
Okay, so your calla lily seedling is growing, it's like a tiny little plant is starting to become a real thing. At this point, you can start thinking about transplanting it. If it's still in a small pot, and you see the roots starting to come out the bottom, it's time to move it to a bigger pot, or even outside, if you live in the right climate. But before you do, there's one important step: you need to wash the soil off the roots. It might sound strange, but it helps to remove any bacteria that might have built up in the original soil. Think of it like giving the roots a little bath before they move into their new home.
Once you've washed the roots, gently place your little plant in its new location. Make sure the soil is well-draining, and water it regularly. Calla lilies like moist soil, but they don't like to be waterlogged. It's like giving them a drink when they're thirsty, but not overdoing it. And here's the thing about growing calla lilies from seed: it takes time. It can take up to three years for a calla lily grown from seed to bloom. That's a long time, I know. But it's like watching a slow-motion movie, you get to see the plant grow from a tiny seed to a beautiful flower. It teaches you patience, which is pretty cool, right?
Patience is Key: Waiting for Your Calla Lilies to Bloom

Patience is Key: Waiting for Your Calla Lilies to Bloom
The Long Game: Why It Takes Time
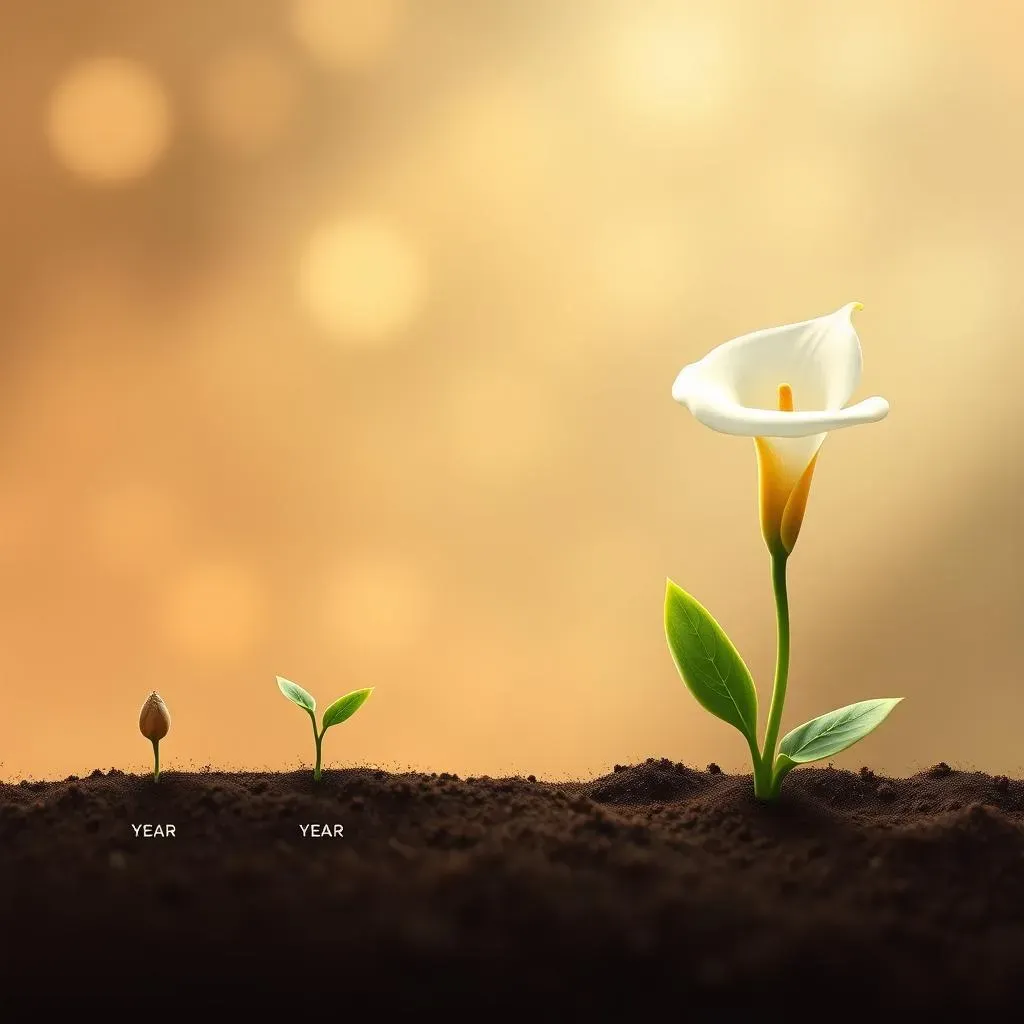
Alright, let's talk about the patience part. You've nurtured your calla lily seedlings, they're growing, and you're probably thinking, "When am I going to see those beautiful flowers?" Well, here's the thing: growing calla lilies from seed isn't a sprint, it's more like a marathon. Unlike plants grown from bulbs, which often bloom in the first year, calla lilies grown from seed can take up to three years to produce flowers. Yeah, I know, that sounds like a long time. But think of it like this: you're not just growing a flower, you're witnessing a whole life cycle, from a tiny seed to a mature, blooming plant. It's pretty amazing when you think about it.
This waiting period is because the plant needs time to develop a strong root system and build up the energy it needs to produce flowers. It's like a child growing up, they need time to become strong and healthy before they can do all the things they want to do. So, don't get discouraged if you don't see blooms right away. Just keep taking care of your plants, and they will eventually reward you with their beautiful flowers. It's all about the journey, not just the destination, you know?
What to Expect During the Waiting Period
So, what's going to happen during those three years? Well, you'll see your calla lily seedlings growing bigger and stronger. They'll develop more leaves, and the roots will get more established. You'll need to continue to provide them with the right amount of water and light. It’s not like you can just plant them and forget about them. You'll need to keep an eye on them, just like you'd watch over a pet or a younger sibling. You'll probably need to transplant them into larger pots as they grow, to give their roots enough room. It's like upgrading from a small bedroom to a bigger one as you grow taller.
This waiting period is also a good time to learn more about calla lilies. You can research different varieties, learn about their specific needs, and maybe even plan where you want to plant them when they're ready. It is like preparing for a big event, you don't just show up, you plan ahead. You can also use this time to practice your patience, which is a good skill to have in life, not just for gardening! Think of it as an exercise in self-control, and the reward will be a beautiful, blooming calla lily.
Year | Plant Development | What to Expect |
|---|---|---|
Year 1 | Seedling Growth | Focus on root and leaf development. |
Year 2 | Increased Size | More leaves, stronger root system. |
Year 3+ | Potential Blooming | Possible flowers, continued growth. |
The Payoff: Enjoying Your Blooms
Finally, after all that waiting, your calla lily will start to bloom. It's like a grand finale after a long show! The flowers will be a testament to your patience and dedication. You will see those elegant, trumpet-shaped flowers in all their glory, and it will be an amazing feeling. It is like finally reaching the top of a mountain after a long hike, the view is just breathtaking. And the best part? You grew it from a seed! That's something to be proud of. You've done something amazing, and you can now enjoy the beauty that you helped create.
Growing calla lilies from seed is definitely not the fastest way to get flowers, but it's a rewarding experience. It teaches you patience, it shows you the full life cycle of a plant, and it gives you a deeper connection to nature. Plus, you get to brag to all your friends that you grew your calla lily from seed! So, don't give up on your little seedlings. Keep taking care of them, and one day, you'll see those beautiful flowers, and it will all be worth it. It's a lesson in patience, a lesson in life, and a beautiful reward.