Table of Contents
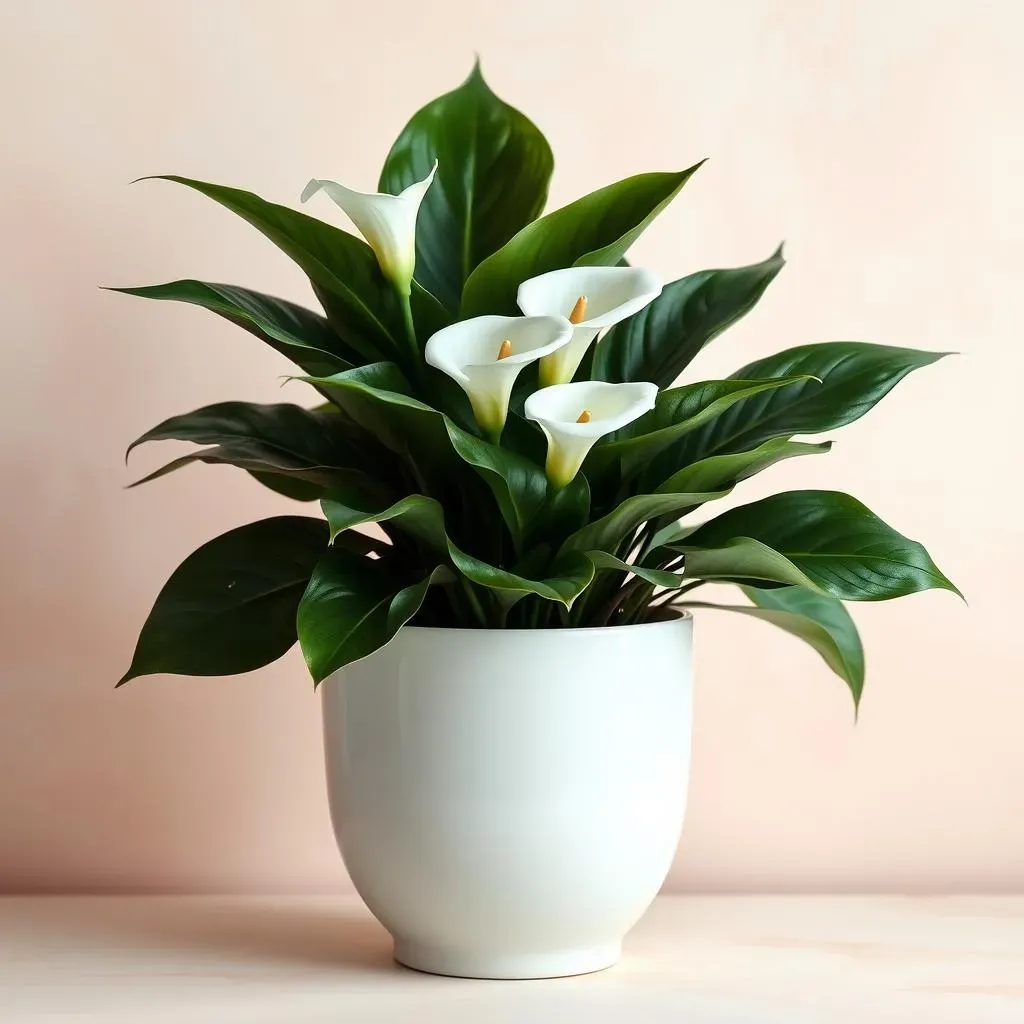
Calla lilies, with their elegant trumpet-shaped blooms, are a stunning addition to any garden or home. But their beauty requires a little know-how to truly flourish. This comprehensive guide dives into the essential aspects of calla lily plant maintenance, ensuring your plants thrive and reward you with abundant, vibrant flowers. We'll explore the specific needs of these captivating plants, from understanding their ideal growing conditions to mastering watering techniques and soil management. This isn't just about keeping your calla lilies alive; it's about nurturing them to their full potential. We'll also cover common problems you might encounter – yellowing leaves, lack of blooms – and provide straightforward solutions. Finally, you'll discover how to propagate and repot your calla lilies, ensuring years of beauty in your garden. Get ready to transform your calla lily care from basic survival to flourishing success! This in-depth exploration of calla lily plant maintenance will equip you with the knowledge and confidence to cultivate these exquisite flowers. Let's embark on this journey together and unlock the secrets to a thriving calla lily collection. Prepare to be amazed by the results!
Understanding Calla Lily Needs for Optimal Calla Lily Plant Maintenance

Understanding Calla Lily Needs for Optimal Calla Lily Plant Maintenance
Light Requirements for Thriving Calla Lilies
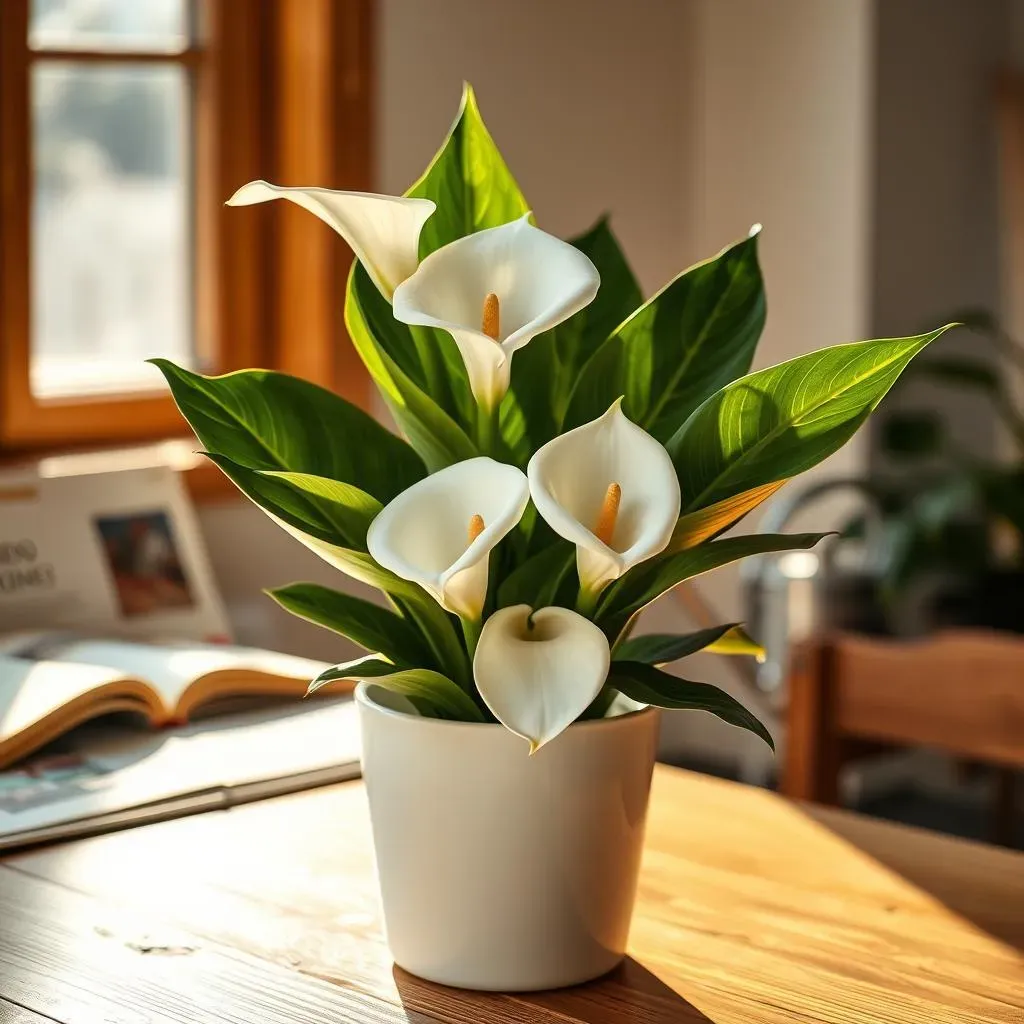
Calla lilies are sun-worshippers, but not *too* much sun. Think of them as Goldilocks – they need just the right amount. Too little sun, and you'll get weak, leggy plants with few blooms. Too much direct sun, especially in hot climates, can scorch their delicate leaves. Aim for a spot that receives at least six hours of sunlight daily, but consider providing some afternoon shade during the hottest part of the day, particularly in regions with intense summer heat. This balance ensures vibrant growth and abundant flowering.
Imagine your calla lilies as actors on a stage. They need bright lighting for their performance (blooming!), but too much intense spotlight (direct sun) will cause them to wilt and fade. A little shade during the hottest moments of the day is like providing them with a much-needed intermission to recharge and give their best show.
Water and Soil Conditions for Calla Lily Success
Consistent moisture is key, but soggy soil is a death sentence for your calla lilies. Think of it like this: they want a drink regularly, but they don't want to be submerged in a bathtub! Well-draining soil is crucial. Amend heavy clay soils with organic matter like compost to improve drainage. Water deeply and regularly during the growing season, allowing the top inch or two of soil to dry out slightly between waterings. Reduce watering frequency in the winter months when the plant is dormant. Overwatering leads to root rot, a common killer of calla lilies.
Soil Type | Watering Frequency |
|---|---|
Well-draining soil (sandy loam) | Water when the top inch of soil feels dry |
Heavy clay soil | Water less frequently, allowing soil to dry out more between waterings |
Potted plants | Check for dryness before watering; avoid letting the pot sit in standing water. |
Nutrient Needs for Abundant Calla Lily Blooms
Just like us, calla lilies need a balanced diet to thrive. Regular fertilization during the growing season (spring and summer) encourages robust growth and abundant blooms. Use a balanced liquid fertilizer diluted to half strength, applying it every two to four weeks. Avoid over-fertilizing, as this can damage the roots. A healthy plant is a happy plant, and happy plants produce gorgeous flowers! Remember to reduce or stop fertilizing during the winter dormancy period.
"A well-fed calla lily is a beautiful calla lily." - (Anonymous Calla Lily Enthusiast)
- Use a balanced liquid fertilizer.
- Dilute to half strength.
- Apply every 2-4 weeks during the growing season.
- Reduce or stop feeding in winter.
Calla Lily Plant Maintenance: Watering, Feeding, and Soil Management

Calla Lily Plant Maintenance: Watering, Feeding, and Soil Management
The Art of Watering Calla Lilies
Watering your calla lilies is a delicate dance. Too much water, and you'll drown their roots; too little, and they'll wilt and suffer. The key is consistency and well-draining soil. Always allow the top inch or two of soil to dry out between waterings. Feel the soil – if it's dry to the touch, it's time to water. Water deeply until water drains out of the drainage holes of the pot (if potted) or until the soil is thoroughly moistened. During the growing season (spring and summer), you'll water more frequently than during the dormant period (fall and winter). Think of it as giving your calla lilies a refreshing drink, not a bath.
Remember, overwatering is a far more common problem than underwatering. Soggy soil leads to root rot, a fatal condition for calla lilies. If you notice your calla lilies drooping even after watering, check the drainage; improving drainage is often the solution.
Season | Watering Frequency |
|---|---|
Spring/Summer | Every 2-3 days, or when the top inch of soil is dry |
Fall/Winter | Less frequently, allowing the soil to dry out more between waterings |
Feeding Your Calla Lilies for Abundant Blooms
Just as proper watering is crucial, so is providing your calla lilies with the right nutrients. During the growing season (spring and summer), feed your calla lilies every 2-4 weeks with a balanced, water-soluble fertilizer diluted to half strength. This mimics the natural nutrient cycle they would receive in their native environment. Avoid using fertilizers with high nitrogen content, as this can promote lush foliage at the expense of blooms. A balanced fertilizer, with equal amounts of nitrogen, phosphorus, and potassium, will provide the optimal nutrient mix for healthy growth and abundant flowering.
In the fall and winter, when your calla lilies go dormant, reduce or cease fertilization entirely. This allows the plants to rest and conserve energy for the next growing season. Think of it as giving them a well-deserved break after their blooming performance. Over-fertilizing can burn roots, causing damage that can negatively impact the plant's health and flowering.
- Use a balanced liquid fertilizer (10-10-10 is a good starting point).
- Dilute to half strength.
- Feed every 2-4 weeks during the growing season (spring/summer).
- Reduce or stop feeding during dormancy (fall/winter).
Troubleshooting Common Calla Lily Problems and Their Solutions

Troubleshooting Common Calla Lily Problems and Their Solutions
Yellowing Leaves: A Sign of Distress
Yellowing leaves are a common cry for help from your calla lilies. This often indicates either overwatering or underwatering – the Goldilocks principle strikes again! Check the soil moisture. If it's soggy, reduce watering frequency and improve drainage. If it's dry, increase watering, ensuring deep and thorough soaking. Yellowing can also point to nutrient deficiencies. Try feeding your calla lilies with a balanced fertilizer to address this possibility. Sometimes, yellowing is simply a sign of old age; older leaves naturally yellow and die back.
Think of your calla lily leaves as a communication system. Yellowing is their way of telling you something's amiss. Pay close attention to the soil moisture and nutrient levels to decipher their message!
Symptom | Possible Cause | Solution |
|---|---|---|
Yellowing leaves | Overwatering, underwatering, nutrient deficiency | Adjust watering, improve drainage, fertilize |
Wilting leaves | Underwatering, root rot, extreme temperatures | Water thoroughly, check for root rot, provide shade |
Lack of blooms | Insufficient light, incorrect fertilizer, dormancy | Provide more light, use balanced fertilizer, wait for growing season |
Dealing with Pests and Diseases
Calla lilies, like all plants, are susceptible to pests and diseases. Common culprits include aphids, spider mites, and fungal diseases. Regularly inspect your plants for signs of infestation or disease. Early detection is key to effective treatment. For pests, consider using insecticidal soap or neem oil. For fungal diseases, ensure good air circulation and avoid overwatering. In severe cases, consult a gardening expert for advice on appropriate treatment options. Prevention is always better than cure! Maintaining good sanitation in your garden or indoor space will help minimize the risk of pests and diseases.
"A healthy plant is a happy plant, and a happy plant fights off disease and pests more effectively." - (Your Friendly Neighborhood Gardener)
- Regularly inspect your plants for signs of pests and diseases.
- Use insecticidal soap or neem oil for pests.
- Improve air circulation and avoid overwatering to prevent fungal diseases.
- Consult a gardening expert for severe infestations or diseases.
Calla Lily Plant Maintenance: Propagation and Repotting Techniques

Calla Lily Plant Maintenance: Propagation and Repotting Techniques
Dividing Calla Lily Rhizomes: Expanding Your Collection
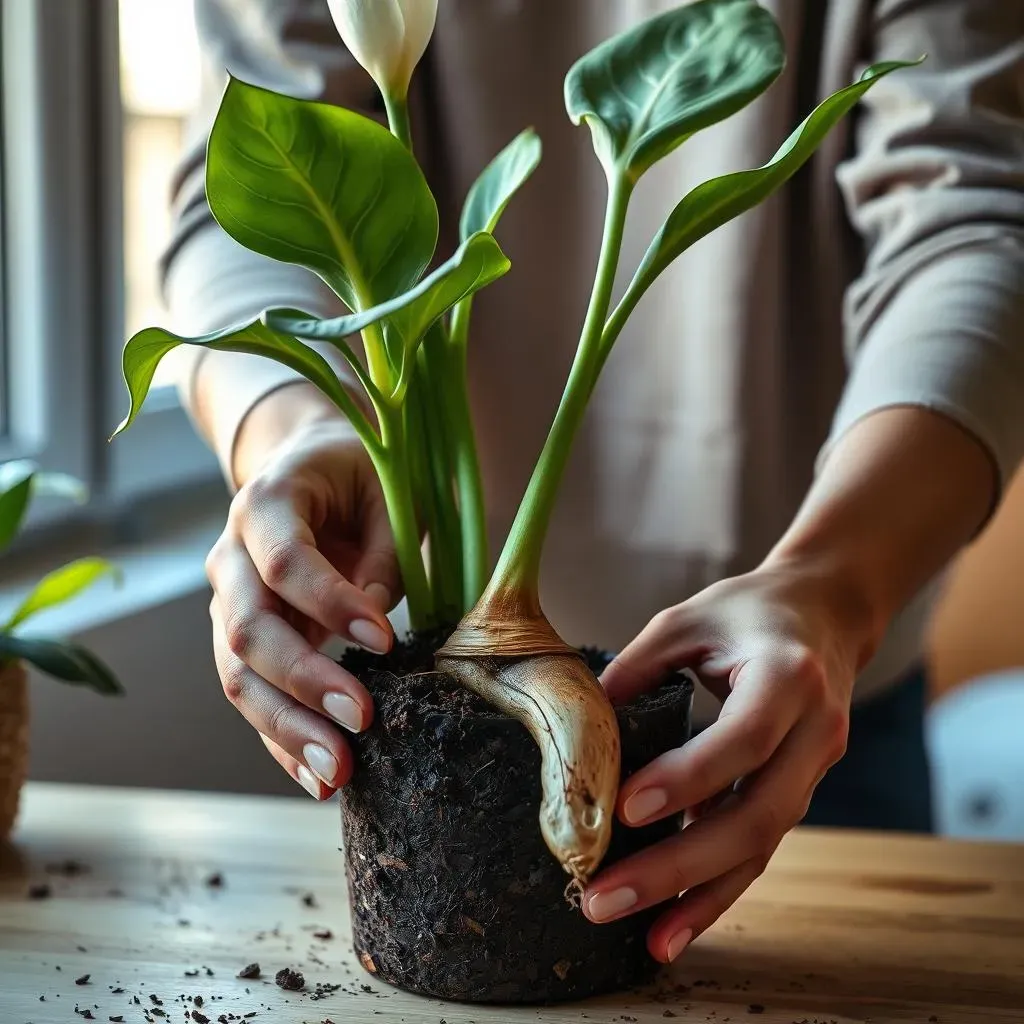
Propagation of calla lilies is easiest through rhizome division. This is like taking cuttings from a plant, but instead of stems, you're dividing the underground stems (rhizomes) into smaller pieces, each capable of growing into a new plant. It's best done in late summer or early fall, after the flowering season has ended and before the plant goes dormant. Gently dig up the rhizome, carefully separating it into sections, ensuring each section has at least one growing point (a bud or "eye"). Replant these sections, spacing them appropriately, and water thoroughly. You'll soon have a whole new generation of calla lilies!
Think of it like baking cookies – you start with one big batch of dough (the rhizome), and you divide it into smaller portions (sections with growing points), each of which bakes into a delicious cookie (a new plant). It's a simple yet rewarding process that allows you to expand your calla lily collection.
Step | Action |
|---|---|
1 | Dig up the rhizome in late summer or early fall. |
2 | Carefully separate the rhizome into sections, each with at least one growing point. |
3 | Replant the sections, spacing them appropriately. |
4 | Water thoroughly. |
Repotting Calla Lilies: Providing Ample Space
Repotting your calla lilies is essential to provide them with enough space to grow and flourish. Pot-bound calla lilies will struggle to thrive and produce fewer blooms. The best time to repot is in the spring, just before the new growth begins. Choose a pot that's slightly larger than the previous one, and use a well-draining potting mix. Gently remove the calla lily from its current pot, loosen any tangled roots, and place it in the new pot. Fill in with fresh potting mix, ensuring the rhizome is just below the soil surface. Water thoroughly and place the repotted calla lily in a suitable location.
"A happy calla lily needs a happy home; repotting provides just that." - (Wise Words from a Calla Lily Connoisseur)
- Choose a well-draining potting mix.
- Select a pot slightly larger than the previous one.
- Gently remove the plant and loosen tangled roots.
- Place the rhizome just below the soil surface.
- Water thoroughly after repotting.