Table of Contents
Have you ever been captivated by the elegant, arrow-shaped leaves of a calla lily? These striking plants, prized for their dramatic blooms, boast equally fascinating foliage. This article is your comprehensive guide to understanding and caring for calla lily plant leaves. We'll explore the unique structure and function of these leaves, uncovering their vital role in the plant's overall health. Prepare to become a calla lily leaf expert as we delve into common problems like yellowing, browning, and wilting, providing practical solutions and preventative measures. From identifying the cause of leaf issues to learning the best practices for maintaining vibrant, healthy foliage, this guide will equip you with the knowledge to cultivate stunning calla lilies. Get ready to unlock the secrets to lush, thriving calla lily plant leaves and enjoy the beauty of these remarkable plants to their fullest potential. Let's begin our exploration!
Understanding Calla Lily Plant Leaves: Structure and Function

Understanding Calla Lily Plant Leaves: Structure and Function
Leaf Morphology: The Arrowhead Shape and Beyond
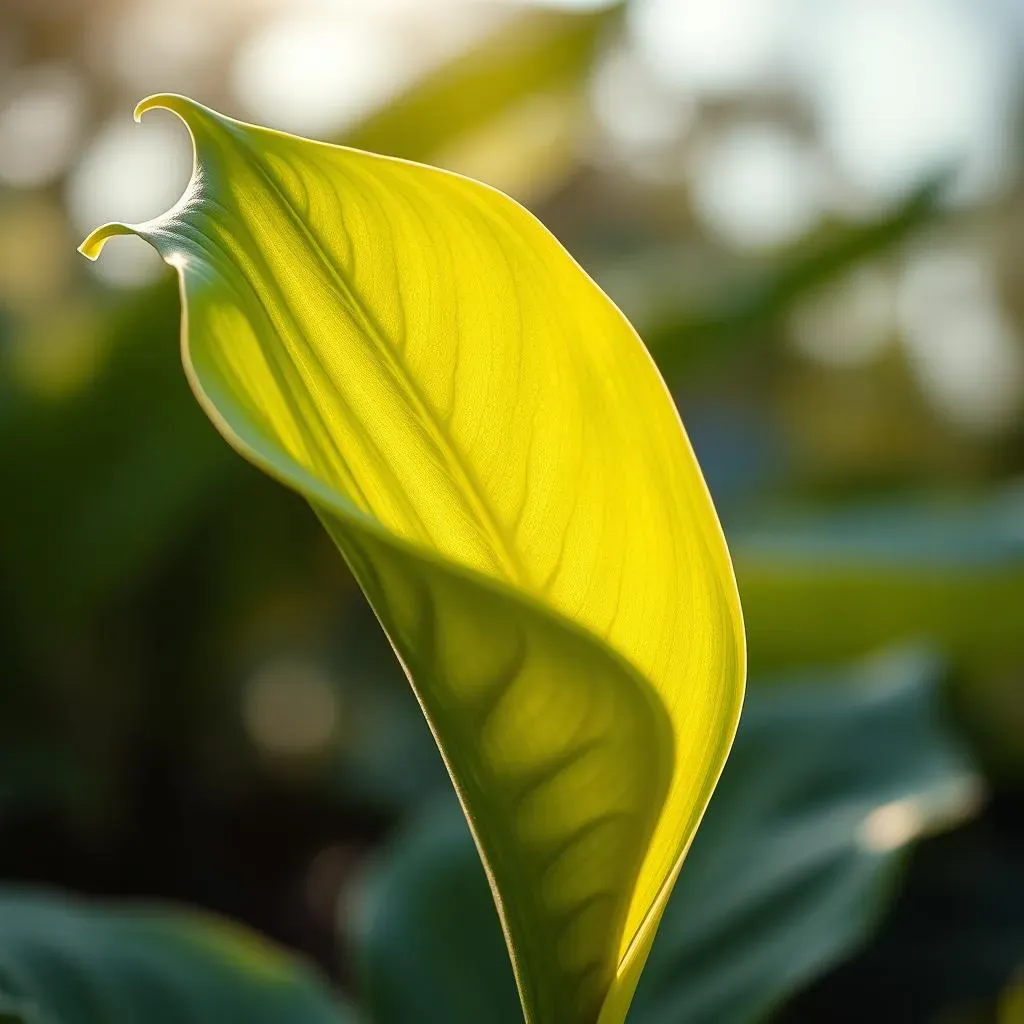
Calla lily leaves are instantly recognizable for their distinctive arrowhead or lanceolate shape. This unique form isn't just aesthetically pleasing; it's a functional adaptation. The pointed tip helps shed excess water, preventing fungal diseases that thrive in damp conditions. The broad, flat surface maximizes sunlight absorption for photosynthesis, the process by which the plant creates its food. Think of it like a solar panel—the larger the surface area, the more energy the plant can harvest!
The leaves also possess prominent veins, which act like a plant's circulatory system. These veins transport water and nutrients from the roots to the rest of the leaf, and sugars produced during photosynthesis back to the roots and other plant parts. The arrangement of these veins, called venation, is another key characteristic of calla lily leaves. It's a network of support, ensuring the leaf remains strong and functional.
Feature | Function |
|---|---|
Arrowhead Shape | Water Shedding, Sunlight Absorption |
Broad Surface Area | Maximized Photosynthesis |
Prominent Veins | Nutrient and Water Transport |
Leaf Physiology: Photosynthesis and Beyond
The primary function of calla lily leaves, like all plant leaves, is photosynthesis. This vital process converts light energy into chemical energy in the form of sugars, providing the plant with the fuel it needs to grow and thrive. The chlorophyll within the leaf's cells captures sunlight, driving the chemical reactions that produce these sugars. This is why sufficient sunlight is crucial for healthy, vibrant calla lily leaves.
But calla lily leaves do more than just photosynthesize. They also play a role in transpiration, the process of water loss through tiny pores on the leaf surface called stomata. This process helps regulate the plant's temperature and internal water balance. Think of it like sweating—it's a natural cooling mechanism. Furthermore, the leaves can sometimes store water and nutrients, providing a reserve for times of stress, such as drought.
- Photosynthesis: Energy production
- Transpiration: Temperature regulation and water balance
- Nutrient storage: Reserve for times of stress
Common Calla Lily Plant Leaf Problems: Diagnosis and Solutions

Common Calla Lily Plant Leaf Problems: Diagnosis and Solutions
Yellowing Leaves: A Sign of Distress
Yellowing calla lily leaves are a common sight, often signaling underlying problems. This isn't always a death sentence, but it's definitely a warning sign. Overwatering is a frequent culprit, leading to root rot which prevents the plant from absorbing nutrients properly, causing the leaves to yellow. Conversely, underwatering can also result in yellowing, as the plant struggles to get enough moisture. Nutrient deficiencies, especially iron, can also manifest as yellowing leaves. Think of it like your body needing vitamins—plants need nutrients too!
Inspect the soil moisture carefully. Is it soggy or bone dry? Check for root rot by gently lifting the plant from its pot; rotten roots will be mushy and brown. If nutrient deficiency is suspected, consider a balanced liquid fertilizer specifically formulated for calla lilies. Always follow the instructions on the fertilizer packaging.
Symptom | Possible Cause | Solution |
|---|---|---|
Yellowing Leaves | Overwatering, underwatering, nutrient deficiency | Adjust watering, check for root rot, fertilize |
Browning Leaf Tips and Edges: Environmental Factors
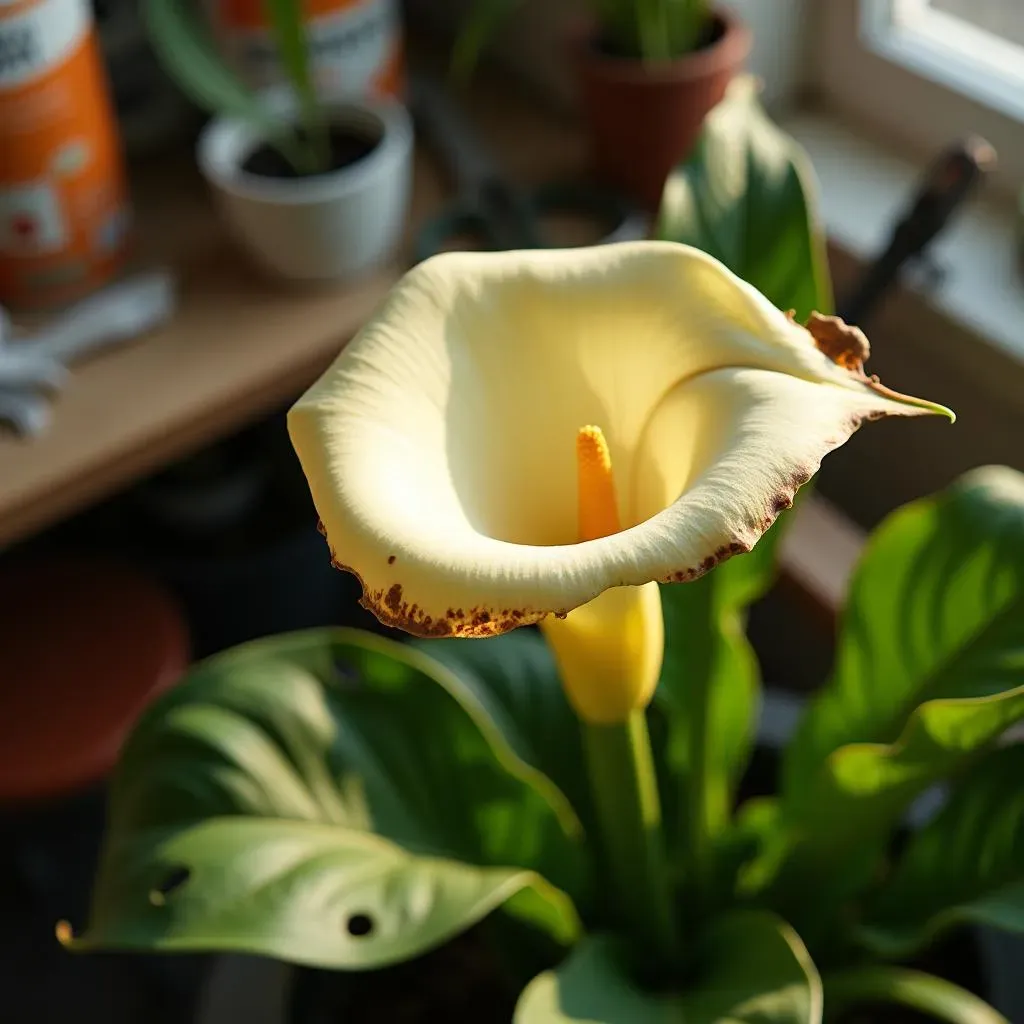
Browning leaf tips and edges often indicate environmental stress. Calla lilies prefer consistently moist soil but not soggy conditions. Fluctuations in soil moisture, especially periods of dryness followed by overwatering, can cause leaf browning. Exposure to harsh sunlight can also scorch the leaf edges, leading to browning. Think of it like a sunburn for your plant—too much direct sun can be damaging.
Ensure consistent soil moisture by regularly checking the soil with your finger. If the top inch feels dry, water thoroughly. Avoid placing your calla lilies in direct sunlight, particularly during the hottest parts of the day. Consider providing some shade during peak sun hours, especially in hot climates. A well-draining potting mix can also prevent overwatering issues.
- Consistent moisture
- Protection from harsh sunlight
- Well-draining potting mix
Leaf Spots and Holes: Pests and Diseases
Leaf spots and holes suggest a pest or disease problem. Fungal infections can cause various spot patterns, while pests like aphids or spider mites can leave behind holes and stippling. Regularly inspect your calla lilies for signs of pests and diseases. Look closely at both the upper and lower leaf surfaces. Early detection is crucial for effective treatment and preventing widespread damage. A healthy plant is more resilient to disease and pests.
Treatment depends on the specific problem. Fungal infections often respond well to fungicides. Pests can be controlled with insecticidal soaps or neem oil. In severe cases, removing affected leaves may be necessary to prevent the spread of the problem. Remember, prevention is key! Maintain good air circulation around your plants, avoid overwatering, and choose disease-resistant varieties whenever possible.
"A stitch in time saves nine"—early detection and prompt action are crucial when dealing with plant problems.
Maintaining Healthy Calla Lily Plant Leaves: Care and Prevention

Maintaining Healthy Calla Lily Plant Leaves: Care and Prevention
Watering and Fertilizing for Lush Foliage
Maintaining healthy calla lily leaves starts with proper watering and fertilization. Remember, these plants prefer consistently moist but not soggy soil. Water thoroughly when the top inch of soil feels dry, allowing excess water to drain freely. Avoid letting the soil completely dry out, as this can stress the plant and lead to leaf browning. Overwatering, however, is equally detrimental, leading to root rot and yellowing leaves. Finding that sweet spot is key!
During the active growing season (spring and summer), fertilize your calla lilies every two to four weeks with a balanced liquid fertilizer diluted to half strength. This provides the essential nutrients needed for robust leaf growth and vibrant blooms. Reduce or stop fertilizing during the dormant period (fall and winter) as the plant's growth slows significantly. Think of it as giving your plant a winter break from the gym; it needs a period of rest to recharge.
Season | Watering | Fertilizing |
|---|---|---|
Spring/Summer | Keep soil consistently moist | Every 2-4 weeks with diluted liquid fertilizer |
Fall/Winter | Water less frequently, allowing soil to dry slightly between waterings | Reduce or cease fertilization |
Light and Air Circulation for Optimal Growth
Light and air circulation are crucial for preventing many leaf problems. Calla lilies thrive in bright, indirect light. While they tolerate some shade, insufficient light can lead to weak, leggy growth and pale leaves. Avoid placing them in direct sunlight, which can scorch the leaves. Think of it as finding the Goldilocks zone for light—not too much, not too little, just right!
Good air circulation helps prevent fungal diseases, which often manifest as leaf spots or blight. Ensure adequate spacing between plants to allow for air movement. Avoid overcrowding, as this can create humid conditions that favor fungal growth. Consider using a fan to gently circulate air around your plants, especially in humid environments. A little breeze can make a big difference in plant health.
- Bright, indirect light
- Adequate spacing between plants
- Good air circulation