Table of Contents
Have you ever admired the elegant simplicity of a calla lily? Their sleek lines and striking color contrast make them a favorite for bouquets and decorations. But what if you could create these beauties yourself, using just paper and a little creativity? This article is your guide to crafting stunning calla lily paper flowers. We'll walk you through each step, from gathering the necessary materials and downloading the templates to carefully assembling your paper flower and adding those finishing touches that elevate it from simple craft to exquisite artwork. Prepare to be amazed at how easy it is to create beautiful, realistic-looking calla lily paper flowers. Whether you're a seasoned crafter or a complete beginner, this guide will empower you to bring the elegance of the calla lily into your home, creating unique gifts or breathtaking decorations. Get ready to transform ordinary paper into extraordinary floral masterpieces! We’ll cover everything from choosing the right paper and using templates to assembling the petals and adding those finishing flourishes that will make your calla lily paper flowers truly shine. So grab your crafting supplies, and let's embark on this fun and rewarding project together. Let's dive into the world of calla lily paper flower crafting!
Creating Your Calla Lily Paper Flower: Materials & Templates

Creating Your Calla Lily Paper Flower: Materials & Templates
Choosing Your Paper: The Foundation of Your Flower
The type of paper you choose dramatically affects the final look of your calla lily paper flower. Think of it like choosing the right paint for a masterpiece – the wrong one, and the whole thing falls flat. Heavier cardstock gives a more sturdy, almost sculptural feel. It’s perfect for a bold statement piece. Crepe paper, on the other hand, offers a softer, more delicate look, ideal for a romantic or whimsical design. Experiment! Different weights and textures of paper will yield surprisingly different results. You might even find that a blend of materials – perhaps cardstock for the base and crepe paper for the accents – creates the most stunning effect.
Consider the color, too! Classic white is always elegant, but don't be afraid to get creative. Pastel shades create a soft, ethereal vibe; brighter colors offer a more modern and playful feel. Think about the overall aesthetic you want to achieve and choose paper colors that complement your vision. Remember, even subtle color variations can significantly impact the final product.
Paper Type | Pros | Cons |
|---|---|---|
Cardstock | Durable, crisp lines | Can be less flexible |
Crepe Paper | Soft, delicate texture | Can be more challenging to work with |
Construction Paper | Affordable, readily available | Less durable, may wrinkle easily |
Gathering Your Tools & Downloading Templates: Getting Ready to Craft
Before you start snipping and gluing, gather your essential tools. This isn't brain surgery, but having everything ready will make the process smoother. You'll need sharp scissors (trust me, dull scissors are the enemy of precision), a glue stick (liquid glue can work, but a glue stick is generally easier for this kind of project), and a ruler or cutting mat for accurate measurements. If you’re feeling fancy, consider adding floral wire and tape for a more realistic stem. You can find all these at your local craft store, or even at your local supermarket.
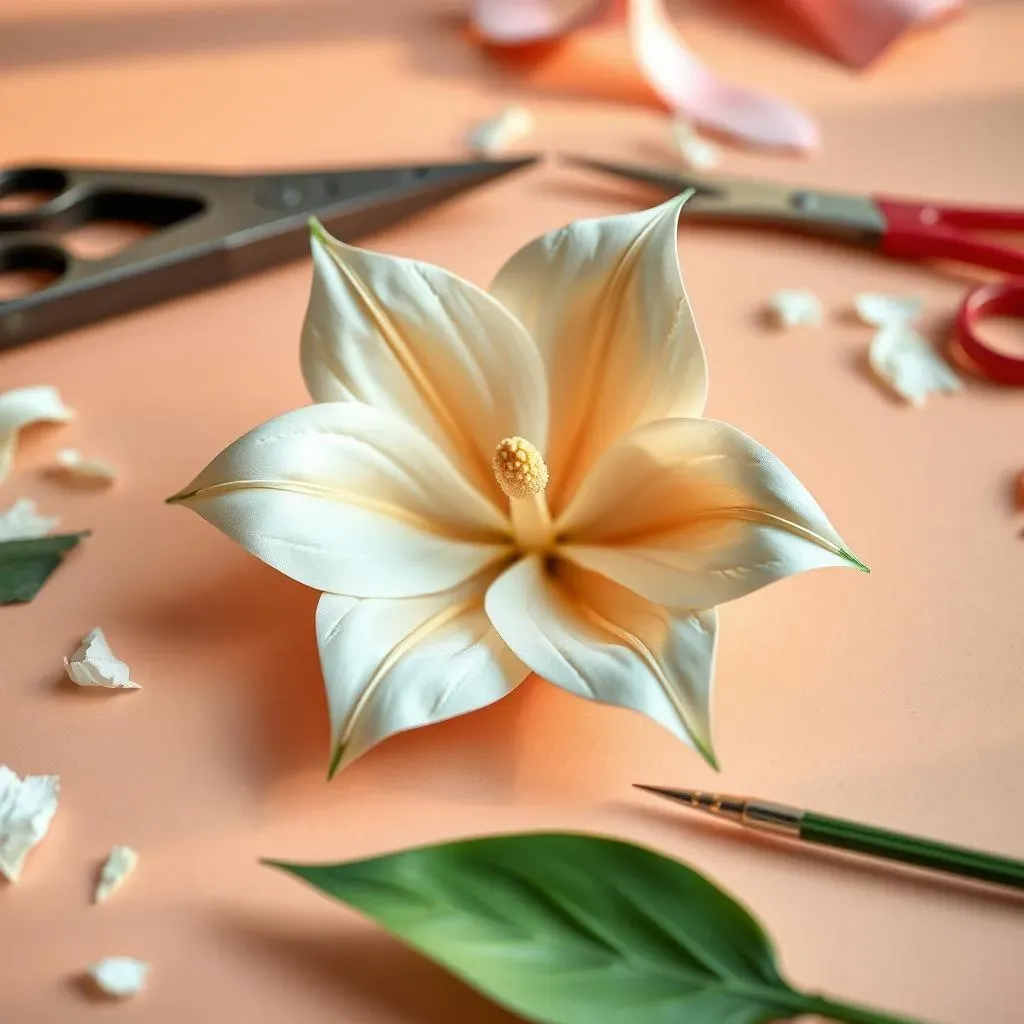
Next, download your free calla lily paper flower template. Many websites offer these, so find one you like and print it out. Make sure your printer settings are accurate to ensure the template prints to the correct scale. Using a sharp pencil, carefully trace the template onto your chosen paper. A cutting mat will protect your table, and keep your work area clean and organized. Remember, preparation is key for a successful project!
- Sharp Scissors
- Glue Stick (or liquid glue)
- Ruler or Cutting Mat
- Calla Lily Paper Flower Template (downloadable)
- (Optional) Floral Wire & Tape
Assembling Your Paper Calla Lily Flower: A Detailed Guide

Assembling Your Paper Calla Lily Flower: A Detailed Guide
Shaping the Petals: Precision and Patience
Now comes the fun part – bringing your paper calla lily to life! Start with the petals. Depending on your template, you may have multiple petal pieces. Carefully fold each petal along the designated lines, creating gentle curves and creases. Don't rush this step; taking your time to shape each petal individually will make a huge difference in the final appearance. Think of it as sculpting with paper – the more attention you pay to detail, the more realistic your calla lily will look. A slightly uneven fold here or there adds character; it's what makes each flower unique.
Once you've shaped all your petals, it's time to start assembling them. Begin by layering the petals, starting with the largest and working your way down. Use your glue stick sparingly – a little goes a long way. Too much glue can create unsightly lumps or wrinkles. Let each layer dry slightly before adding the next to prevent the petals from sliding around. This process takes time, but it's incredibly satisfying to see your calla lily gradually taking shape.
Step | Action | Tip |
|---|---|---|
1 | Fold petals along designated lines | Gentle curves are key! |
2 | Layer petals, largest to smallest | Use glue sparingly. |
3 | Allow each layer to dry slightly before adding the next. | Patience is a virtue! |
Adding the Stamen: The Heart of the Flower
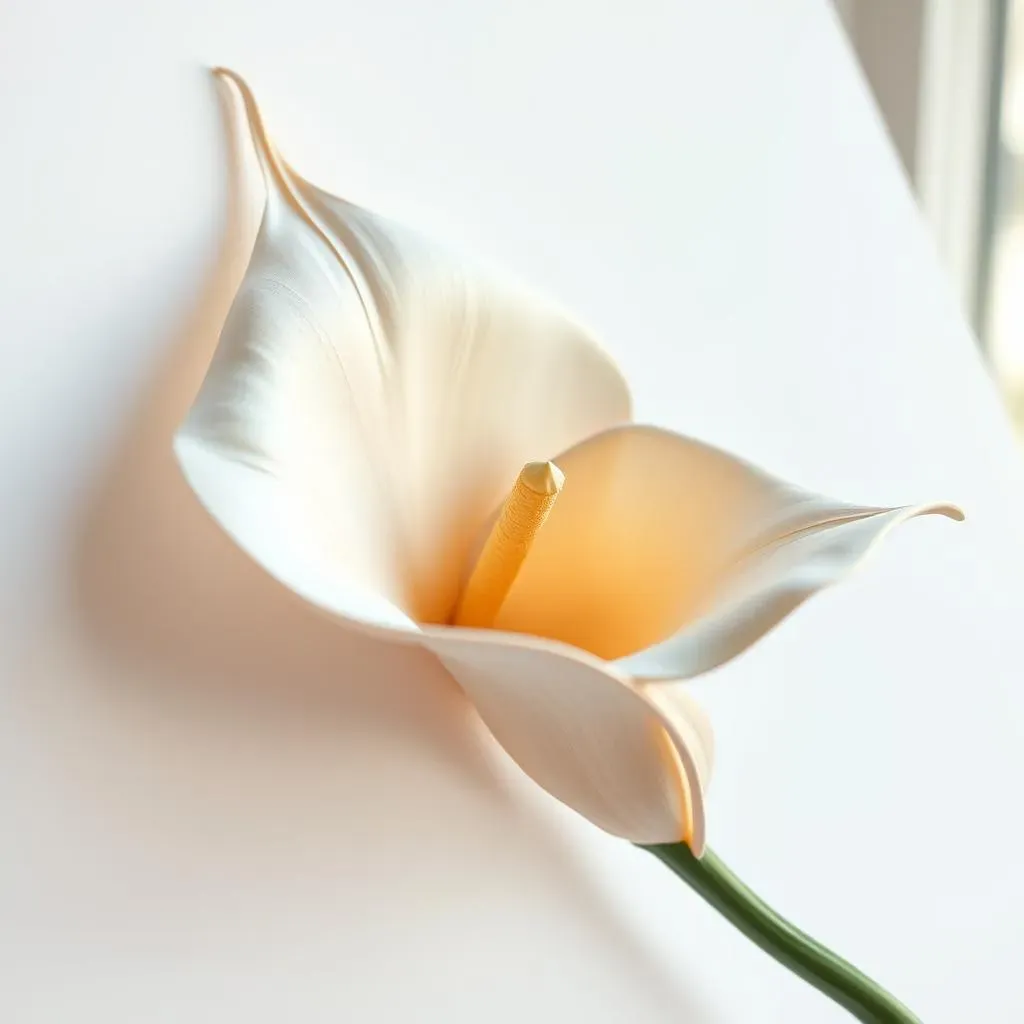
The stamen is the heart of your calla lily, adding a touch of vibrant color and texture to the center. If your template includes a separate stamen piece, carefully shape it according to the instructions. You might need to gently curve or twist it to achieve the desired form. Think of this as the flower's personality – a playful curl or a slightly more structured shape will change its overall appearance. Experiment with different shapes to find what you like best.
Once you've shaped the stamen, carefully glue it into the center of your assembled petals. Again, be mindful of how much glue you use. You want to secure the stamen firmly without creating a messy, gloppy center. Allow the glue to dry completely before moving on to the next step. Consider using a small amount of additional glue on the back of the stamen to help it adhere better to the petals. This extra step will help ensure that your stamen stays put.
- Shape the stamen gently.
- Glue it into the center of the petals.
- Let the glue dry completely.
Finishing Touches: Stems, Leaves, and Beyond
With the petals and stamen secured, your calla lily is almost complete! Now it's time for the final touches. If you're using floral wire and tape to create a stem, carefully wrap the wire around the base of your flower, securing it firmly with floral tape. This adds a touch of realism, transforming your paper creation into a lifelike bloom. Remember to use the tape sparingly and smooth it out evenly to avoid a bulky or uneven stem.
Finally, if your template includes leaves, carefully cut and shape them. Glue them to the base of the stem, creating a natural and elegant look. You can even add a touch of creativity by using different colors or textures for the leaves. A little extra detail can significantly enhance the overall effect. Once everything is in place, allow your calla lily paper flower to dry completely before handling it. Admire your creation – you've successfully transformed paper into art!
Beyond the Basics: Decorating & Displaying Your Calla Lily Paper Flowers

Beyond the Basics: Decorating & Displaying Your Calla Lily Paper Flowers
Creating Stunning Bouquets: Arranging Your Paper Calla Lilies
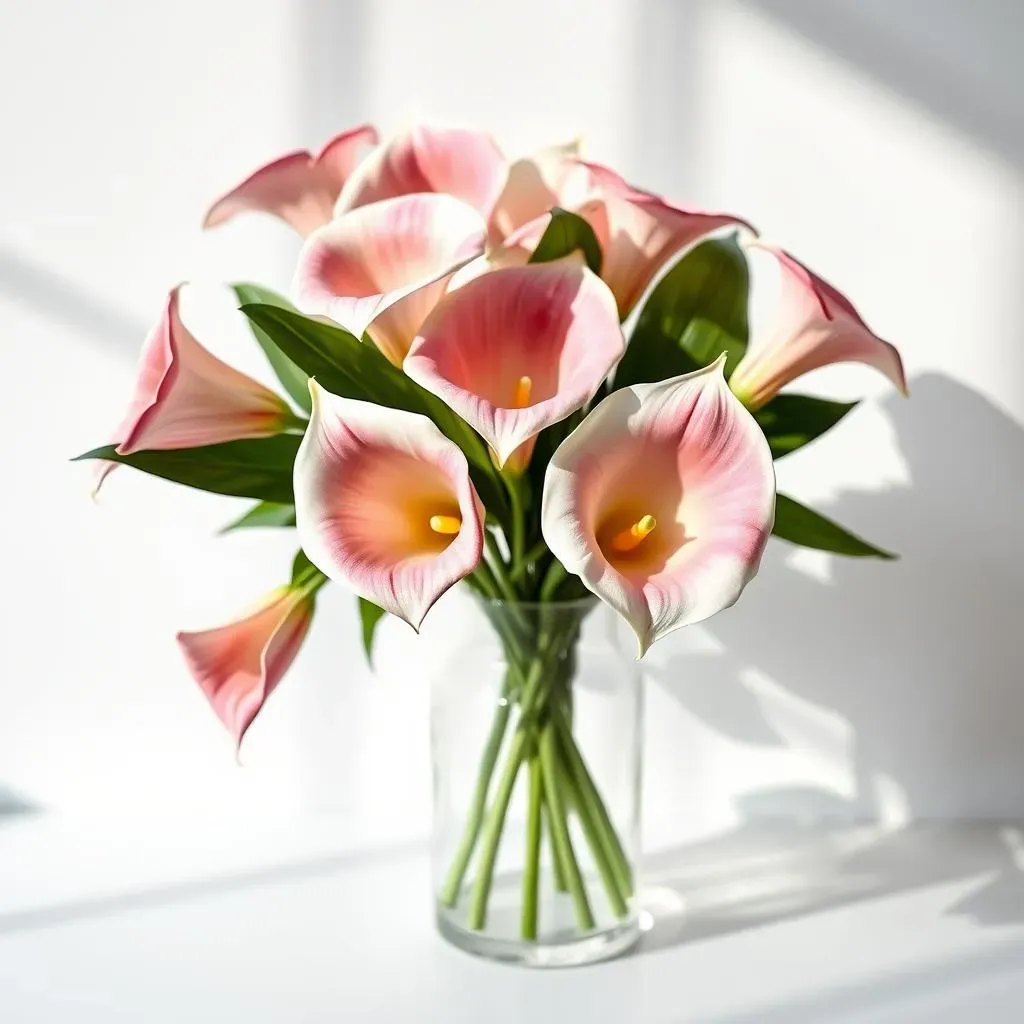
Now that you've mastered the art of making individual calla lily paper flowers, it's time to unleash your inner florist! Creating a bouquet is surprisingly simple, and the possibilities are endless. Start by considering your color palette. Do you want a monochromatic arrangement, showcasing different shades of the same color? Or perhaps a vibrant mix of contrasting hues? Think about the overall feeling you want to evoke: romantic, playful, elegant, or modern.
Once you've chosen your color scheme, start assembling your bouquet. Experiment with different heights and arrangements. You can create a dense, full bouquet or a more airy and whimsical one. Don't be afraid to mix and match sizes and colors to create a dynamic and visually appealing display. Adding other paper flowers or even real greenery can add an extra touch of elegance. Remember, there's no right or wrong way to do this; let your creativity flow!
Arrangement Style | Description | Best For |
|---|---|---|
Monochromatic | Using various shades of one color | Elegant, sophisticated events |
Contrasting Colors | Using opposite colors on the color wheel | Bold, modern designs |
Mixed Bouquet | Combining different flower types and colors | Versatile, adaptable to many styles |
Beyond Bouquets: Creative Display Ideas for Your Paper Calla Lilies
While bouquets are a classic way to showcase your paper calla lilies, the possibilities for display extend far beyond the vase. Consider creating a stunning garland, perfect for adorning a mantelpiece or a wedding arch. Simply string your calla lilies together using thin ribbon or fishing line, spacing them evenly for a balanced look. You can even incorporate other paper flowers or decorative elements to create a truly unique garland. Think about the overall aesthetic you want to achieve – rustic, romantic, or modern – and choose elements that complement your vision.
Alternatively, you can use your calla lilies to create eye-catching wall art. Arrange them in a specific pattern or design on a large piece of canvas or board, securing them with glue or pins. This is a great way to showcase your creativity and create a unique piece of art for your home. You could even create a series of smaller pieces, each with a different design or color scheme, to create a gallery wall. The possibilities are endless!
- Garlands for mantelpieces or wedding arches
- Wall art using canvas or board
- Table centerpieces for special occasions
- Decorative elements for gift wrapping
Preserving Your Creations: Tips for Long-Lasting Beauty
One of the great things about paper flowers is their longevity. Unlike real flowers, your paper calla lilies won't wilt or fade. However, proper storage can help ensure they remain in pristine condition for years to come. Keep your finished flowers in a cool, dry place, away from direct sunlight or moisture. Sunlight can cause the colors to fade, and moisture can damage the paper. A dark, cool cupboard or drawer is ideal.
If you want to display your calla lilies for an extended period, consider using a protective coating, such as a light spray varnish or sealant, to add an extra layer of protection against dust and minor damage. This is especially helpful for pieces that will be frequently handled or exposed to the elements. Remember to test the sealant on a small, inconspicuous area first to ensure it doesn't affect the color or texture of the paper.