Table of Contents
Ready to transform your artistic skills and capture the elegant beauty of the calla lily? This comprehensive guide will take you on a journey from basic understanding to masterful execution of a "calla lily flower sketch." We'll start by exploring the unique anatomy of the calla lily, breaking down its structure into manageable shapes that even beginners can easily replicate. Then, we'll dive into essential sketching techniques, teaching you how to translate those shapes into a dynamic and lifelike representation. Mastering shading and texture will add depth and realism, transforming your simple sketch into a captivating work of art. Finally, we'll explore various sketching styles, empowering you to develop your own unique artistic voice. By the end, you'll be confident in your ability to create stunning calla lily flower sketches, showcasing the flower's graceful curves and delicate details. So grab your pencils and paper—let's get started!
Basic Calla Lily Anatomy: Understanding the Flower's Structure

Basic Calla Lily Anatomy: Understanding the Flower's Structure
Spathe and Spadix: The Heart of the Calla Lily
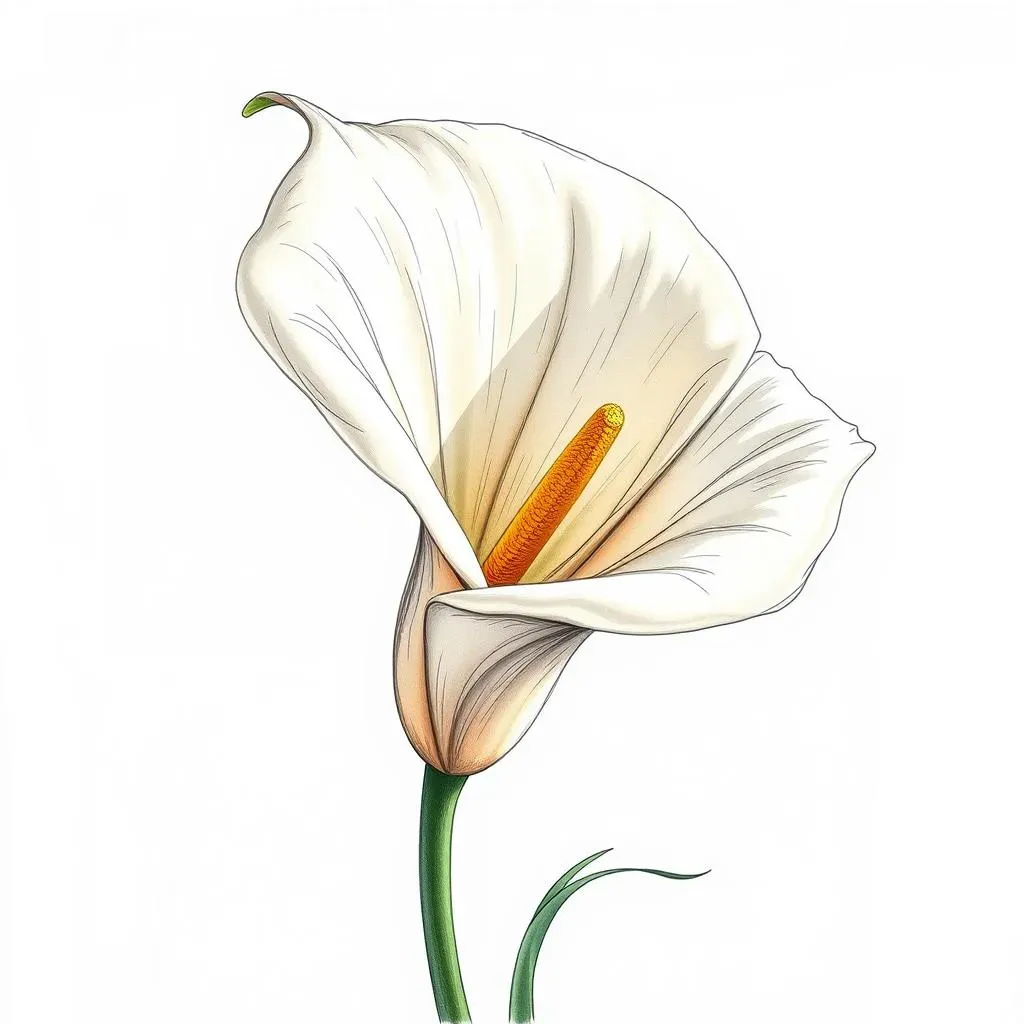
Let's start with the most striking feature: that elegant, trumpet-shaped bloom isn't actually a single petal! It's called a spathe, a modified leaf that acts as a protective sheath. Inside, nestled snugly, is the spadix – a fleshy spike covered in tiny, individual flowers. Think of it like this: the spathe is the fancy wrapper, and the spadix is the delicious treat inside. Understanding this fundamental difference is key to accurately sketching the calla lily.
The spathe's shape is crucial. It’s typically elongated, curving gently upwards, and often features a subtle twist. Its surface isn’t perfectly smooth; it has delicate veins and sometimes a slightly crinkled texture, depending on the variety. To capture this, try using different pencil pressures to show the subtle changes in form. You can find more information on different calla lily colors and their variations to inspire your sketches.
Feature | Description | Sketching Tip |
|---|---|---|
Spathe | Modified leaf, trumpet-shaped | Use flowing lines, vary pressure for texture |
Spadix | Fleshy spike, contains tiny flowers | Sketch as a slightly bumpy cylinder |
Beyond the Bloom: Stems and Leaves
Don't forget the supporting cast! The calla lily’s stem is usually sturdy and relatively straight, though it might curve slightly depending on the plant's growth. The leaves are typically arrowhead-shaped, with prominent veins radiating outwards. These add a lovely counterpoint to the flower's elegant simplicity. When sketching, pay attention to the way the light falls on these elements; this will help bring your drawing to life.
Consider how the stem connects to the spathe, and how the leaves emerge from the base. Are they reaching towards the light, or are they slightly drooping? These small details add realism and character to your sketch. For more ideas on how to arrange your calla lilies check out our floral arrangement ideas page.
- Observe the angle of the stem.
- Note the leaf's shape and veining.
- Consider the overall flow of the plant.
Essential Sketching Techniques: From Basic Shapes to Refined Details

Essential Sketching Techniques: From Basic Shapes to Refined Details
Basic Shapes as a Foundation
Before diving into intricate details, let's build a solid foundation using basic shapes. Think of the spathe as an elongated teardrop, perhaps slightly curved or twisted. The spadix can be represented as a simple cylinder, or even an oval, which you'll later refine. Start with light, loose lines to block out these basic forms. Don't worry about perfection at this stage; it's all about getting the overall proportions and placement right. Once you're happy with the initial shapes, you can begin adding more details.
Remember that the calla lily isn't static; it has a gentle flow and movement. Consider the curve of the spathe, how the spadix sits within it, and the direction of the stem and leaves. These elements should work together harmoniously to create a sense of natural grace. For inspiration on different approaches, check out our collection of calla lily drawings.
- Start with simple shapes (teardrops, cylinders, ovals).
- Focus on proportions and placement.
- Pay attention to the flow and movement of the plant.
Refining Your Sketch: Adding Details
Now that you have your basic shapes, it's time to add details and refine your sketch. Begin by adding the subtle curves and twists to the spathe. Observe how the spathe narrows towards its base and widens towards the opening. Use gentle, flowing lines to capture this graceful transition. You can also start adding the delicate veins that run along the surface of the spathe – these add a lot of visual interest. Don't forget the tiny flowers on the spadix; you might indicate these with small dots or short dashes.
The leaves are another area where you can add detail. Start by outlining the arrowhead shape, then add the prominent veins that radiate from the base. Remember to vary the line weight to create a sense of depth and form. For more information on the detailed structure of a calla lily, check out our guide on calla lily anatomy.
Element | Detailing Tip |
|---|---|
Spathe | Add subtle curves, twists, and veins. |
Spadix | Indicate tiny flowers with dots or dashes. |
Leaves | Outline the shape, add veins, vary line weight. |
Adding Depth and Dimension: Mastering Shading and Texture

Adding Depth and Dimension: Mastering Shading and Texture
Light and Shadow: Bringing Your Sketch to Life
Now for the magic! Adding shading and texture transforms a flat sketch into a three-dimensional representation. Observe how light falls on a real calla lily. Notice the highlights, the subtle shadows in the curves of the spathe, and the way the light catches the veins. Start by identifying your light source – is it coming from above, the side, or a different angle? This will dictate where your highlights and shadows fall.
To create depth, use a range of pencil values. Use light strokes for highlights, gradually increasing pressure for mid-tones and deeper shadows. Don't be afraid to experiment! Blend your shading smoothly for a softer look, or leave some texture for a more dynamic effect. Remember that the spadix often casts a shadow within the spathe, adding depth to the overall form. For a deeper dive into the intricacies of calla lily care, check out our guide on calla lily care.
- Identify your light source.
- Use a range of pencil values (light to dark).
- Blend or leave texture as desired.
Texture and Detail: Enhancing Realism
Adding texture is what elevates a simple sketch to a truly captivating piece. Look closely at the surface of a calla lily. The spathe isn't perfectly smooth; it has subtle veins and may even have a slightly crinkled texture. Use light, short strokes to suggest these veins, following their natural curves. For the spadix, you can create a slightly bumpy texture with short, hatched lines or small dots.
Don't forget the leaves! Their surface is often smoother than the spathe, but you can still suggest texture by varying your line weight and adding subtle shading to indicate the depth of the veins. Remember that details are key to realism. Take your time, observe carefully, and don't be afraid to experiment with different techniques to achieve the desired effect. You might find inspiration in our gallery of calla lily photos.
Area | Texturing Technique |
|---|---|
Spathe | Short strokes to indicate veins and texture |
Spadix | Short, hatched lines or small dots |
Leaves | Vary line weight, add subtle shading to veins |
Beyond the Basics: Exploring Different Calla Lily Sketch Styles

Beyond the Basics: Exploring Different Calla Lily Sketch Styles
Realistic Calla Lily Sketches: Capturing Lifelike Detail
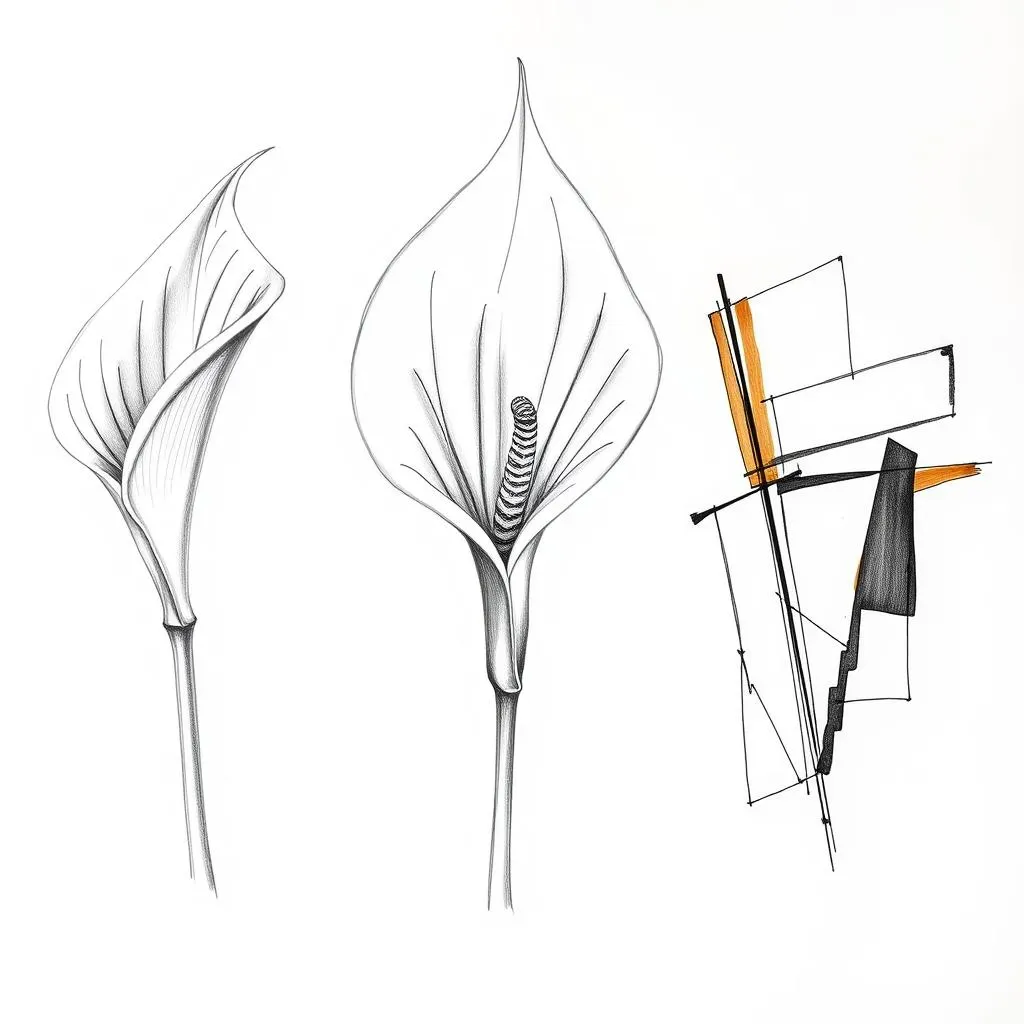
Let's explore the art of creating realistic calla lily sketches. This style focuses on accurately representing the flower's form, texture, and subtle nuances of light and shadow. We've already covered the fundamentals of shading and texture, but here, we'll delve deeper, paying close attention to the delicate veins of the spathe, the subtle crinkles, and the way light plays across its surface. Consider using a range of pencil grades to achieve a smooth, lifelike quality. A soft pencil (like a 4B or 6B) can create deep, rich shadows, while a harder pencil (like an HB or 2H) can be used for lighter details and highlights.
Think about the overall composition. How will you arrange your calla lily on the page? Will it be a close-up, focusing on the intricate details of the flower, or a more expansive view, showing the entire plant with its leaves and stem? For additional inspiration, explore our calla lily picture gallery.
Aspect | Technique |
|---|---|
Veins | Use light, delicate strokes to follow their curves. |
Texture | Vary pencil pressure to create subtle changes in tone. |
Composition | Consider the arrangement of the flower on the page. |
Loose and Impressionistic Calla Lily Sketches: Embracing Abstract Forms
Now, let's explore a more expressive approach: loose and impressionistic sketches. Here, we're not aiming for photorealism; instead, we're capturing the essence and feeling of the calla lily. Use broader strokes, focusing on the overall shape and form rather than minute details. Experiment with different mark-making techniques—loose scribbles, gestural lines, and varying pressures—to create a sense of movement and energy. The goal is to convey the feeling of the flower, its elegance and grace, in a more abstract way.
Don't be afraid to experiment with color! While we've primarily focused on pencil sketches so far, you can easily adapt these techniques to other mediums, such as charcoal, pastel, or even watercolor. Consider adding a wash of color to the background to further enhance the mood of your sketch. For further inspiration, check out our guide on calla lily colors.
- Use broader strokes.
- Focus on overall shape and form.
- Experiment with different mark-making techniques.
Stylized Calla Lily Sketches: Adding Your Personal Touch
Finally, let's explore stylized calla lily sketches—a chance to inject your personality and creativity into your work! This approach involves taking inspiration from the calla lily's form but reinterpreting it in your own unique way. You might simplify the shapes, exaggerate certain features, or combine elements from different styles. Perhaps you'll create a geometric interpretation of the flower, or use bold lines and contrasting colors to create a more graphic look. The possibilities are endless!
Think about the overall mood or message you want to convey. Do you want your sketch to be playful and whimsical, or elegant and sophisticated? The style you choose will greatly influence the feeling of the final artwork. Remember to have fun with this stage! Experiment, play with different techniques, and don't be afraid to break the rules. For unique ideas, consider browsing our collection of calla lily drawings.