Table of Contents
Have you ever dreamt of cultivating the elegant beauty of calla lilies in your own garden? It's easier than you think! This comprehensive guide dives into the fascinating world of calla lily flower seeds, equipping you with the knowledge and confidence to successfully grow these stunning blooms from scratch. We'll explore the diverse varieties of calla lily seeds available, guiding you through each step of the process – from sowing and germination to nurturing your seedlings and troubleshooting any potential challenges. Forget the complicated instructions and confusing jargon; we'll break down the process into simple, easy-to-follow steps, perfect for both beginner and experienced gardeners alike. Get ready to uncover the secrets behind cultivating these exquisite flowers and transform your garden into a vibrant display of calla lily perfection. By the end of this article, you'll be well-prepared to embark on your own successful calla lily growing adventure, starting with those magical calla lily flower seeds. Let's get started!
Understanding Calla Lily Flower Seeds: Types and Varieties

Understanding Calla Lily Flower Seeds: Types and Varieties
Exploring Calla Lily Species
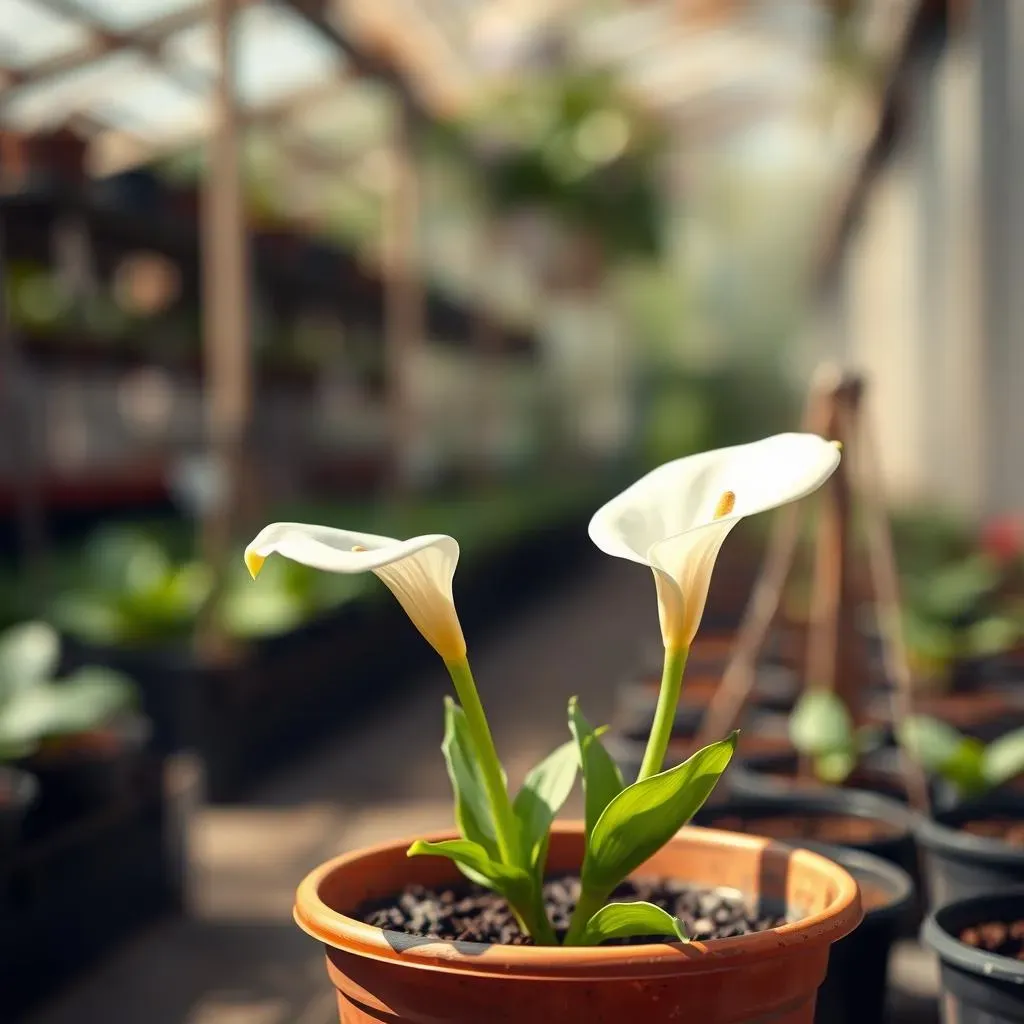
So, you're diving into the world of calla lily flower seeds? Awesome! Let's start with the basics. Did you know there's more to calla lilies than just those classic white blooms? The genus *Zantedeschia* actually boasts several species, each with its unique charm. You've got your *Zantedeschia aethiopica*, the common white calla lily, known for its elegant simplicity and ease of cultivation. Then there are the more colorful varieties, often hybrids, that flaunt shades of yellow, orange, pink, and even deep purple. These variations often come from cross-breeding different species, resulting in a diverse range of flower sizes, shapes, and colors. Choosing the right type of seed can drastically affect the final look of your flowers! Think about the overall aesthetic you’re going for in your garden; do you want a bold splash of color, or a more subtle, elegant touch? This decision will help guide your choice of calla lily flower seeds. For more information on the different parts of a calla lily, check out this informative post on calla lily flower parts.
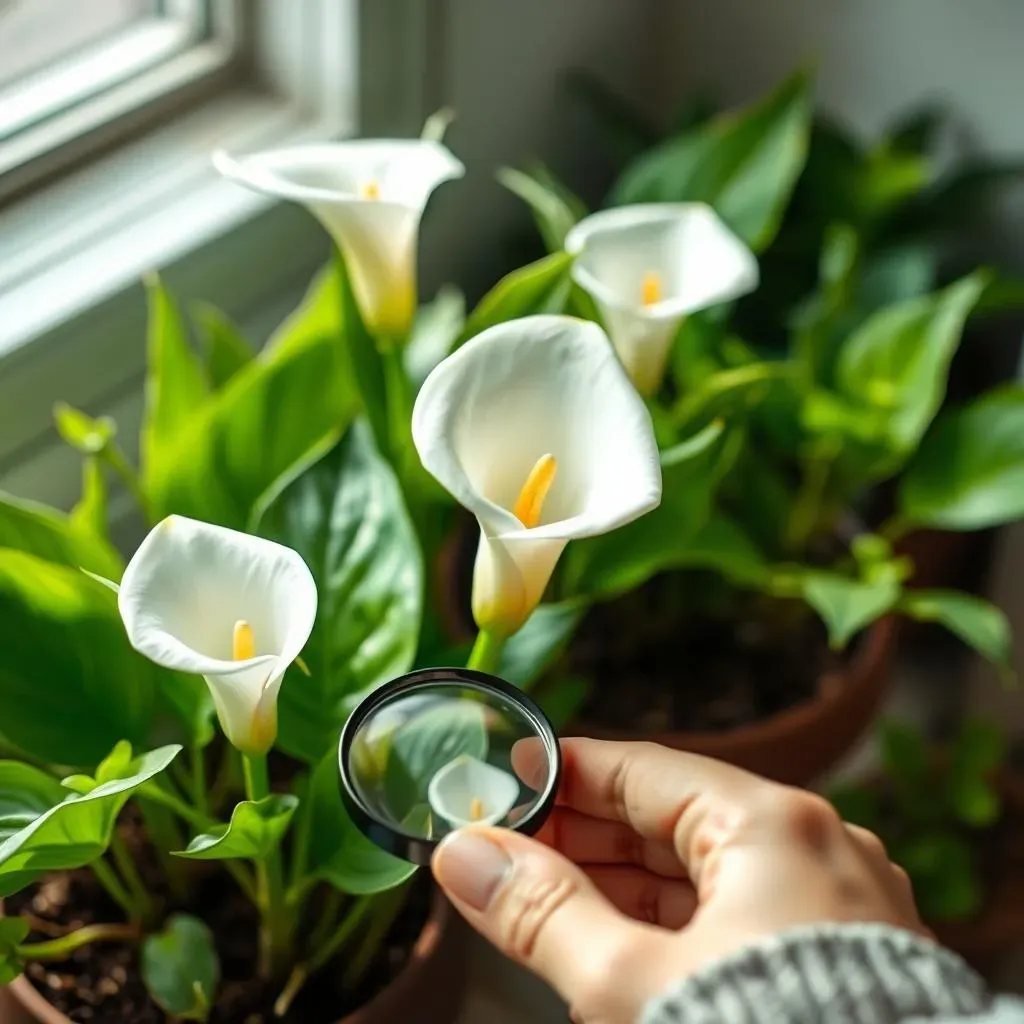
Remember, even within a single species, you'll find variations in petal shape, size, and even the intensity of the color. For example, some white calla lilies might have a slightly more pronounced yellow spadix (the central, finger-like structure) than others. This level of detail is what makes each calla lily unique and contributes to their overall appeal. It's like choosing the perfect shade of paint for your living room – the little differences matter! Want to see some stunning examples of calla lilies in different colors? Check out our gallery of calla lily flower pictures for inspiration.
Calla Lily Species | Common Color | Notable Characteristics |
|---|---|---|
Zantedeschia aethiopica | White | Large flowers, easy to grow |
Zantedeschia elliottiana | Yellow | Smaller flowers, vibrant color |
Hybrids | Varied | Wide range of colors and sizes |
Understanding Hybrid Calla Lilies and Their Diversity
Now, let's talk hybrids! These are where things get really interesting. Years of careful breeding have resulted in a stunning array of calla lily cultivars, each with its own unique characteristics. Hybrids often combine the best traits of different species, resulting in plants that are both beautiful and easy to grow. For instance, some hybrids might boast the large flower size of *Z. aethiopica* with the vibrant color of *Z. elliottiana*. Others might be bred for their disease resistance or their ability to thrive in specific climates. This extensive variety means you have a huge selection to choose from when selecting your calla lily flower seeds, allowing you to tailor your garden to your personal preferences and growing conditions. Considering the meaning behind your chosen calla lily can add another layer of depth to your garden. Learn more about the calla lily flower meaning and choose the perfect variety to express your unique style.
When choosing your seeds, pay close attention to the descriptions provided by the seller. They'll often highlight key features like flower size, color, and growth habit. This information is crucial for making an informed decision that aligns with your gardening goals. Think of it as choosing the perfect outfit – you want something that fits your style and makes you feel confident! Want to create a stunning floral arrangement featuring your homegrown calla lilies? Discover some fantastic ideas in our guide on calla lily floral arrangements.
- Consider flower size and color.
- Check for disease resistance.
- Think about your climate and growing conditions.
Sowing and Germinating Calla Lily Flower Seeds: A StepbyStep Guide

Sowing and Germinating Calla Lily Flower Seeds: A StepbyStep Guide
Preparing Your Calla Lily Seeds for Planting
Alright, you've chosen your calla lily flower seeds – fantastic! Now, let's get them ready for planting. Before you even think about putting them in the ground, there's a little prep work involved. It's not rocket science, but it significantly increases your chances of success. First, inspect your seeds. Make sure they're plump and firm, not shriveled or damaged. Discard any that look suspect – they’re unlikely to sprout. Next, you might want to consider pre-treating your seeds. This involves soaking them in warm water for a few hours, or even overnight. This helps soften the seed coat, making it easier for the sprout to emerge. Think of it as giving your little seeds a nice, refreshing bath before their big adventure! For some extra tips on calla lily care, check out our comprehensive guide on calla lily flower care.
Some gardeners swear by scarification – gently nicking the seed coat with a file or sandpaper. This helps the water penetrate more easily, speeding up the germination process. However, this isn't strictly necessary, especially if you've already soaked the seeds. It’s more of a bonus step for those who want to give their seeds an extra boost. Once you've prepped your seeds, it’s time to choose your planting medium. A well-draining potting mix is ideal; soggy soil is a big no-no for calla lilies. For more detailed information on planting calla lilies, see our guide on calla lily flower planting.
- Inspect seeds for plumpness and firmness.
- Soak seeds in warm water for several hours.
- (Optional) Gently scarify the seed coat.
- Use a well-draining potting mix.
Sowing and Germination: The Magic Begins
Now for the fun part – sowing your seeds! Sow the seeds about half an inch deep in your chosen planting medium. Don't bury them too deep; they need light to germinate. Space them about an inch apart to give each seedling room to grow. Gently water the soil, ensuring it's moist but not waterlogged. Then, cover the container with plastic wrap or place it inside a humidity dome. This will maintain a high level of humidity, which is essential for successful germination. Think of it as creating a cozy, little greenhouse for your seeds! For inspiration on creating a beautiful calla lily bed, take a look at our ideas on calla lily flower bed design.
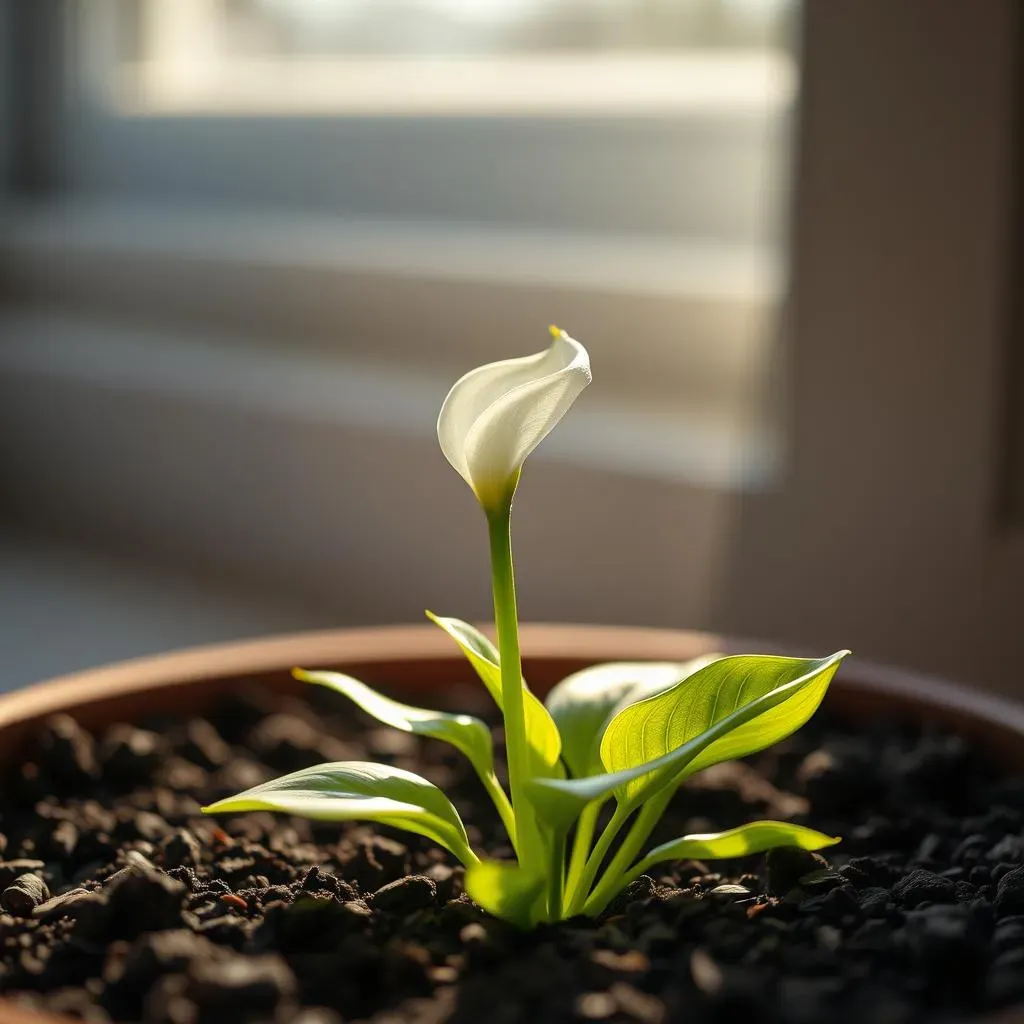
Place your container in a warm, bright location, but avoid direct sunlight, especially during the hottest part of the day. Direct sunlight can dry out the soil too quickly, hindering germination. Keep the soil consistently moist, but not soggy. Check it regularly and water as needed. Germination can take a few weeks, sometimes even longer depending on the variety and the conditions. Be patient; good things take time! Once your seedlings emerge, gradually acclimate them to more direct sunlight to prevent them from becoming leggy. For more tips on caring for your cut calla lilies, see our guide on calla lily cut flower care.
Step | Action |
|---|---|
1 | Sow seeds ½ inch deep |
2 | Space seeds 1 inch apart |
3 | Water gently, maintain moisture |
4 | Cover with plastic wrap or humidity dome |
5 | Place in a warm, bright location (indirect sunlight) |
Nurturing Your Calla Lily Seedlings: From Sprout to Bloom

Nurturing Your Calla Lily Seedlings: From Sprout to Bloom
Providing the Perfect Environment
Congratulations! Your calla lily seeds have sprouted. Now comes the crucial stage of nurturing those delicate seedlings into healthy, thriving plants. Think of them as tiny babies who need the right care to grow big and strong. The first priority is providing consistent moisture. Keep the soil evenly moist, but avoid overwatering, which can lead to root rot. Water when the top inch of soil feels dry to the touch. A well-draining potting mix is crucial to prevent waterlogging.
Next, ensure your seedlings get plenty of bright, indirect light. Direct sunlight can scorch their tender leaves, so a spot near an east- or west-facing window is ideal. As they grow larger, you can gradually increase their exposure to sunlight. Remember, consistent care is key to raising healthy calla lilies from seed. For more specific care instructions, see our guide on calla lily care.
- Maintain consistent soil moisture.
- Provide bright, indirect light.
- Gradually increase sunlight exposure.
Fertilizing and Repotting Your Seedlings
Once your seedlings have developed a few true leaves (the leaves that look like the mature plant's leaves, not the seed leaves), it's time to start fertilizing. Use a balanced liquid fertilizer diluted to half strength, applying it every two weeks. This provides the essential nutrients needed for healthy growth. Don't overdo it though; too much fertilizer can burn their roots. Think of it as giving your seedlings a healthy vitamin boost!
As your calla lilies grow, they'll eventually outgrow their initial container. When this happens, gently repot them into larger containers with fresh potting mix. This prevents root-bound plants which can stunt their growth. Choose containers with drainage holes to prevent waterlogging. Handling your seedlings should be done carefully to avoid damaging their delicate roots. For more detailed information on the anatomy of a calla lily, check out our post on calla lily anatomy.
Stage | Action |
|---|---|
Seedling Stage | Water consistently, bright indirect light |
True Leaves | Start fertilizing (diluted liquid fertilizer) |
Rootbound | Repot into larger containers |
Preparing for Blooms: Patience and Persistence
Remember, growing calla lilies from seed is a marathon, not a sprint. It takes patience and persistence to see them bloom. While some varieties might flower in their first year, many will take two or even three years before producing their stunning blooms. Don't get discouraged if you don't see flowers immediately. Focus on providing optimal growing conditions, and your patience will be rewarded.
As your calla lilies mature, continue to monitor their needs. Adjust watering and fertilizing as necessary, and ensure they have adequate space to grow. With proper care, you'll soon be enjoying the fruits of your labor – a breathtaking display of calla lilies grown from seed. And if you're looking for some creative ways to use your homegrown calla lilies, consider making a beautiful crown with them! For some ideas, check out our page on calla lily flower crown inspiration.
Troubleshooting Common Calla Lily Seed Growing Challenges

Troubleshooting Common Calla Lily Seed Growing Challenges
Dealing with Dampening Off
One of the most common problems faced by newbie calla lily growers is "damping off." This fungal disease attacks young seedlings, causing their stems to rot and collapse. It thrives in overly moist conditions, so good drainage is your best defense. Ensure your potting mix is well-draining, and avoid overwatering. If you notice damping off, remove affected seedlings immediately to prevent the spread of the fungus. You might consider treating the remaining seedlings with a fungicide, following the product instructions carefully.
Improving air circulation can also help prevent damping off. Avoid overcrowding your seedlings, and ensure adequate ventilation around your containers. A well-ventilated space is less likely to harbor the fungus. Remember, prevention is always better than cure! For more information on ensuring your calla lilies thrive, check out our guide on calla lily care.
- Use well-draining potting mix
- Avoid overwatering
- Remove affected seedlings
- Improve air circulation
- (Optional) Use a fungicide
Pest and Disease Management
Calla lilies, while relatively hardy, are susceptible to various pests and diseases. Aphids, spider mites, and mealybugs are common culprits. Regularly inspect your plants for signs of infestation, such as discoloration, sticky residue, or tiny insects. If you spot any pests, treat them promptly with insecticidal soap or neem oil. Always follow the product instructions carefully, and consider using organic methods whenever possible.
Fungal diseases like leaf spot can also affect calla lilies. Ensure good air circulation and avoid overhead watering to prevent fungal growth. If you notice leaf spot or other fungal diseases, remove affected leaves and consider treating the plants with a fungicide. Remember, early detection and intervention are crucial for effective pest and disease management. For more information on the different parts of a calla lily that might be affected by disease, see our post on calla lily flower parts.
Pest/Disease | Symptoms | Treatment |
|---|---|---|
Aphids | Sticky residue, leaf curling | Insecticidal soap |
Spider mites | Fine webbing, yellow spots | Neem oil |
Leaf spot | Brown or black spots on leaves | Fungicide |
Light and Temperature Requirements
Calla lilies need bright, indirect light to thrive. Direct sunlight can scorch their leaves, while too little light can lead to weak, leggy growth. Find a location that receives ample sunlight but avoids the harsh midday sun. A south-facing window might be too intense, while a north-facing window might not provide enough light. Experiment to find the perfect spot for your plants.
Temperature is also important. Calla lilies prefer temperatures between 65-75°F (18-24°C). Avoid exposing them to extreme temperatures, especially drafts or sudden temperature changes. Consistent warmth is key to healthy growth. Remember that even small changes in your growing environment can affect your calla lilies, so pay attention to the details! For some beautiful artistic representations of calla lilies, have a look at our gallery of calla lily flower paintings.