Table of Contents
Have you ever admired the elegant, trumpet-shaped blooms of a calla lily and wondered about the secrets hidden within those striking flowers? This article is your guide to unlocking those secrets, specifically focusing on the fascinating world of **calla lily flower seed pods**. We'll journey from identifying mature seed pods ready for harvest to the careful nurturing of those tiny seeds into vibrant, blooming plants. Get ready to learn how to collect, prepare, and plant these unique seeds, transforming them from humble pods into stunning additions to your garden or home. We'll cover everything from recognizing the tell-tale signs of a ripe seed pod to providing the ideal conditions for germination and growth. Prepare to be amazed by the journey from seed pod to beautiful bloom – let's get started!
Identifying and Harvesting Calla Lily Seed Pods

Identifying and Harvesting Calla Lily Seed Pods
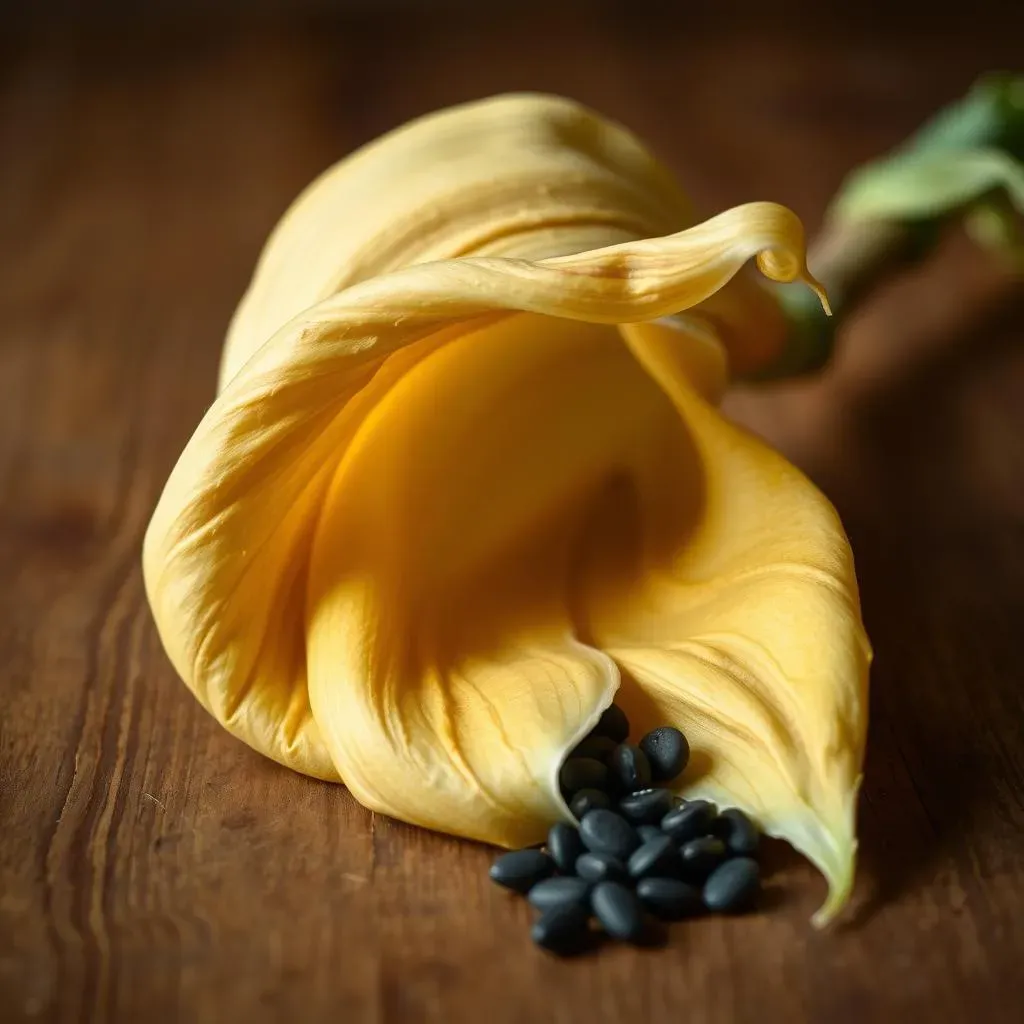
So, you're ready to embark on the exciting adventure of growing calla lilies from seed? Fantastic! The first step is identifying and harvesting those precious seed pods. Look for calla lilies that have finished blooming; the flowers will start to fade and droop. Inside, you'll find the seed pods developing. These pods are usually green at first, gradually turning yellowish-brown as they mature and dry. Don't rush the process; patience is key! Wait until the pods are completely dry and brittle before harvesting them. This usually happens several weeks after the flower wilts. Gently twist or cut the mature seed pods from the plant, being careful not to damage them. Once harvested, place the pods in a cool, dry place to fully dry out for a few more weeks. This ensures the seeds inside are ready for planting.
Remember, not all calla lilies produce seed pods. Some varieties are sterile or might not produce viable seeds under certain conditions. If your calla lilies are struggling, you might want to check out our guide on calla lily care to ensure they're healthy and producing seeds. Also, the type of calla lily you have might affect seed production. For instance, some purple calla lilies might be less likely to produce seeds compared to white ones. Proper care and the right variety are important for successful seed production.
Seed Pod Stage | Appearance | Action |
|---|---|---|
Immature | Green, plump | Leave on plant |
Mature | Yellowish-brown, dry, brittle | Harvest and dry further |
Once you've harvested your seed pods, it's time to extract the seeds. This is where things get a little hands-on. Carefully open each dried pod; you'll find tiny, black seeds inside. These seeds are very delicate, so handle them gently! Some pods might contain more seeds than others. You can store the collected seeds in a cool, dry place in an airtight container until you're ready to plant them. Proper storage will extend the viability of your seeds, increasing your chances of a successful planting. If you're unsure about the best way to store your seeds, you might find our article on calla lily facts helpful, as it contains some helpful tips.
Before you know it, you'll be ready to start planting your seeds! But before we get to that exciting phase, let's talk about seed preparation. Proper seed preparation is essential for successful germination. We'll cover that in the next section. In the meantime, feel free to explore more about calla lilies – maybe check out some stunning calla lily photos for inspiration!
- Harvest only fully dry, brittle pods.
- Handle seeds gently to avoid damage.
- Store seeds in a cool, dry, airtight container.
Preparing and Planting Calla Lily Seeds

Preparing and Planting Calla Lily Seeds
Prepping Your Calla Lily Seeds for Planting
Okay, you've got your precious seeds – now what? Before you toss them into the soil, a little preparation goes a long way. Think of it as giving your seeds a head start in the race to become beautiful calla lilies. First, you might want to give them a soak. Submerging them in lukewarm water for 24 hours can help soften the seed coat and encourage faster germination. It's like giving them a nice, refreshing drink before a big race! After soaking, gently pat them dry with a paper towel. Don't worry about being too precise; just make sure they're not dripping wet. This will help prevent rot and ensure the seeds get the right amount of moisture.
Some gardeners swear by a process called scarification, which involves lightly nicking the seed coat with a sharp knife or sandpaper. This helps to break down the hard outer shell, allowing water and oxygen to reach the embryo more easily. It's like giving your seeds a tiny haircut to help them breathe better! However, this isn't always necessary with calla lily seeds, and some find it can even do more harm than good. It's worth experimenting to see what works best for you. For more detailed information on different calla lily varieties, check out our guide to calla lily bulbs.
- Soak seeds in lukewarm water for 24 hours (optional).
- Gently pat seeds dry.
- Consider scarification (lightly nicking the seed coat).
Planting Your Calla Lily Seeds: A Step-by-Step Guide
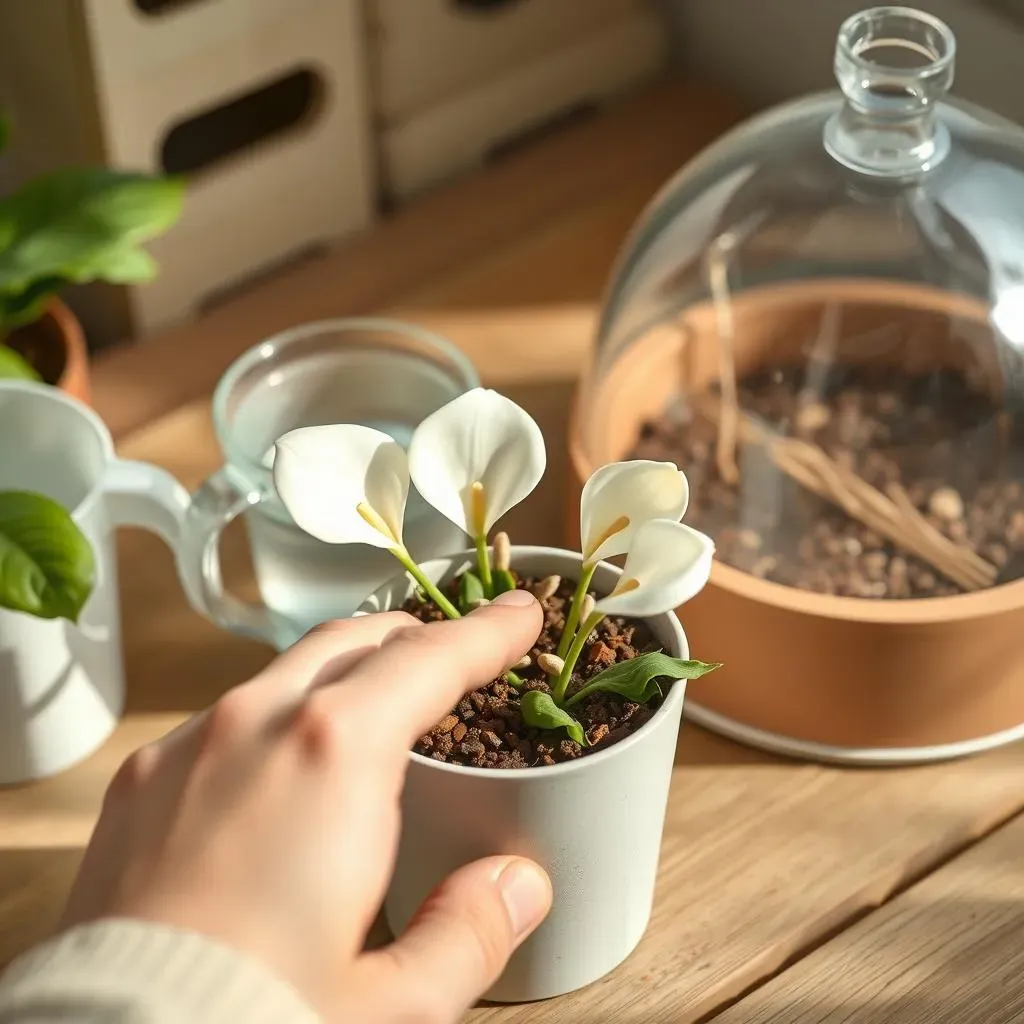
Now comes the exciting part – planting your prepared seeds! Choose a well-draining potting mix. This is crucial because calla lilies hate soggy roots. A soilless mix is a great option, as it's light, airy, and provides excellent drainage. You can also add some perlite or vermiculite to further enhance drainage and aeration. Fill your pots or seed trays with the mix, leaving about half an inch of space at the top. Now, gently press the seeds onto the surface of the soil, don't bury them too deep; just lightly cover them with a thin layer of soil.
Keep the soil consistently moist but not waterlogged. Regular watering is key, but avoid overwatering. Think of it like giving your seeds a regular drink, not a flood! Place your pots in a warm, bright location, ideally with indirect sunlight. Direct sunlight can be too harsh for delicate seedlings. You can also cover the pots with a clear plastic dome or humidity dome to help maintain moisture and warmth. This creates a mini-greenhouse environment, perfect for the seeds to germinate. For more advice on cultivating your calla lilies, visit our calla lily planting guide.
Step | Action |
|---|---|
1 | Use a well-draining potting mix. |
2 | Press seeds onto the soil surface. |
3 | Lightly cover with soil. |
4 | Water regularly but avoid overwatering. |
5 | Place in a warm, bright location (indirect sunlight). |
Nurturing Your Calla Lily Seedlings: From Sprout to Bloom

Nurturing Your Calla Lily Seedlings: From Sprout to Bloom
The First Sprout: Patience and Care
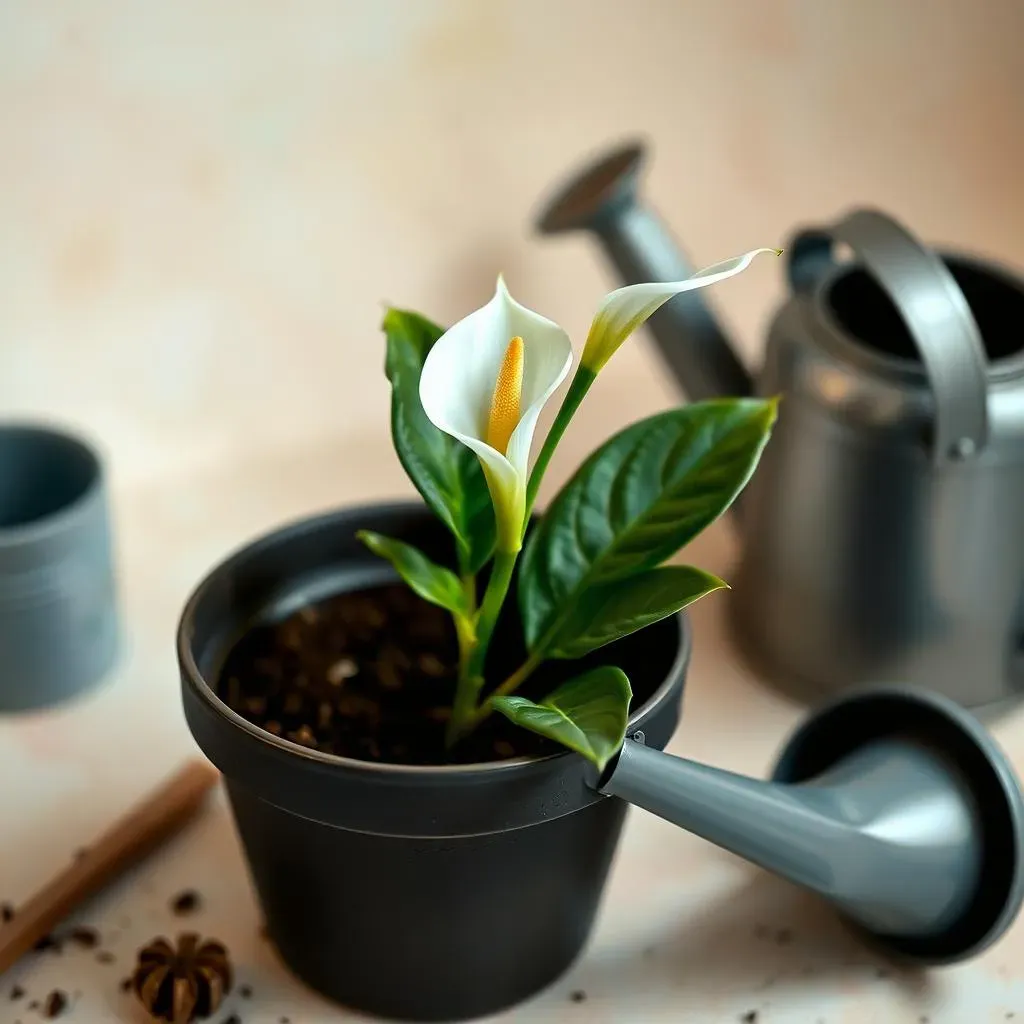
Once your seeds have germinated, you'll see tiny sprouts pushing their way through the soil. This is a very exciting moment! But remember, these little guys are still incredibly delicate. Continue to keep the soil consistently moist, but avoid overwatering, which can lead to damping off (a fungal disease that can kill seedlings). Provide them with plenty of indirect sunlight. If you’re using a humidity dome, you can gradually increase ventilation as the seedlings grow to prevent them from becoming leggy (tall and weak). As they grow larger, you can start to thin them out, removing weaker seedlings to give the stronger ones more room and resources. For more tips on keeping your calla lilies healthy, check out our guide on calla lily care.
You'll notice that some seedlings might grow faster than others. That's perfectly normal! The strongest ones will likely be the most vigorous growers. Don't be afraid to remove weaker seedlings to give the stronger ones more space and resources. Think of it as a little bit of natural selection in your mini-greenhouse. This process helps ensure the healthiest plants thrive. For those interested in learning more about the different parts of a calla lily, you might find our post on calla lily anatomy interesting.
- Maintain consistently moist soil.
- Provide indirect sunlight.
- Gradually increase ventilation.
- Thin out weaker seedlings.
Repotting Your Growing Calla Lilies
As your calla lily seedlings grow larger, they'll need more space. Once they've developed a few true leaves (the leaves that look like the mature plant's leaves, not the seed leaves), it's time to transplant them into individual pots. Choose pots that are slightly larger than the root ball of each seedling. Use the same well-draining potting mix as before. Gently remove each seedling from its original container, being careful not to damage the roots. Plant each seedling in its new pot, ensuring the top of the root ball is level with the soil surface. Water gently after transplanting. This process is like giving your young calla lilies their own apartments, giving them space to grow and flourish! Consider reading up on calla lily bulbs to learn more about the plant's underground structure.
Remember that calla lilies are relatively slow growers. It might take several months, or even a year or more, before your seedlings develop into mature plants. Be patient and consistent with your care, and you'll eventually be rewarded with beautiful blooms. For a visual guide, check out our gallery of calla lily photos to see what awaits you! You might also find our guide on calla lily care helpful for this stage.
Stage | Action |
|---|---|
Seedling Stage | Maintain moist soil, indirect sunlight, and thin out weaker plants. |
True Leaves Appear | Repot into individual pots using well-draining soil. |
From Seedling to Bloom: Patience and Persistence
Once your calla lilies have settled into their new homes, continue to provide them with consistent care. Water regularly, ensuring the soil remains moist but not waterlogged. Fertilize them every few weeks during the growing season with a balanced liquid fertilizer. As they mature, you might notice the development of their characteristic arrow-shaped leaves. These leaves are beautiful in their own right and are a sign that your calla lilies are thriving. For more information on the symbolism of calla lilies, take a look at our post on calla lily meaning.
Remember, growing calla lilies from seed is a marathon, not a sprint. It takes time and patience. Don't get discouraged if it takes longer than you expected to see blooms. Every calla lily has its own unique timeline. Just continue to provide consistent care, and you'll be rewarded with beautiful flowers eventually. For even more inspiration, you can check out our collection of calla lily arrangement ideas to see how these stunning flowers can be used.
- Water regularly and fertilize every few weeks.
- Be patient – blooming takes time.
- Enjoy the journey from seed to bloom!