Table of Contents
Have you ever noticed those intriguing pods that appear on your calla lilies after the flowers fade? They're more than just a pretty afterthought; they hold the key to growing even more of these elegant blooms! This article is your complete guide to understanding and working with calla lily flower pods. We'll start by exploring the life cycle of the calla lily, focusing on the development of those fascinating seed pods. You'll learn how to identify mature pods ready for harvesting and discover the secrets to extracting viable seeds. Next, we'll walk you through a step-by-step process for growing new calla lilies from these seeds, from preparing the seeds to nurturing the seedlings. But our journey doesn't end there. We'll also explore other propagation methods for calla lilies, offering alternatives to growing from seed and providing valuable tips for maintaining healthy and vibrant plants. Prepare to unlock the secrets of calla lily flower pods and cultivate your own stunning collection of these captivating flowers!
Understanding Calla Lily Seed Pods: From Bloom to Seed

Understanding Calla Lily Seed Pods: From Bloom to Seed
The Calla Lily's Life Cycle
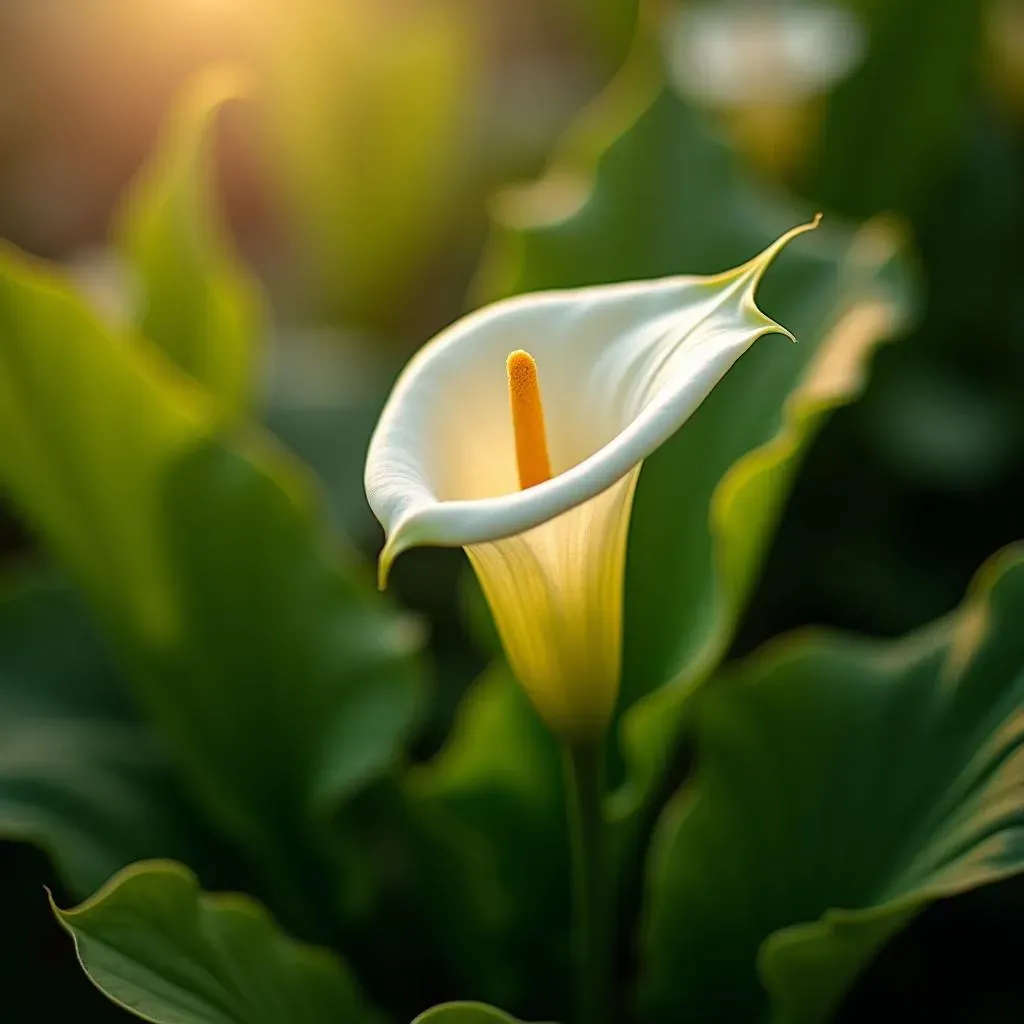
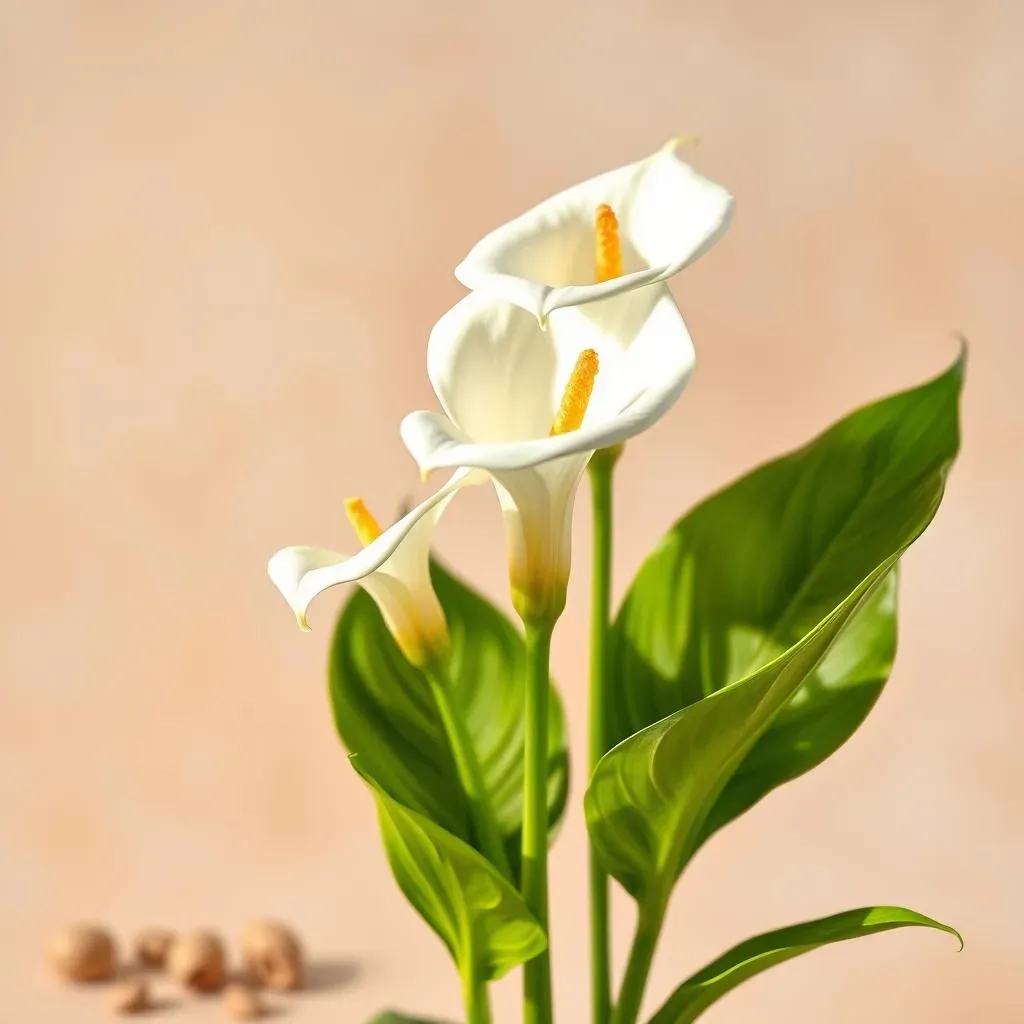
Let's begin at the beginning! The journey of a calla lily starts with its vibrant, trumpet-shaped flower. After pollination, the flower fades, and something amazing happens: a seed pod begins to form. This pod, often described as a berry-like structure, is where the magic of reproduction takes place. Inside, tiny seeds develop, each holding the potential for a new calla lily plant. Understanding this process is crucial for successful propagation. Think of it like this: the flower is the initial courtship, the seed pod is the pregnancy, and the seeds are the babies waiting to be born! To learn more about the different parts of a calla lily, check out our guide to calla lily flower parts.
The development of the seed pod is a gradual process. Initially, it's small and green, gradually maturing and changing color as the seeds inside ripen. The timing varies depending on the calla lily variety and growing conditions. Some varieties may produce pods more readily than others. For example, some calla lily varieties are more likely to produce seeds than others. It's a bit of a botanical lottery! Want to see what colors calla lilies come in? Check out our gallery of calla lily flower colors.
Stage | Description |
|---|---|
Flowering | Vibrant, trumpet-shaped flowers attract pollinators. |
Pollination | Pollen transfer leads to fertilization. |
Pod Development | Seed pod forms, initially green and small. |
Maturation | Pod changes color and size as seeds ripen. |
Identifying Mature Calla Lily Seed Pods
Knowing when to harvest your calla lily seed pods is key to ensuring you collect viable seeds. Mature pods will generally be firmer to the touch and have changed color, often turning brownish or tan. They might also feel slightly dry. Avoid harvesting pods that are still green and soft, as the seeds inside won't be ready. Think of it like picking fruit – you wouldn't pick a green apple expecting it to be sweet, would you? Improperly harvested pods can lead to low germination rates, so patience is a virtue here. For more information on growing calla lilies, see our comprehensive guide on calla lily flower growing.
Once you've identified mature pods, carefully remove them from the plant, taking care not to damage the seeds inside. You can gently twist or cut the pods from the stem. Store the harvested pods in a cool, dry place until you're ready to extract the seeds. Remember, these are delicate little packages, so handle them with care! Want to learn more about how to care for your calla lilies? Check out our tips on calla lily care.
- Firm to the touch
- Brownish or tan color
- Slightly dry
- Avoid green, soft pods
Seed Pod Structure and Seed Extraction
Now, let's peek inside those fascinating calla lily seed pods! Each pod contains several small, dark-colored seeds. To extract them, you can gently squeeze or crush the pod, releasing the seeds. You can then separate the seeds from any remaining pulp. It's a bit like opening a tiny treasure chest! Once you've extracted the seeds, you'll want to prepare them for planting. Remember, you can always buy calla lilies if you don't want to go through all this trouble. Check out our post on calla lilies for sale for more information.
Before you plant the seeds, it's important to let them dry slightly, allowing the outer layer to harden slightly. This helps to prevent fungal diseases. Store them in a cool, dry, and well-ventilated place. Proper seed storage is crucial for successful germination. This ensures that your seeds are ready and raring to go when you start the planting process. For more artistic inspiration, check out our gallery of calla lily flower paintings.
Growing Calla Lilies from Seed Pods: A StepbyStep Guide

Growing Calla Lilies from Seed Pods: A StepbyStep Guide
Sowing the Seeds: Preparing for Germination
With your dried calla lily seeds ready, it's time to start the germination process. Think of this as giving your tiny seeds a head start in life! You'll want to use a well-draining seed-starting mix; a high-quality soilless mix works wonders. Fill small pots or seed trays with the mix, ensuring it's evenly moist but not soggy. Sow the seeds about ¼ inch deep and gently cover them with the mix. Don't bury them too deeply; they need light to germinate. For more on planting calla lilies in general, check out our guide on calla lily planting.
Next, provide a warm and humid environment for your seeds. You can create a mini-greenhouse effect by covering the pots with plastic wrap or placing them inside a clear plastic bag. This helps to maintain moisture and warmth. A warm spot, around 70-75°F (21-24°C), is ideal. Remember, patience is key. Germination can take several weeks, so don't get discouraged if you don't see sprouts immediately. To help you visualize the process, take a look at our calla lily photos gallery.
Step | Action |
|---|---|
1 | Use well-draining seed-starting mix. |
2 | Sow seeds ¼ inch deep. |
3 | Cover with mix, maintain moisture. |
4 | Provide warmth (70-75°F). |
Nurturing Seedlings: From Sprout to Transplant
Once your calla lily seedlings emerge, you'll need to provide them with consistent care. Keep the soil consistently moist, but avoid overwatering, which can lead to root rot. Provide bright, indirect light. Direct sunlight can scorch delicate seedlings. As they grow, you can gradually introduce them to more direct sunlight. Remember, these little plants are like delicate babies, so treat them gently! If you're interested in creating stunning arrangements, take a look at our calla lily floral arrangements ideas.
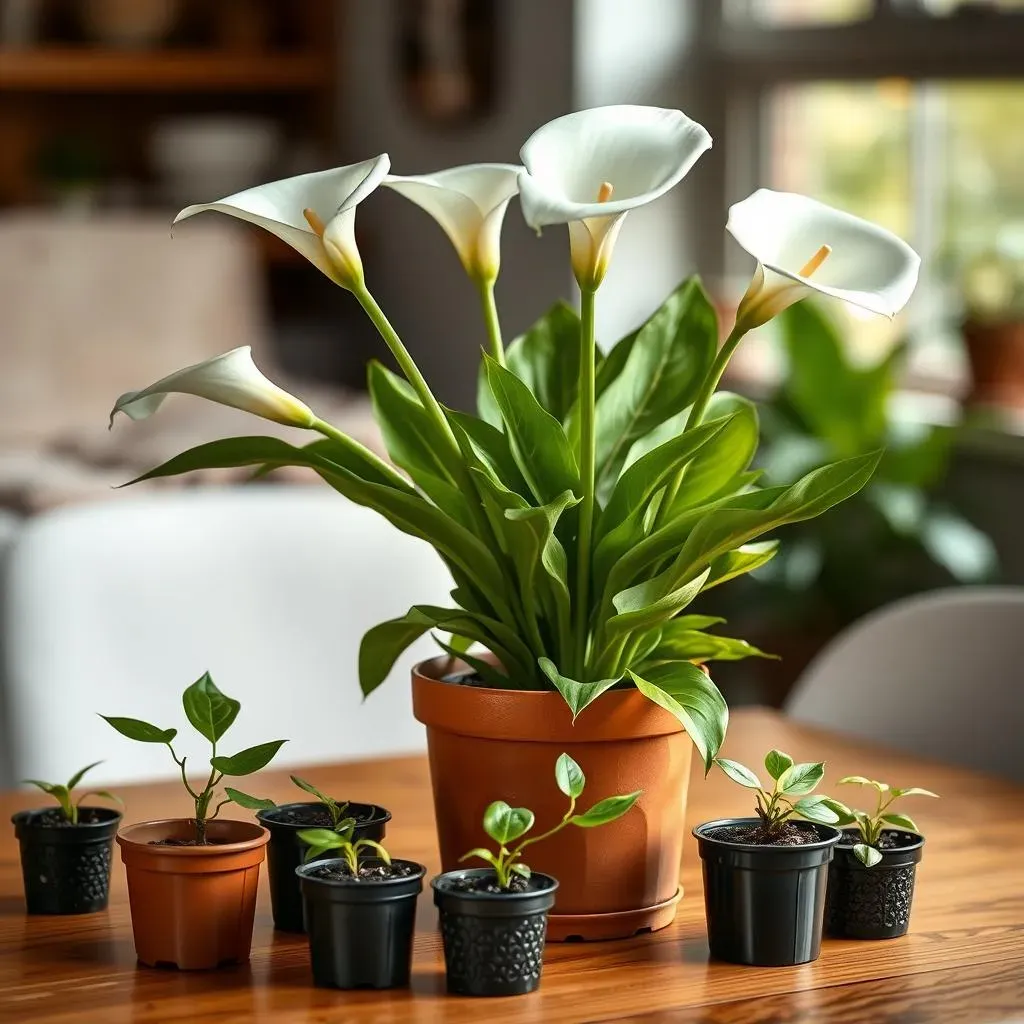
When your seedlings have developed a few true leaves, you can gently transplant them into individual pots. Use a slightly larger pot with fresh potting mix. Handle them carefully to avoid damaging their roots. Continue to provide consistent watering and bright, indirect light. You can also start fertilizing them with a diluted liquid fertilizer. This will help them grow strong and healthy. For more information on the different parts of a calla lily, check out our calla lily flower parts guide.
- Maintain moist soil
- Bright, indirect light
- Transplant into individual pots
- Fertilize with diluted liquid fertilizer
Transplanting and Beyond: Preparing for Blooms
Once your calla lily seedlings are robust and have several leaves, you can transplant them outdoors (if you live in a suitable climate) or into larger containers. Choose a location that receives plenty of sunlight but offers some afternoon shade, especially in hot climates. Amend the soil with organic matter to improve drainage and fertility. For inspiration on creating a beautiful calla lily garden, check out our ideas for a calla lily flower garden.
Remember, it can take up to three years for a calla lily grown from seed to bloom. Patience is truly a virtue here! Continue to provide consistent care, including watering, fertilization, and pest control. With a little patience and care, you'll be rewarded with beautiful blooms. For more tips on keeping your calla lilies healthy and happy, check out our article on calla lily care.
Beyond the Pods: Exploring Calla Lily Propagation and Care

Beyond the Pods: Exploring Calla Lily Propagation and Care
Beyond Seeds: Exploring Other Propagation Methods
While growing calla lilies from seed is rewarding, it's not the only way to expand your collection. Did you know you can also propagate these beauties through division? This involves separating the rhizomes (underground stems) of mature plants into smaller sections, each with its own set of buds. It's like cloning your favorite plants! Each section, when planted, has the potential to grow into a new, independent plant. This method offers a faster route to flowering than growing from seed, often resulting in blooms within the first year. For a visual guide on calla lily anatomy, check out our calla lily anatomy guide.
Another exciting method is through offsets or "baby" bulbs that grow around the mother bulb. These are small, independent bulbs that can be carefully separated and planted to create new plants. Think of them as the calla lily's mini-mes! This is a relatively easy technique, requiring less technical skill than seed propagation. It's a great option for beginners looking to expand their collection quickly and easily. To learn more about planting calla lilies, see our post on calla lily planting.
Propagation Method | Description | Time to Bloom |
|---|---|---|
Seed Propagation | Growing from seeds collected from seed pods. | Up to 3 years |
Division | Separating rhizomes into smaller sections. | 1 year |
Offsets | Separating "baby" bulbs from the mother bulb. | 1 year |
Calla Lily Care: Nurturing Your Blooms
Regardless of your chosen propagation method, providing proper care is essential for healthy, thriving calla lilies. These beauties prefer consistently moist but well-draining soil. Avoid letting the soil dry out completely, but also avoid waterlogged conditions, which can lead to root rot. Regular fertilization during the growing season will also promote lush growth and abundant blooms. For more tips on keeping your calla lilies healthy, see our calla lily care guide.
Calla lilies thrive in bright, indirect sunlight. While they appreciate ample light, direct, intense sunlight can scorch their leaves. Providing some afternoon shade, especially during the hottest part of the day, is beneficial. Regularly inspect your plants for pests and diseases, taking prompt action if any issues arise. Prevention is key! For a closer look at calla lilies, check out our gallery of calla lily photos.
- Well-draining soil
- Consistent moisture
- Regular fertilization
- Bright, indirect sunlight
- Pest and disease monitoring