Table of Contents
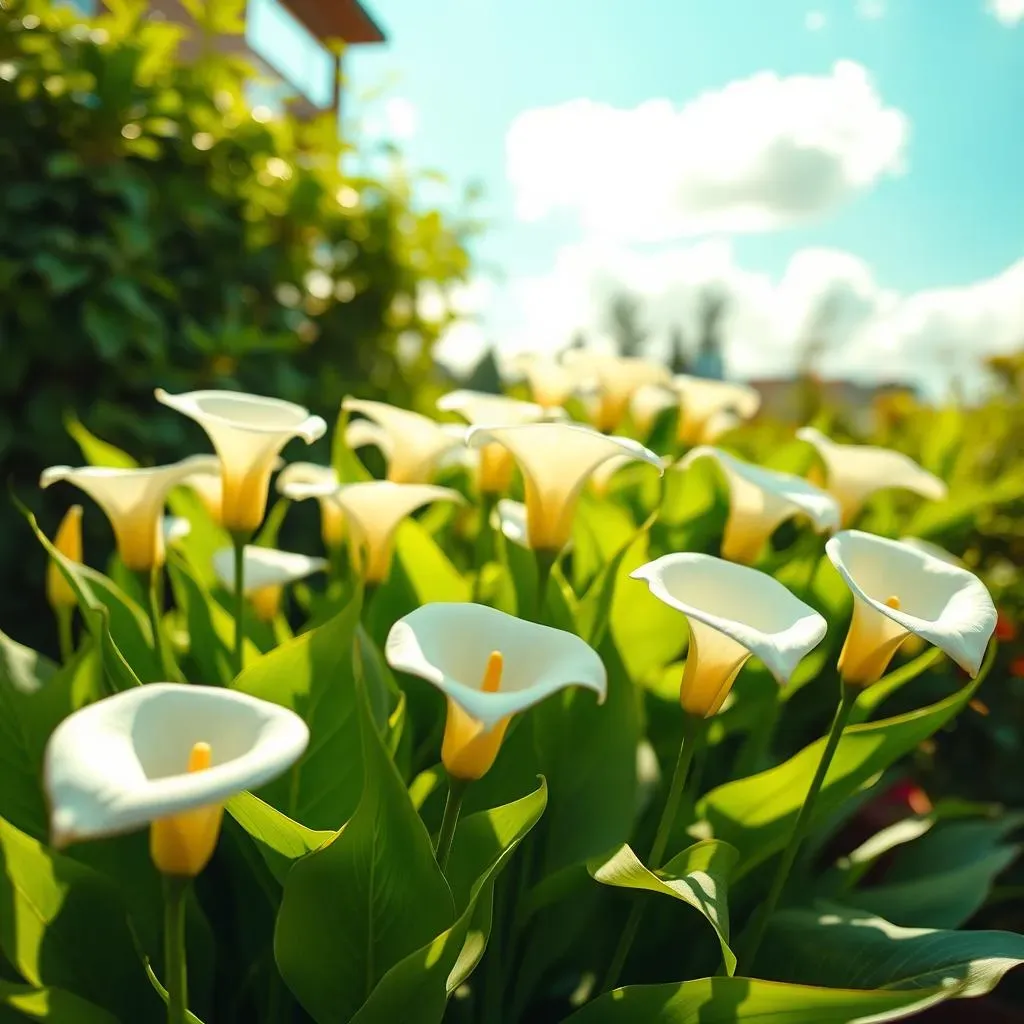
Ready to transform your garden into a breathtaking haven of elegance? Then prepare to discover the captivating world of the calla lily flower perennial! This isn't your average garden bloom; these stunning flowers, with their elegant trumpet shapes and vibrant colors, are a true statement piece. But are they truly perennial? Yes, they are! And in this comprehensive guide, we'll unlock the secrets to successfully cultivating these beauties year after year. We'll explore everything from choosing the perfect planting spot and mastering the art of propagation to understanding the specific care requirements that ensure a vibrant and long-lasting display. We'll even tackle common problems and offer solutions, so you can confidently enjoy these exquisite "calla lily flower perennial" blooms for seasons to come. Get ready to embark on a journey of horticultural delight – your path to a flourishing calla lily garden begins now!
Understanding Calla Lily Perennials

Understanding Calla Lily Perennials
So, you're diving into the world of calla lilies – fantastic! Let's clear up a common misconception right away: contrary to what some might think, many calla lilies are indeed perennials, meaning they come back year after year, provided they receive the right care. This isn't true for *all* calla lily varieties, though. Some behave more like annuals, meaning they complete their life cycle in a single growing season. Understanding this distinction is key. To know whether *your* calla lily is a perennial, you need to consider its specific variety and your climate. Check out our guide on annual vs. perennial calla lilies for more detailed information. The hardiness of your calla lilies is crucial – they thrive in warmer climates (USDA zones 8-10) and can be treated as perennials in those areas. However, in colder zones, they often need winter protection to survive. Think of them as delicate divas that need a little extra pampering in less-than-ideal conditions.
Calla Lily Type | Hardiness | Treatment |
|---|---|---|
Hardy Calla Lily (Zantedeschia aethiopica) | Zones 7-10 | Perennial (with winter protection in colder zones) |
Other Calla Lily Varieties | Zones 8-10 | Often treated as perennials in warmer zones, annuals in colder zones |
Understanding the specific needs of your calla lily variety will ensure its long-term survival and abundant blooms. Learning about the different parts of a calla lily can also help you better understand its growth cycle and needs. For example, the rhizome, an underground stem, is vital for the plant's survival and propagation. We'll explore rhizomes and their role in more detail later.
- Identify your calla lily variety.
- Check your USDA hardiness zone.
- Determine whether to treat your calla lily as a perennial or annual.
Now that we've covered the basics of perennial calla lilies, let's move on to the practical aspects of planting and care. Remember, a little knowledge goes a long way in creating a thriving, beautiful garden filled with these striking blooms. Want to learn more about caring for your calla lilies? Check out our detailed guide on calla lily care.
Planting and Growing Calla Lilies

Planting and Growing Calla Lilies
Now for the fun part: getting your calla lilies in the ground (or pot!). Timing is everything. Spring is generally the best time to plant calla lily rhizomes, after the last frost has passed. This allows them to establish themselves before the heat of summer. If you're starting from bulbs, you can also plant them in the fall for a spring bloom, providing they're protected from freezing temperatures. Choose a spot that gets plenty of sunlight – at least six hours a day – but also offers some afternoon shade in particularly hot climates. Think of it like this: they love a sunbath, but not one that'll give them sunburn! Well-draining soil is crucial; calla lilies hate soggy feet, which can lead to root rot. Amend heavy clay soils with compost or other organic matter to improve drainage. Before planting, soak your rhizomes in water for a few hours to help them rehydrate and kickstart their growth. For more detailed information on planting, check out our guide on growing calla lilies.
- Choose a sunny spot with well-draining soil.
- Plant rhizomes in spring after the last frost.
- Soak rhizomes before planting.
- Provide adequate spacing for good air circulation.
Planting depth matters! Plant your rhizomes about 2-3 inches deep, with the "eyes" (the growing points) facing upwards. Space them about 6-12 inches apart, depending on the variety. This spacing allows for good air circulation, reducing the risk of fungal diseases. Once planted, water thoroughly but avoid overwatering. Regular watering is key, especially during the growing season, but let the soil dry slightly between waterings. Overwatering is a common mistake that can lead to problems. Remember to fertilize regularly during the growing season with a balanced, water-soluble fertilizer. This will give your plants the nutrients they need for abundant blooms. Need help with fertilization? Our guide on calla lily care can help.
Planting Time | Depth | Spacing |
|---|---|---|
Spring (after last frost) | 2-3 inches | 6-12 inches |
Calla Lily Care: Tips for Success

Calla Lily Care: Tips for Success
So, you've planted your calla lilies – fantastic! Now comes the crucial part: keeping them happy and healthy. Consistent watering is key, but avoid overwatering, which can lead to root rot. Think of it like this: you wouldn't want to drown your pet goldfish, would you? Similarly, your calla lilies need just the right amount of moisture. Aim for consistently moist, but not soggy, soil. Let the top inch or two of soil dry out slightly between waterings. During hot, dry spells, you might need to water more frequently. To learn more about watering techniques, check out our post on calla lily care tips.
- Water consistently, but avoid overwatering.
- Let the top inch or two of soil dry out between waterings.
- Increase watering frequency during hot, dry periods.
Fertilizing your calla lilies is essential for promoting robust growth and abundant blooms. Use a balanced, water-soluble fertilizer every 2-3 weeks during the growing season (spring and summer). Avoid over-fertilizing, as this can burn the roots. A slow-release granular fertilizer can also be used at planting time, providing a steady supply of nutrients throughout the season. Remember, a happy plant is a well-fed plant! For more tips on fertilization and other care aspects, you might want to see our guide on calla lily care.
Fertilizer Type | Application Frequency | Notes |
|---|---|---|
Balanced, water-soluble fertilizer | Every 2-3 weeks during growing season | Avoid over-fertilizing |
Slow-release granular fertilizer | At planting time | Provides sustained nutrient release |
Deadheading, or removing spent blooms, is important for encouraging continuous flowering and preventing the plant from putting its energy into seed production. Simply snip off the faded flowers at the stem. This simple act redirects the plant's resources toward producing more blooms, leading to a longer and more spectacular display. For more detailed instructions and visuals, you might want to check out our page on calla lily cut flower care. This will also help you understand how to properly handle the blooms once they're cut.
Pest and disease control are also important aspects of calla lily care. Regularly inspect your plants for signs of pests such as aphids, slugs, or spider mites. Treat infestations promptly with insecticidal soap or other appropriate methods. Similarly, be vigilant about fungal diseases, which can thrive in damp conditions. Ensure good air circulation around your plants and avoid overwatering to minimize the risk of disease. Learn more about identifying and addressing common calla lily diseases in our comprehensive guide, dealing with drooping calla lilies. This guide covers common issues and how to fix them.
- Inspect plants regularly for pests and diseases.
- Treat infestations promptly.
- Ensure good air circulation to prevent fungal diseases.
Troubleshooting Common Calla Lily Problems

Troubleshooting Common Calla Lily Problems
Yellowing Leaves and Wilting
Seeing yellowing leaves or wilting calla lilies? This is often a sign of watering issues. Either you're overwatering, leading to root rot, or underwatering, causing the plant to stress. Check the soil moisture – it should be consistently moist but not soggy. Adjust your watering schedule accordingly. Good drainage is key; if your soil is poorly draining, consider amending it with compost to improve drainage. For more detailed information about soil and drainage, you can check out our guide on creating the perfect calla lily bed.
Another cause could be nutrient deficiencies. Ensure you're fertilizing regularly during the growing season with a balanced fertilizer. Yellowing leaves can also indicate a lack of essential nutrients. A soil test can help determine if your soil needs amendments to provide the necessary nutrients for your calla lilies. For a more in-depth look at fertilization, check out our page on calla lily care.
- Check soil moisture and adjust watering.
- Amend soil if drainage is poor.
- Fertilize regularly with a balanced fertilizer.
- Consider a soil test to identify nutrient deficiencies.
Pest Infestations
Calla lilies can be susceptible to various pests, including aphids, spider mites, and slugs. Regular inspection is crucial. Look for tiny insects on the leaves or stems, or evidence of chewing or damage. Aphids and spider mites can be controlled with insecticidal soap, while slugs can be picked off by hand or controlled with slug bait. Always follow the instructions on any pest control product carefully. For more information on pests and how to deal with them, you can see our guide on dealing with drooping calla lilies. It covers various problems, including pest infestations.
Prevention is always better than cure. Maintaining good air circulation around your plants can help deter pests and diseases. Avoid overcrowding your plants, and ensure proper spacing for good air flow. A healthy plant is less susceptible to pest infestations. Also, check out our tips on creating a healthy growing environment in our post on growing calla lilies in your garden.
Pest | Symptoms | Treatment |
|---|---|---|
Aphids | Small insects on leaves and stems | Insecticidal soap |
Spider mites | Fine webbing on leaves | Insecticidal soap or miticide |
Slugs | Chewed leaves and holes | Handpicking or slug bait |
Fungal Diseases
Fungal diseases, such as leaf spot or root rot, can be a major problem for calla lilies, especially in damp conditions. Good air circulation is key to prevention. Avoid overcrowding your plants, and ensure proper spacing for good airflow. Water at the base of the plants to avoid wetting the foliage. If you notice signs of fungal disease, such as brown spots on leaves or wilting, you'll need to take action quickly. Remove affected leaves and stems, and consider using a fungicide according to the product instructions. For more information on fungal diseases and their treatment, check our guide on calla lily care, which covers a wide range of issues.
Preventing fungal diseases is easier than dealing with them. Choose disease-resistant varieties when possible. Ensure your soil drains well and avoid overwatering. Rotating your calla lilies to a different location each year can also help prevent the buildup of fungal pathogens in the soil. For a visual guide on identifying and treating common diseases, check out our article on calla lily death flower, which addresses several issues that may lead to the plant's demise.
- Ensure good air circulation.
- Water at the base of the plants.
- Remove affected leaves and stems.
- Use a fungicide if necessary (follow instructions carefully).