Table of Contents
Those elegant, trumpet-shaped blooms are the pride of any garden or indoor space—until they start drooping! Seeing your beautiful calla lilies wilt is disheartening, but don't despair. This article is your guide to understanding why your calla lily flower drooping is happening and how to fix it. We'll explore the most common culprits behind this frustrating problem, from simple watering mistakes to more serious diseases. Get ready to become a calla lily expert! We'll break down the potential problems into easy-to-understand sections: first, we’ll identify the most frequent reasons for "calla lily flower drooping," covering issues like underwatering, overwatering, and improper sunlight. Next, we'll discuss environmental concerns, such as soil quality and temperature fluctuations. Finally, we'll examine the possibility of diseases and pests that might be affecting your plants. By the end, you'll be equipped with the knowledge to diagnose the problem and get your calla lilies back to their vibrant best. Let's get started and bring the life back to your stunning blooms!
Common Causes of Calla Lily Drooping

Common Causes of Calla Lily Drooping
Watering Issues: Too Much or Too Little?
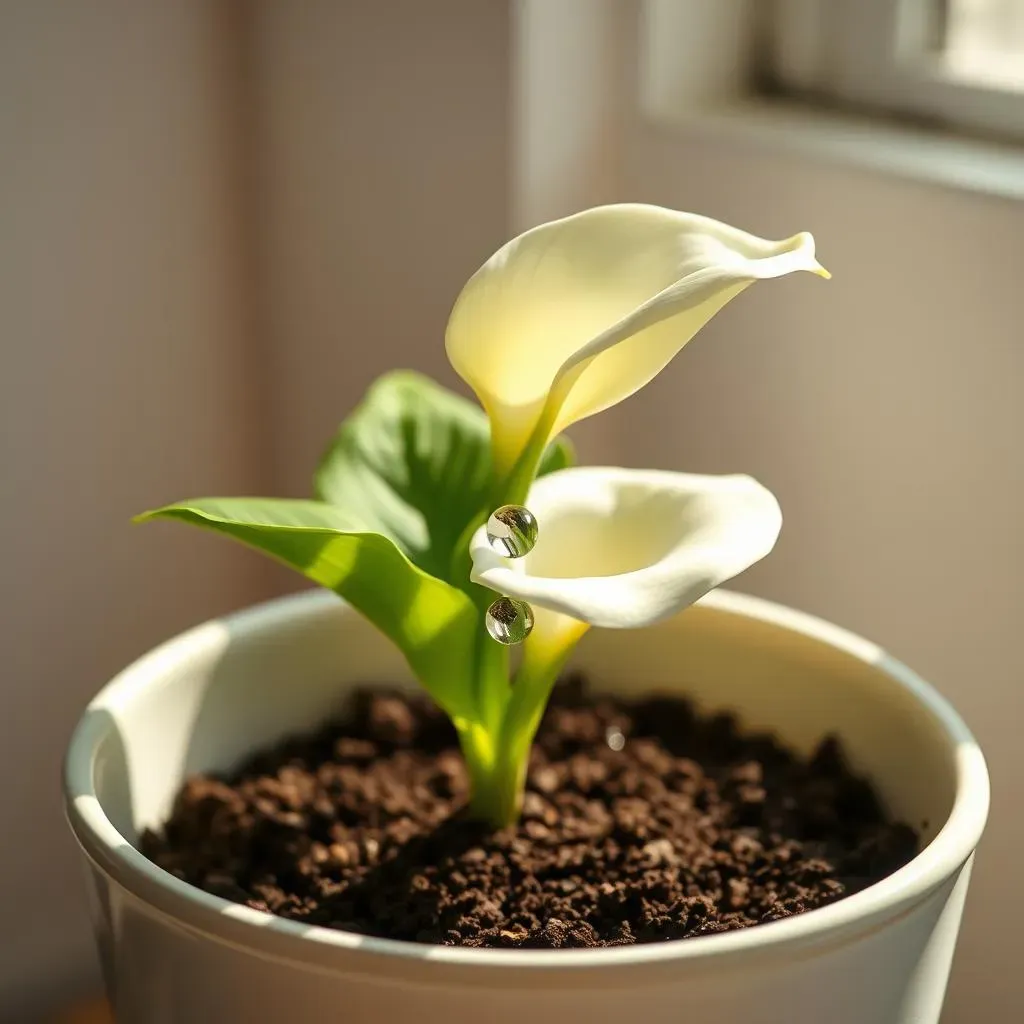
Let's start with the most common culprit: water. Believe it or not, both underwatering and overwatering can cause your calla lilies to droop. Underwatering leads to dehydration, making the leaves and flowers wilt. Think of it like a thirsty person—they get weak and droopy! Overwatering, on the other hand, suffocates the roots by preventing them from getting enough oxygen. This can lead to root rot, a serious problem that also causes drooping. Finding the right balance is key. Check the soil moisture regularly—it should be consistently moist but not soggy. If you're unsure, stick your finger a couple of inches into the soil. If it feels dry, it's time to water. If it's already wet, hold off for a bit. Proper drainage is also crucial; ensure your pots have drainage holes to prevent waterlogging. For more tips on keeping your calla lilies happy, check out our guide on calla lily care.
Remember, consistency is key! Don't let your calla lilies completely dry out between waterings, and avoid letting them sit in standing water. A good rule of thumb is to water thoroughly when the top inch of soil feels dry. Consider the pot size and the environment as well; smaller pots dry out faster than larger ones, and warmer, drier environments require more frequent watering. For a deeper understanding of the plant's needs, you might find our article on calla lily anatomy helpful.
Watering Frequency | Soil Moisture | Signs of Improper Watering |
|---|---|---|
Every 2-3 days (depending on environment) | Evenly moist, not soggy | Wilting, yellowing leaves, drooping flowers |
Sunlight Sensitivity: Finding the Sweet Spot
Calla lilies love sunlight, but too much of a good thing can be harmful. Direct, intense sunlight can scorch their leaves, causing them to wilt and droop. Think of it like getting a sunburn—ouch! On the other hand, too little light can weaken the plant, making it less able to support its beautiful blooms. The ideal situation is bright, indirect light. If you're growing your calla lilies indoors, place them near a sunny window but avoid direct sun exposure. Consider using a sheer curtain to filter the sunlight. If you're growing them outdoors, choose a location that receives morning sun and afternoon shade. This will provide ample light without causing sun damage. If your calla lilies are already suffering from sun stress, you might want to consider relocating them to a shadier area or providing some protection from the harshest rays. For creative ideas on displaying your calla lilies, check out our post on calla lily arrangement ideas.
Observing your plants closely is key to understanding their needs. If you notice the leaves are browning or crisping at the edges, it's a sign of too much sun. If the leaves are pale and weak, it indicates a lack of sufficient light. By providing the right amount of sunlight, you can help your calla lilies thrive and produce abundant, healthy blooms. If you're interested in adding calla lilies to a specific part of your garden, you may find our article on calla lily flower beds useful.
- Bright, indirect sunlight is ideal.
- Avoid direct, intense sunlight.
- Monitor leaves for signs of sun stress (browning, crisping).
Watering Woes: The Goldilocks Zone for Calla Lilies

Watering Woes: The Goldilocks Zone for Calla Lilies
The Perils of Underwatered Calla Lilies
Let's talk about underwatering – it's a common mistake that can leave your calla lilies looking sad and droopy. Think of it like this: you wouldn't expect a marathon runner to perform well without proper hydration, right? Similarly, your calla lilies need a consistent supply of water to thrive. When they're thirsty, their leaves wilt, becoming limp and lifeless. The flowers might droop, too, losing their elegant posture. The soil will feel bone dry to the touch, and the plant might even appear to be shrinking. To avoid this, water thoroughly whenever the top inch or so of soil feels dry. Don't wait until the plant shows obvious signs of distress before watering; by then, it might be too late! For more detailed instructions on keeping your plants hydrated, take a look at our comprehensive guide on calla lily care.
One helpful tip: use your finger to check soil moisture. Stick it about an inch or two into the soil; if it feels dry, it's watering time. This method is far more reliable than relying on a set schedule, because watering needs vary depending on factors like pot size, temperature, and humidity. Remember, consistently moist soil is the key to happy and healthy calla lilies. If you’re interested in learning more about the ideal growing conditions for your calla lilies, check out our post on creating a calla lily bed.
- Water when the top inch of soil is dry.
- Use your finger to check soil moisture.
- Avoid letting the soil completely dry out.
The Dangers of Overwatering
On the flip side, overwatering is just as damaging as underwatering. While it might seem counterintuitive, too much water can be just as deadly for your calla lilies. When the soil is constantly waterlogged, the roots can't get the oxygen they need to survive. This leads to root rot, a nasty fungal infection that can quickly kill your plant. The leaves will droop, often turning yellow or brown, and the flowers will wilt. The soil will feel soggy and may even smell unpleasant. If you suspect root rot, you may need to repot your calla lily in fresh, well-draining soil, removing any affected roots in the process. For more information on common calla lily problems and solutions, see our guide on calla lily care.
To avoid overwatering, ensure your pots have adequate drainage holes. Water thoroughly only when the soil feels dry to the touch. Avoid letting your calla lilies sit in standing water; this is a recipe for disaster! If you're unsure about watering frequency, err on the side of caution and water less frequently rather than more. Remember, it's always easier to water a slightly dry plant than to rescue one that's drowning. If you want to know more about the internal structure of a calla lily, check out our piece on calla lily anatomy.
Sign | Cause | Solution |
|---|---|---|
Soggy soil, yellowing leaves | Overwatering | Improve drainage, water less frequently |
Dry soil, wilting leaves | Underwatering | Water thoroughly when soil is dry |
Finding the Goldilocks Zone
So, how do you find the perfect balance? The "Goldilocks Zone" for calla lily watering is all about consistency and observation. Regularly check the soil moisture—it should be evenly moist but never soggy or bone dry. Water thoroughly when the top inch of soil feels dry, allowing excess water to drain out completely. The frequency will depend on several factors, including pot size, temperature, and humidity. Smaller pots dry out faster than larger ones, and warmer, drier conditions require more frequent watering. Pay close attention to your plants—they'll tell you what they need! If you notice drooping leaves, it's a sign that something isn't right, whether it's too much or too little water.
Remember, prevention is better than cure. By establishing a good watering routine and paying attention to your calla lilies' needs, you can avoid the pitfalls of both underwatering and overwatering. This will help keep your plants healthy, strong, and producing those stunning blooms you love. For inspiration on how to arrange your beautiful calla lilies, explore our collection of calla lily arrangement ideas. Happy gardening!
“The best time to plant a tree was 20 years ago. The second best time is today.” This applies to caring for your calla lilies too. Start paying attention to their watering needs now, and they'll reward you with abundant blooms for years to come.
Sunlight and Soil: Environmental Factors Affecting Your Calla Lilies

Sunlight and Soil: Environmental Factors Affecting Your Calla Lilies
Sunlight and Soil: Environmental Factors Affecting Your Calla Lilies
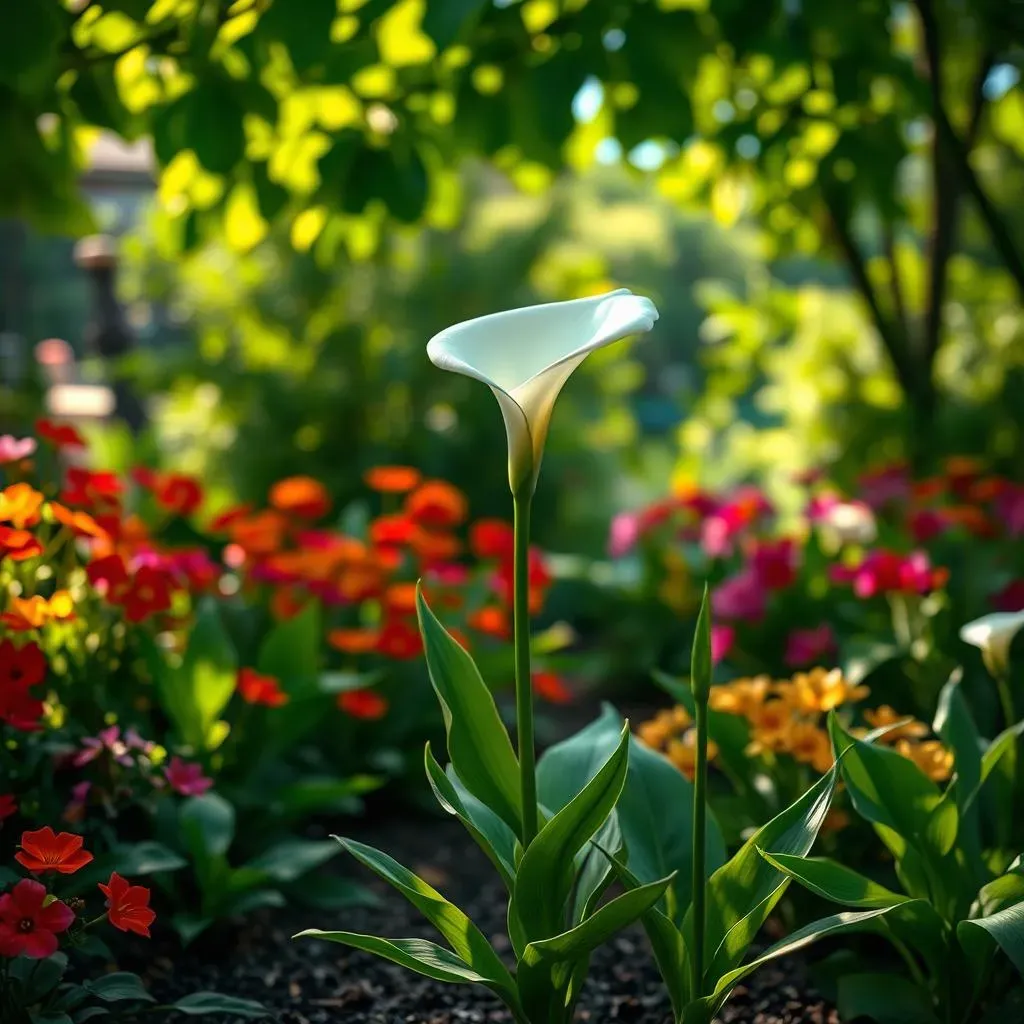
Beyond watering, the environment plays a crucial role in your calla lilies' health. Sunlight is key—these beauties crave bright, indirect light. Direct, intense sun can scorch their leaves, leading to drooping and wilting. Think of it like a delicate flower getting a sunburn! Conversely, insufficient light weakens the plant, making it more prone to drooping. Aim for a spot with plenty of bright, indirect light—a few hours of morning sun followed by afternoon shade is ideal. If you're growing them indoors, a spot near an east-facing window is perfect. For more ideas on displaying your calla lilies beautifully, check out our calla lily arrangement ideas page.
The soil also plays a significant part. Calla lilies thrive in well-draining, rich soil. Compacted or poorly draining soil can suffocate the roots, leading to drooping and other problems. Before planting, amend heavy clay soil with organic matter like compost to improve drainage and aeration. Ensure your pots have drainage holes to prevent waterlogging. For a better understanding of the soil conditions your calla lilies need, explore our guide on creating the perfect calla lily bed.
- Bright, indirect sunlight is best.
- Avoid direct sunlight, especially during midday.
- Well-draining, rich soil is essential.
- Amend heavy clay soil with compost.
Temperature is another factor to consider. Calla lilies prefer moderate temperatures, ideally between 60-75°F (15-24°C). Extreme heat or cold can stress the plant, leading to drooping. If you're growing them outdoors, protect them from harsh weather conditions, such as frost or extreme heat. For indoor plants, maintain a consistent temperature and avoid placing them near drafts or heating vents. If you’re looking for ways to arrange your calla lilies, take a look at our floral arrangement ideas page.
Finally, don't forget about humidity! Calla lilies appreciate a moderately humid environment. If the air is too dry, the leaves may wilt and droop. Consider grouping your plants together to create a more humid microclimate, or use a humidifier, especially during dry winter months. A simple pebble tray filled with water placed near your plants can also help increase humidity. For more tips on keeping your calla lilies healthy, visit our page on calla lily care.
Factor | Ideal Conditions | Signs of Problems |
|---|---|---|
Sunlight | Bright, indirect | Scorched or pale leaves |
Soil | Well-draining, rich | Soggy soil, stunted growth |
Temperature | 60-75°F (15-24°C) | Wilting, discoloration |
Humidity | Moderate | Dry, brittle leaves |
Diseases and Pests: Uninvited Guests in Your Calla Lily Garden

Diseases and Pests: Uninvited Guests in Your Calla Lily Garden
Identifying the Culprits: Pests and Diseases
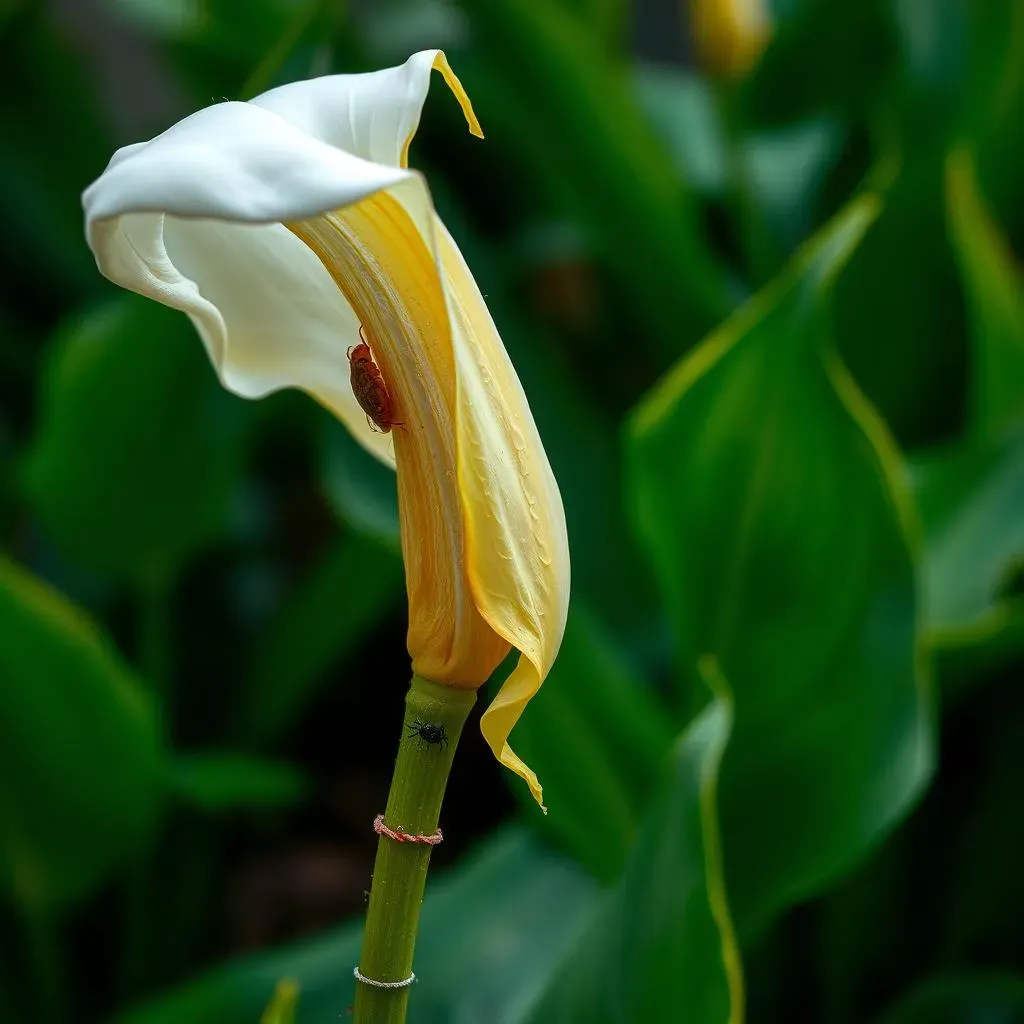
Sometimes, drooping calla lilies aren't just a matter of improper care; they might be battling unwelcome guests. Pests and diseases can significantly weaken your plants, causing wilting and other problems. Common culprits include aphids, spider mites, and fungal diseases like root rot and leaf spot. Aphids are tiny, soft-bodied insects that suck the sap from plants, leaving behind sticky honeydew and causing leaves to curl and droop. Spider mites, on the other hand, are microscopic arachnids that create fine webbing on leaves and cause stippling and yellowing. Early detection is crucial—regularly inspect your plants for any signs of infestation. For more detailed information on calla lily care, check out our comprehensive guide on calla lily care.
Fungal diseases are another common problem. Root rot, as we discussed earlier, causes the roots to decay, leading to wilting and drooping. Leaf spot manifests as brown or black spots on the leaves, eventually causing them to die back. These fungal infections thrive in moist, poorly draining soil, so improving soil drainage and ensuring good air circulation around your plants can help prevent them. If you suspect a fungal infection, you might need to treat your plants with a fungicide, or even repot them in fresh soil. For creative ideas on showcasing your calla lilies, visit our calla lily arrangement ideas page.
- Aphids: Suck plant sap, causing curling and drooping.
- Spider mites: Create webbing, cause stippling and yellowing.
- Root rot: Causes root decay, leading to wilting.
- Leaf spot: Brown or black spots on leaves.
Treatment and Prevention: Keeping Your Calla Lilies Healthy
If you discover pests, treat them promptly. For aphids and spider mites, insecticidal soap or neem oil are effective, environmentally friendly options. Always follow the product instructions carefully. For fungal diseases, improving soil drainage and air circulation is crucial. You can also use a fungicide, but make sure to choose one that's safe for use on edible plants if you plan to use the flowers in arrangements. Preventing problems is always easier than curing them. Regularly inspect your plants for any signs of pests or diseases, and take action immediately if you find anything suspicious. Proper watering, adequate sunlight, and well-draining soil are key to preventing these issues. For a guide on proper calla lily care, including preventing diseases, take a look at our calla lily care guide.
Remember, a healthy plant is less susceptible to pests and diseases. By providing your calla lilies with optimal growing conditions, you'll create a less hospitable environment for these unwanted guests. This includes ensuring proper watering, providing adequate sunlight, and using well-draining soil. Regularly inspect your plants for any signs of trouble, and don't hesitate to take action if you find pests or diseases. For stunning ways to display your healthy calla lilies, check out our calla lily floral arrangements page.
Pest/Disease | Symptoms | Treatment |
|---|---|---|
Aphids | Curled leaves, sticky honeydew | Insecticidal soap, neem oil |
Spider mites | Fine webbing, stippling | Insecticidal soap, neem oil |
Root rot | Wilting, yellowing leaves, soggy soil | Improve drainage, fungicide |
Leaf spot | Brown or black spots on leaves | Fungicide, improve air circulation |