Table of Contents
Calla lilies, with their elegant trumpet-shaped blooms, add a touch of sophistication to any garden or home. But achieving those stunning flowers requires understanding the nuances of calla lily flower care. This comprehensive guide will walk you through everything you need to know, from choosing the right variety and planting techniques to mastering the art of watering, feeding, and providing optimal sunlight. We'll explore the specific needs of these beautiful plants, offering practical advice to help you cultivate healthy, vibrant blooms. Learn how to avoid common pitfalls like pests and diseases, and discover simple solutions for troubleshooting any problems that arise. Whether you're a seasoned gardener or a beginner, this guide provides the essential knowledge and practical tips you need to successfully grow and enjoy these exquisite flowers. Get ready to transform your space with the radiant beauty of perfectly cared-for calla lilies! Prepare to be amazed by how easy it is to master calla lily flower care and enjoy their stunning blooms for years to come.
Understanding Calla Lilies: Types and Needs

Understanding Calla Lilies: Types and Needs
Discovering the Calla Lily Family
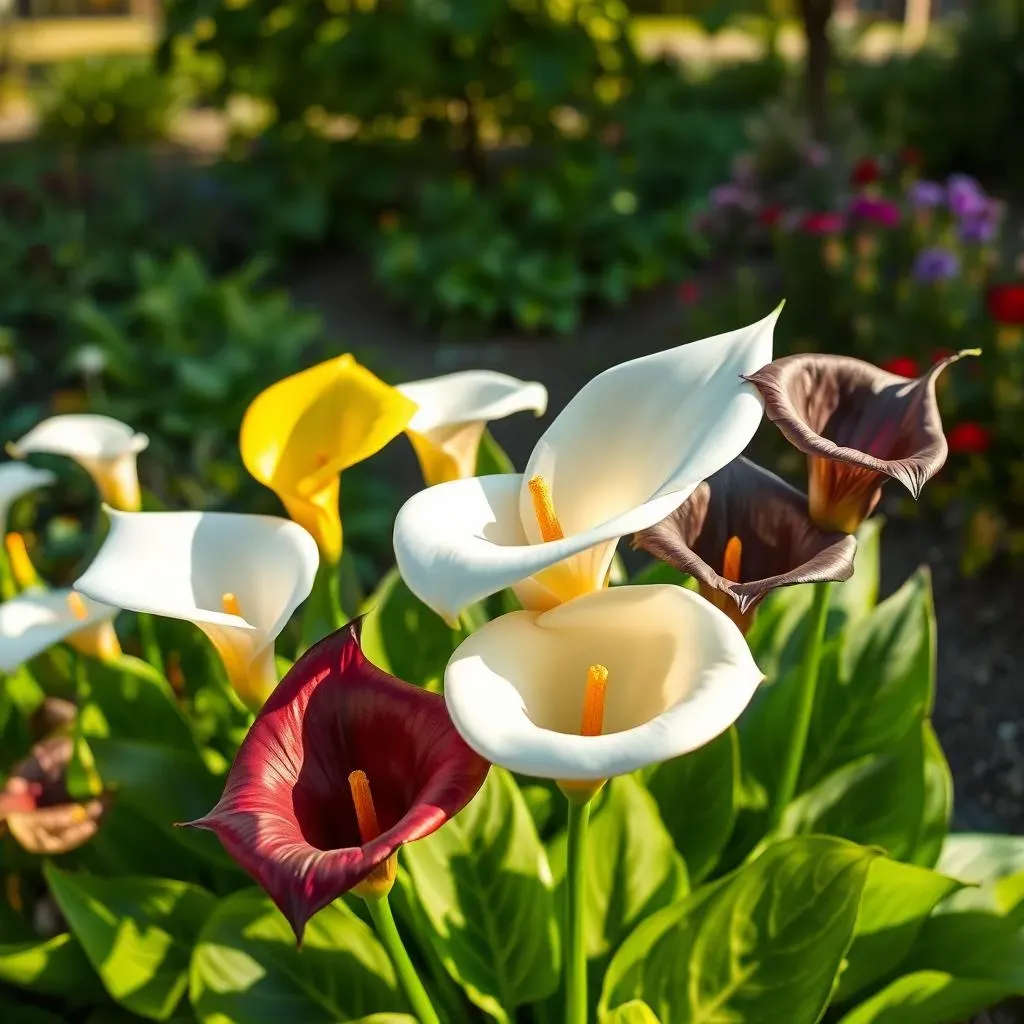
Let's dive into the fascinating world of calla lilies! Did you know there are many different types? They're not all just the classic white ones you see in bouquets. You can find them in a rainbow of colors, from sunny yellows and vibrant oranges to deep purples and even striking blacks! Some have subtly speckled leaves, adding extra visual interest, even when they're not in bloom. Choosing the right type depends on your garden's conditions and your personal preferences. Do you prefer the classic elegance of a white calla lily, or the bold statement of a black one? Think about where you'll plant them – full sun, partial shade, or even indoors – as this will impact your choice. We’ll explore some popular varieties later on.
- Consider the color palette you prefer.
- Think about the size and shape of the flower.
- Choose a variety that suits your climate and light conditions.
Calla Lily Essentials: Sunlight, Soil, and Water
Calla lilies, while relatively low-maintenance, do have some specific needs. They're happiest in well-draining soil that’s slightly acidic (pH 5.6-6.5). Think of it like this: they don't like soggy feet! Too much water can lead to root rot, a common problem. They love sunlight, but avoid harsh, direct midday sun, especially in hotter climates. Think of them as sun-worshippers who prefer a gentle tan rather than a sunburn. They'll reward you with bountiful blooms if you provide the right balance of light and moisture. For indoor calla lilies, consider using a pot with drainage holes and a well-draining potting mix. Remember that consistent moisture is key; avoid letting the soil completely dry out. This is especially important during the growing season. For more detailed information on the perfect soil blend, check out our guide on planting calla lilies in beds.
Factor | Ideal Conditions | Potential Problems |
|---|---|---|
Sunlight | Bright, indirect light | Wilting, leaf burn |
Soil | Well-draining, slightly acidic | Root rot |
Water | Consistent moisture | Wilting, stunted growth |
Planting and Growing Calla Lilies: From Bulbs to Blooms

Planting and Growing Calla Lilies: From Bulbs to Blooms
Planting Calla Lily Bulbs: A Step-by-Step Guide
So, you've got your beautiful calla lily bulbs – now what? Planting them is easier than you think! First, choose a spot with well-drained soil and plenty of bright, indirect sunlight. Remember, those bulbs need to breathe! Dig holes about 4-6 inches deep, spacing them according to the size of your chosen variety. Gently place the bulbs pointy-side up – this is important for successful growth. Cover them with soil, water gently, and you're done! It's really that simple. For more detailed instructions and tips on creating the perfect calla lily bed, check out our guide on creating a calla lily bed. You can even plant them in containers for some extra flexibility! Just make sure those containers have drainage holes.
- Choose a location with well-drained soil and bright, indirect light.
- Plant bulbs pointy-side up, 4-6 inches deep.
- Space bulbs according to variety size.
- Water gently after planting.
Nurturing Your Calla Lilies: From Sprout to Bloom
Once your calla lilies start sprouting, consistent watering is key. Keep the soil moist but not soggy – remember, they don't like wet feet! Regular feeding with a balanced fertilizer will encourage strong growth and abundant blooms. Consider using a slow-release fertilizer to ensure consistent nutrient supply. You might even want to consider using a liquid fertilizer during the peak growing season for extra nourishment! For more information on feeding your calla lilies, check out our article on cut calla lily care. As they grow, you might need to stake taller varieties to prevent them from flopping over. Think of it as giving them a little support to show off their beauty!
Stage | Care Tips |
|---|---|
Sprouting | Consistent watering, avoid overwatering |
Growth | Regular feeding with balanced fertilizer |
Flowering | Stake taller varieties if needed |
Calla Lilies Indoors vs. Outdoors: Choosing Your Growing Space
Whether you plant your calla lilies indoors or outdoors depends on your climate and personal preference. In milder climates (USDA zones 8-10), they can thrive outdoors, adding a touch of elegance to your garden. If you live in a colder region, containers are your best bet – you can bring them indoors during winter to protect them from frost. Indoor calla lilies need bright, indirect sunlight and well-draining potting mix. Think of it as creating a little slice of paradise for them indoors! For a stunning display, consider creating a beautiful calla lily arrangement with your homegrown blooms. No matter where you choose to grow them, remember consistent watering and feeding are key to success.
"The beauty of a calla lily lies not only in its stunning bloom, but also in the journey of nurturing its growth." - Anonymous Garden Enthusiast
Calla Lily Care: Watering, Feeding, and Sunlight

Calla Lily Care: Watering, Feeding, and Sunlight
Watering Your Calla Lilies: The Goldilocks Approach
Watering calla lilies is all about finding that sweet spot – not too much, not too little, but just right! Think of it like this: you want the soil consistently moist, but not waterlogged. Soggy soil leads to root rot, which is a big no-no for these beauties. Water thoroughly when the top inch or two of soil feels dry to the touch. During the growing season (spring and summer), you might need to water more frequently, especially if it's hot and dry. In the colder months, reduce watering to prevent rot. Always make sure your pots have drainage holes to avoid waterlogging. Overwatering is a common mistake, so pay close attention to your plant's needs. For more tips on keeping your cut calla lilies looking fresh and vibrant, check out our guide on caring for cut calla lilies.
- Water thoroughly when the top inch of soil is dry.
- Increase watering frequency during hot, dry weather.
- Reduce watering in colder months.
- Ensure pots have drainage holes.
Feeding Your Calla Lilies: Fueling the Blooms
Just like us, calla lilies need proper nutrition to thrive and produce those gorgeous blooms. Regular feeding with a balanced, water-soluble fertilizer will provide the essential nutrients for healthy growth. Start fertilizing in spring, when new growth begins, and continue through the summer. Follow the instructions on the fertilizer package for the correct dilution rate. Avoid over-fertilizing, as this can harm your plants. Too much fertilizer can lead to leaf burn and other problems. For a beautiful and long-lasting display, consider making stunning calla lily arrangements with your homegrown blooms. A healthy plant is a happy plant, and a happy plant produces abundant flowers!
Fertilizer Type | Application | Frequency |
|---|---|---|
Balanced, water-soluble | Dilute according to package instructions | Every 2-4 weeks during growing season |
Sunlight and Calla Lilies: Finding the Perfect Spot
Calla lilies love sunlight, but they’re not fans of harsh, direct rays. Think of them as preferring dappled shade rather than full sun exposure. Six to eight hours of bright, indirect sunlight is ideal. In hotter climates, afternoon shade is beneficial to prevent leaf burn. If you're growing them indoors, place them near a bright window, but avoid placing them directly in the sun's path. A south-facing window might be too intense, especially during the hottest part of the day. You can even use a sheer curtain to diffuse the light. For stunning calla lily bouquets, make sure to pick the healthiest blooms from your plants. Remember, the right amount of sunlight is crucial for healthy growth and abundant flowering.
"Sunlight is the best fertilizer." - Anonymous Gardener
Troubleshooting Calla Lily Problems: Pests, Diseases, and More

Troubleshooting Calla Lily Problems: Pests, Diseases, and More
Identifying and Addressing Pests
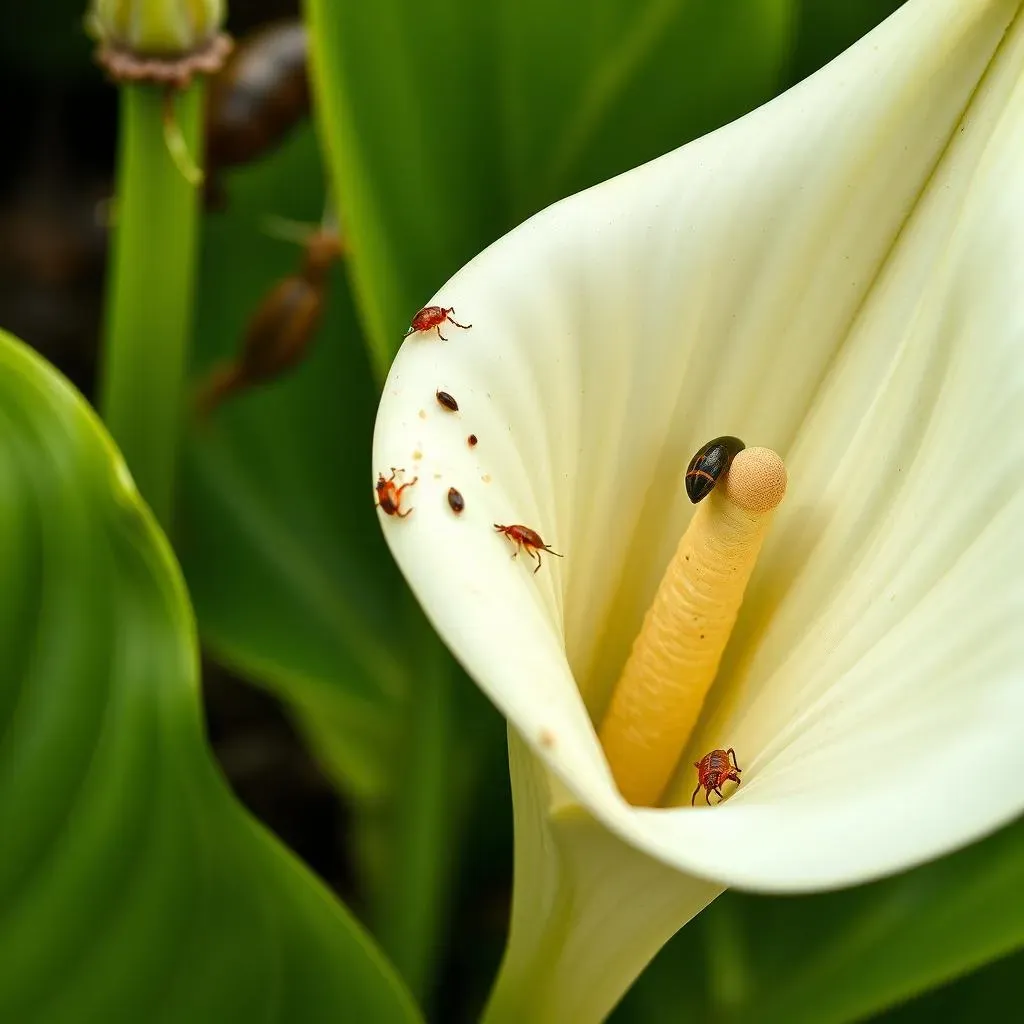
Even with the best care, your calla lilies might encounter some unwelcome guests. Common pests include aphids, spider mites, and slugs. Aphids are tiny, sap-sucking insects that can cause leaf distortion and yellowing. Spider mites, even smaller, create fine webbing on leaves and suck plant juices. Slugs, those slimy garden villains, munch on leaves and stems. Early detection is key! Regularly inspect your plants for signs of infestation. For aphids and spider mites, a strong spray of water can often dislodge them. For slugs, you can use beer traps or handpick them (wear gloves!). More severe infestations might require insecticidal soap or neem oil. Remember to always follow product instructions carefully. For more advice on keeping your cut flowers looking their best, see our guide on cut calla lily care.
- Regularly inspect plants for pests.
- Use strong water spray for minor infestations.
- Consider beer traps or handpicking for slugs.
- Use insecticidal soap or neem oil for severe infestations.
Dealing with Diseases: Prevention and Treatment
Calla lilies can be susceptible to various diseases, including root rot, fungal leaf spots, and bacterial wilt. Root rot, often caused by overwatering, leads to mushy roots and wilting plants. Fungal leaf spots appear as brown or black spots on leaves, while bacterial wilt causes wilting and yellowing. Prevention is key! Ensure well-draining soil, avoid overhead watering (water at the base of the plant), and provide good air circulation to minimize the risk of disease. If you notice signs of disease, remove affected leaves or plants promptly to prevent spread. In some cases, a fungicide or bactericide may be necessary. Always follow product instructions carefully. For inspiration on beautiful arrangements, check out our ideas for calla lily flower arrangements.
Disease | Symptoms | Treatment |
|---|---|---|
Root Rot | Mushy roots, wilting | Improve drainage, remove affected parts |
Leaf Spots | Brown or black spots on leaves | Remove affected leaves, use fungicide |
Bacterial Wilt | Wilting, yellowing | Remove affected plants, use bactericide |