Table of Contents
Prepare to be captivated by the elegant allure of the calla lily flower! This comprehensive guide will take you on a journey from planting your first calla lily bulb to mastering the art of care and troubleshooting common problems. We'll explore the fascinating world of calla lilies, uncovering the secrets to cultivating these stunning blooms in your own garden or as vibrant houseplants. Discover the diverse range of colors and varieties available, from the classic white to vibrant shades of yellow, pink, and even deep burgundy. Learn practical, step-by-step instructions for planting and nurturing your calla lilies, ensuring healthy growth and abundant flowering. We'll equip you with expert tips on watering, fertilizing, and dealing with potential pests and diseases, so you can confidently cultivate these exquisite additions to your landscape. Get ready to transform your garden or home with the timeless beauty of the calla lily flower – let's begin!
Planting Your Calla Lily Flowers: A StepbyStep Guide

Planting Your Calla Lily Flowers: A StepbyStep Guide
Choosing the Right Time and Location
Timing is everything when it comes to planting calla lilies. Wait until after the last frost has passed in your area, typically sometime in spring. The soil should be warm enough for good root development. Think of it like this: you wouldn't jump into a freezing cold pool, would you? Your calla lilies feel the same way about cold soil! They need a warm welcome.
Next, choose a sunny spot. Calla lilies love sunlight, but they also appreciate a bit of shade during the hottest part of the day, especially in warmer climates. A location with morning sun and afternoon shade is ideal. Too much direct sun can scorch their leaves, leading to unhappy plants. Finding the perfect balance is key.
Location | Sunlight | Soil Temperature |
|---|---|---|
Partial Shade/Morning Sun | 6-8 hours | 60-70°F (15-21°C) |
Preparing the Soil and Planting the Rhizomes
Calla lilies thrive in well-drained soil that's rich in organic matter. Before planting, amend your soil with compost or aged manure to improve its texture and fertility. Think of it as giving your calla lilies a delicious, nutritious meal to help them grow strong and healthy. You wouldn't serve your family bland food, would you? Your calla lilies deserve the best!
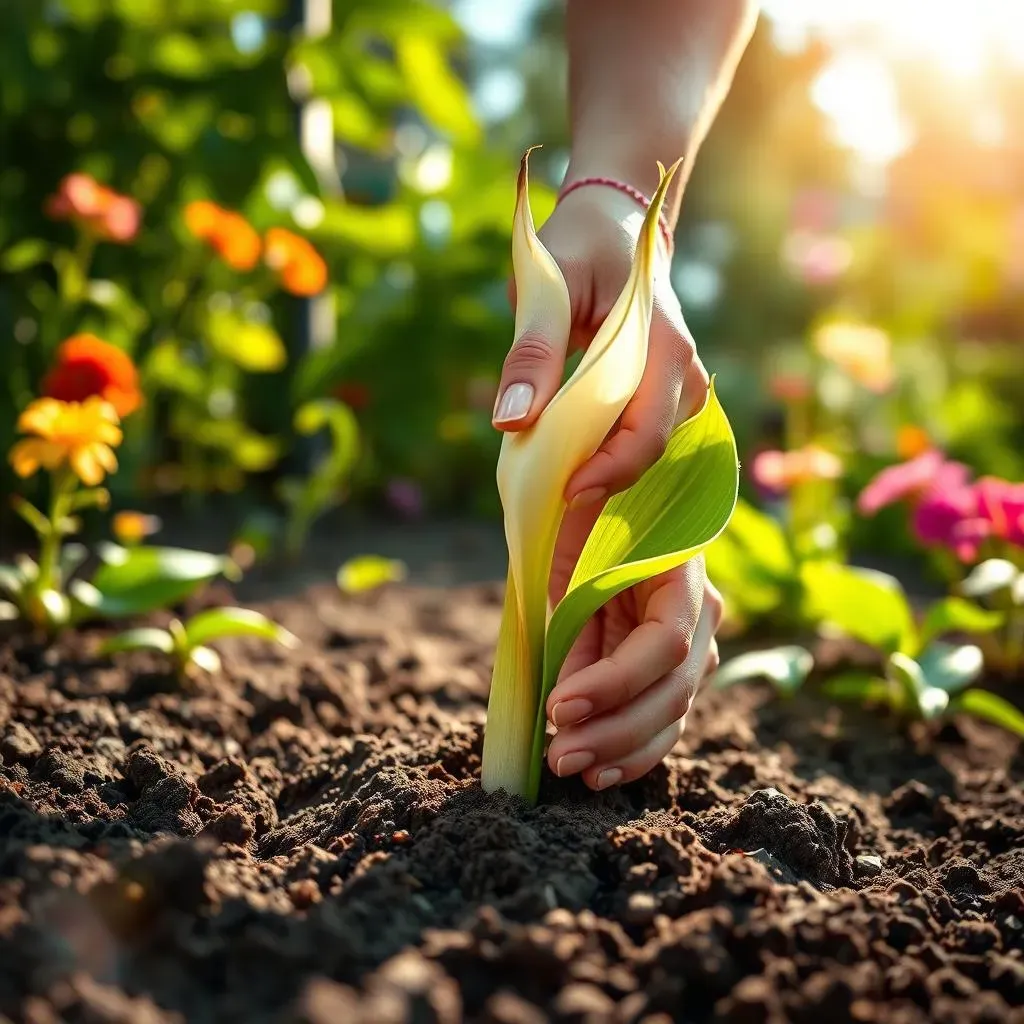
Plant the rhizomes (the underground stems) about 2-4 inches deep and 6-12 inches apart, depending on the size of the rhizome. Make sure the pointed end, which is where the leaves will grow from, faces upwards. Imagine planting a tiny sleeping dragon – you need to make sure it's facing the right direction to wake up happy and healthy.
- Amend soil with compost or manure
- Plant rhizomes 2-4 inches deep
- Space rhizomes 6-12 inches apart
- Ensure pointed end faces upwards
Calla Lily Flower Care: Watering, Fertilizing, and More

Calla Lily Flower Care: Watering, Fertilizing, and More
Watering Your Calla Lilies: The Goldilocks Approach
Watering your calla lilies is a delicate dance. You want to keep the soil consistently moist, but not soggy. Think of it like this: you wouldn't want to drown your plants, would you? Overwatering can lead to root rot, a nasty disease that can kill your plants. Underwatering, on the other hand, will lead to wilting and unhappy blooms. Aim for a happy medium – consistently moist soil that's never waterlogged.
Water deeply but infrequently, allowing the top inch or two of soil to dry out slightly between waterings. The frequency will depend on your climate, soil type, and the time of year. During hot, dry periods, you'll need to water more often. During cooler, wetter periods, you can water less frequently. Pay attention to your plants – they'll tell you what they need!
Watering Frequency | Soil Condition | Signs of Under/Overwatering |
|---|---|---|
Every 2-3 days (hot weather) | Moist, not soggy | Wilting (underwatering), yellowing leaves (overwatering) |
Every 5-7 days (cooler weather) | Slightly dry on top | Dry soil, drooping leaves (underwatering), mushy stems (overwatering) |
Fertilizing for Flourishing Calla Lilies
To encourage abundant blooms, feed your calla lilies regularly during their growing season (spring and summer) with a balanced liquid fertilizer. Think of fertilizer as a multivitamin for your plants – it provides essential nutrients to keep them healthy and strong. Use a diluted solution, following the instructions on the fertilizer packaging. Over-fertilizing can be just as harmful as under-fertilizing, so be careful not to overdo it.
Stop fertilizing in the fall as your calla lilies begin to go dormant. Just like we need less food in winter when we're less active, your calla lilies need less "food" when they're resting. It's a good idea to switch to a balanced fertilizer in spring to ensure your calla lilies get a boost of energy for the growing season. You'll be rewarded with gorgeous blooms!
- Use a balanced liquid fertilizer during spring and summer.
- Dilute the fertilizer according to package instructions.
- Stop fertilizing in the fall.
- Resume fertilizing in the spring.
Different Types of Calla Lily Flowers: Colors and Varieties

Different Types of Calla Lily Flowers: Colors and Varieties
Exploring the Rainbow of Calla Lily Colors
So, you're diving into the world of calla lilies? Fantastic! Let me tell you, the variety is amazing. Forget the boring old white ones – although they're classic and beautiful – there's a whole spectrum of colors out there. We're talking sunny yellows, blushing pinks, fiery oranges, deep burgundies, almost-black purples... the list goes on! It's like a rainbow exploded in a flower shop. You can find varieties with speckled petals, two-toned blooms, and even those with a lovely, almost velvety texture. It's a feast for the eyes!
Different varieties also have different sizes and shapes. Some have delicate, almost ethereal flowers, while others boast large, dramatic blooms that make a real statement. The foliage varies too – some have lush, dark green leaves, while others have lighter, almost silvery tones. It's a world of choices, and the best part is, you can mix and match to create a truly stunning display in your garden.
Color | Variety Name (Example) | Characteristics |
|---|---|---|
White | Zantedeschia aethiopica | Classic, large blooms, elegant |
Yellow | 'Golden Celebration' | Bright, cheerful, medium-sized blooms |
Pink | 'Pink Mist' | Delicate, pastel shade, smaller blooms |
Burgundy | 'Black Star' | Dramatic, deep color, large blooms |
Choosing the Right Calla Lily for You
Picking the perfect calla lily really depends on your personal taste and the space you have available. Do you want something bold and dramatic, or something delicate and understated? Do you have a large garden or just a small patio? Think about the overall look you want to achieve. Do you want a splash of vibrant color, or a more subdued, elegant feel? The possibilities are endless!
Consider the climate too. Some varieties are better suited to warmer climates, while others can tolerate cooler temperatures. Do your research and choose varieties that will thrive in your specific location. Remember, a happy plant is a healthy plant, and a healthy plant will reward you with stunning blooms. Don't be afraid to experiment and find your favorites!
- Consider your personal preferences and available space.
- Think about the overall look you want to achieve.
- Choose varieties suitable for your climate.
- Don't be afraid to experiment!
Troubleshooting Calla Lily Flower Problems: Pests and Diseases

Troubleshooting Calla Lily Flower Problems: Pests and Diseases
Identifying Common Pests
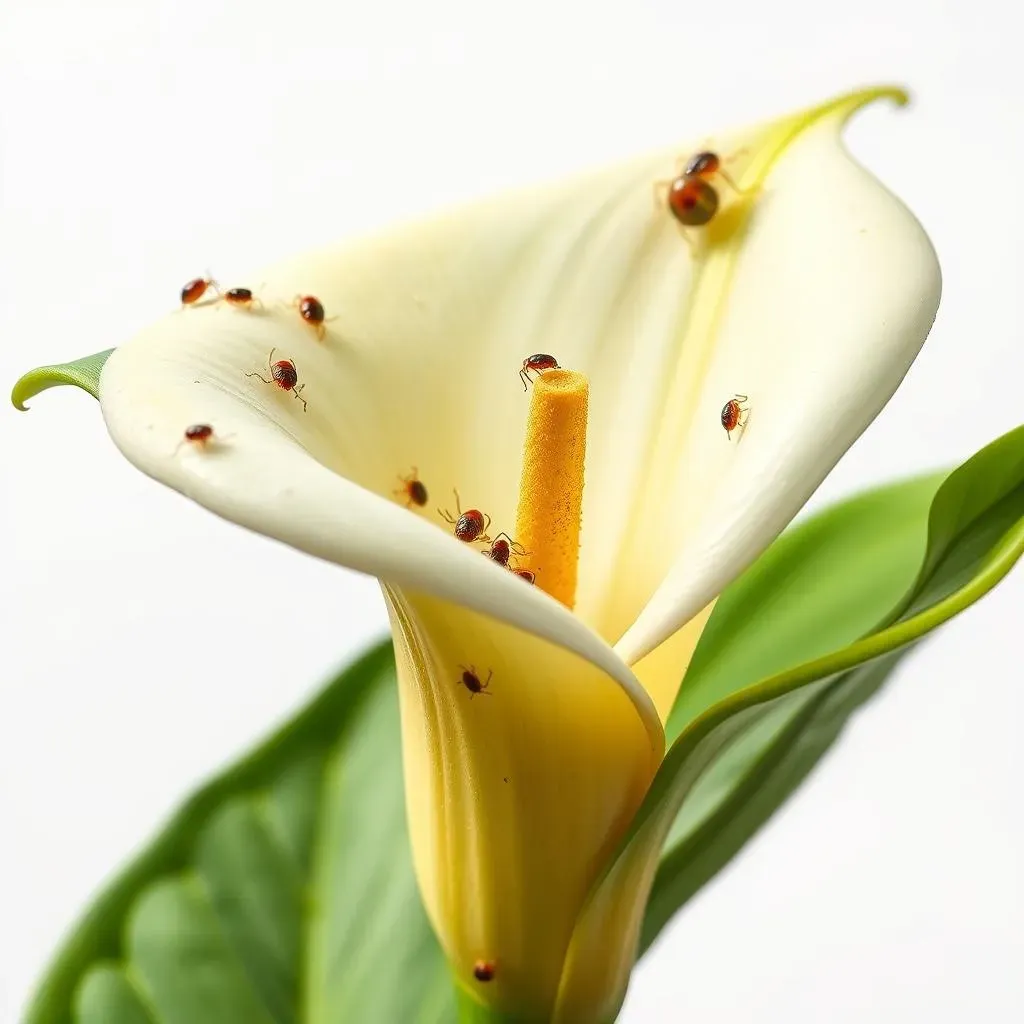
Even with the best care, your calla lilies might encounter some unwelcome guests. Common pests include aphids, spider mites, and mealybugs. Aphids are tiny, soft-bodied insects that suck sap from the leaves, causing them to curl and yellow. Spider mites are even smaller, and their presence is often revealed by fine webbing on the leaves. Mealybugs are small, white, fluffy insects that cluster along stems and leaf undersides. Spotting these early is crucial for effective treatment.
Regular inspection is your best defense. Regularly check your plants for any unusual signs – discoloration, wilting, or strange growths. Early detection allows for easier treatment and prevents major infestations. Think of it like a health check-up for your plants. A little preventative care goes a long way!
Pest | Signs of Infestation | Treatment |
|---|---|---|
Aphids | Curled, yellowing leaves | Insecticidal soap, strong water spray |
Spider Mites | Fine webbing on leaves, stippling | Miticides, neem oil |
Mealybugs | White, fluffy insects on stems and leaves | Isopropyl alcohol, systemic insecticides |
Dealing with Diseases
While pests are annoying, diseases can be even more devastating. Root rot, caused by overwatering, is a common problem. Symptoms include mushy stems and wilting leaves, even with adequate watering. Leaf spot diseases, characterized by brown or black spots on the leaves, can also occur. These are often fungal infections, and they can spread quickly if left untreated. Prevention is always better than cure, so remember those well-drained soils and good air circulation.
If you suspect a disease, isolate the affected plant to prevent the spread. Remove and destroy any severely affected leaves or stems. For fungal diseases, a fungicide may be necessary. Always follow the instructions on the product label carefully. Remember, a healthy plant is a happy plant, and a little preventative care can save you a lot of heartache later on. Think of it as a bit of plant first aid!
- Root rot: caused by overwatering, leading to mushy stems and wilting.
- Leaf spot diseases: fungal infections causing brown or black spots on leaves.
- Prevention: well-drained soil, good air circulation.
- Treatment: isolate affected plants, remove diseased parts, use fungicides if necessary.