Table of Contents
Calla lilies, with their elegant trumpet-shaped blooms, are a favorite for bouquets and arrangements. But their beauty is fleeting unless you know the secrets to proper calla lily cut flower care. This article is your comprehensive guide to keeping those stunning blooms fresh and vibrant for as long as possible. We'll walk you through everything from the best time to cut your calla lilies and how to prepare them for their vase life, to expert tips for maintaining their freshness and troubleshooting common problems. Discover the simple yet effective techniques that will transform your calla lily cut flower care, ensuring your arrangements remain show-stopping centerpieces for days to come. Get ready to unlock the secrets to longer-lasting beauty with our practical, step-by-step guide to calla lily cut flower care. Prepare to be amazed at how simple it is to extend the life of these exquisite blooms!
Preparing Calla Lilies for Cutting: A Calla Lily Cut Flower Care Guide

Preparing Calla Lilies for Cutting: A Calla Lily Cut Flower Care Guide
Timing is Everything: When to Cut Your Calla Lilies
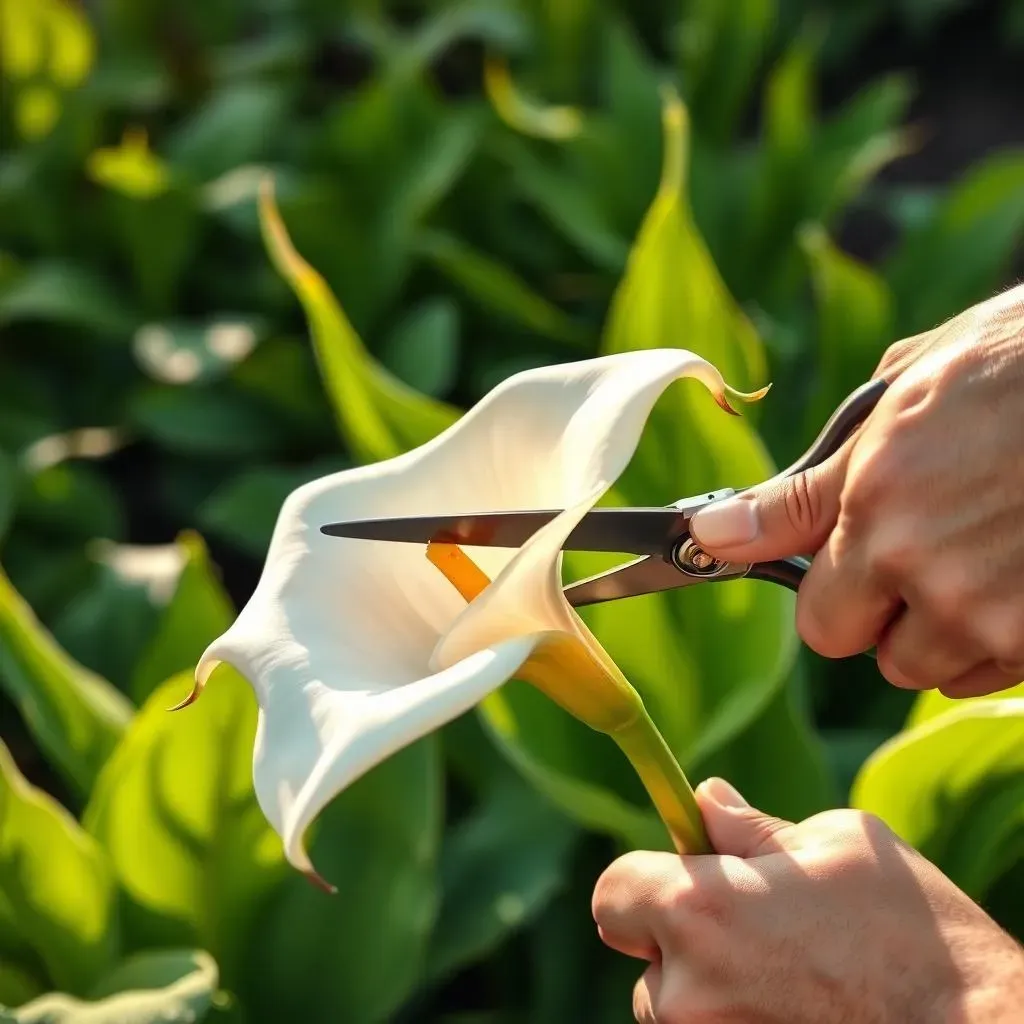
The secret to long-lasting cut calla lilies starts long before you even pick up your shears. Think of it like baking a cake – you wouldn't throw ingredients together randomly, would you? The same principle applies here. The ideal time to harvest your calla lilies is early in the morning, after the dew has dried but before the sun gets too intense. This minimizes stress on the flowers, helping them stay hydrated and vibrant.
Why morning? Because the flowers are naturally more hydrated after a night's rest. Plus, the cooler morning temperatures help prevent wilting. It's like giving them a refreshing morning drink before their big debut in a vase. Don't cut them when they're completely open, either; a slightly closed bloom is best. This ensures a longer vase life. It's all about giving them a head start.
Time of Day | Reasoning |
|---|---|
Early Morning | Flowers are most hydrated, cooler temperatures prevent wilting. |
Avoid midday sun | Direct sunlight stresses the flowers, leading to premature wilting. |
Tools of the Trade: The Right Equipment for the Job
Now that you've chosen the perfect moment, it's time to talk tools. You wouldn't try to build a house with a spoon, would you? Similarly, using the right tools is key for successful calla lily harvesting. Forget those dull kitchen scissors; you need a sharp, clean knife or pruning shears. A sharp blade makes a clean cut, minimizing damage to the stem and promoting better water uptake. Think of it as a precise surgery for your flowers; you want a smooth, clean incision.
Before you start snipping, make sure your tools are clean. Bacteria and fungi can enter the stem through cuts, leading to premature wilting. Give your knife or shears a quick wipe-down with rubbing alcohol to eliminate any potential pathogens. It's a small step, but it makes a big difference in extending the life of your blooms. It's like giving your flowers a pre-vase spa treatment.
- Sharp knife or pruning shears
- Clean tools (rubbing alcohol is ideal)
- A bucket of water (to immediately place cut stems)
Maintaining the Freshness of Cut Calla Lilies: Expert Calla Lily Cut Flower Care Tips

Maintaining the Freshness of Cut Calla Lilies: Expert Calla Lily Cut Flower Care Tips
The Importance of a Proper Vase: Your Calla Lily's New Home
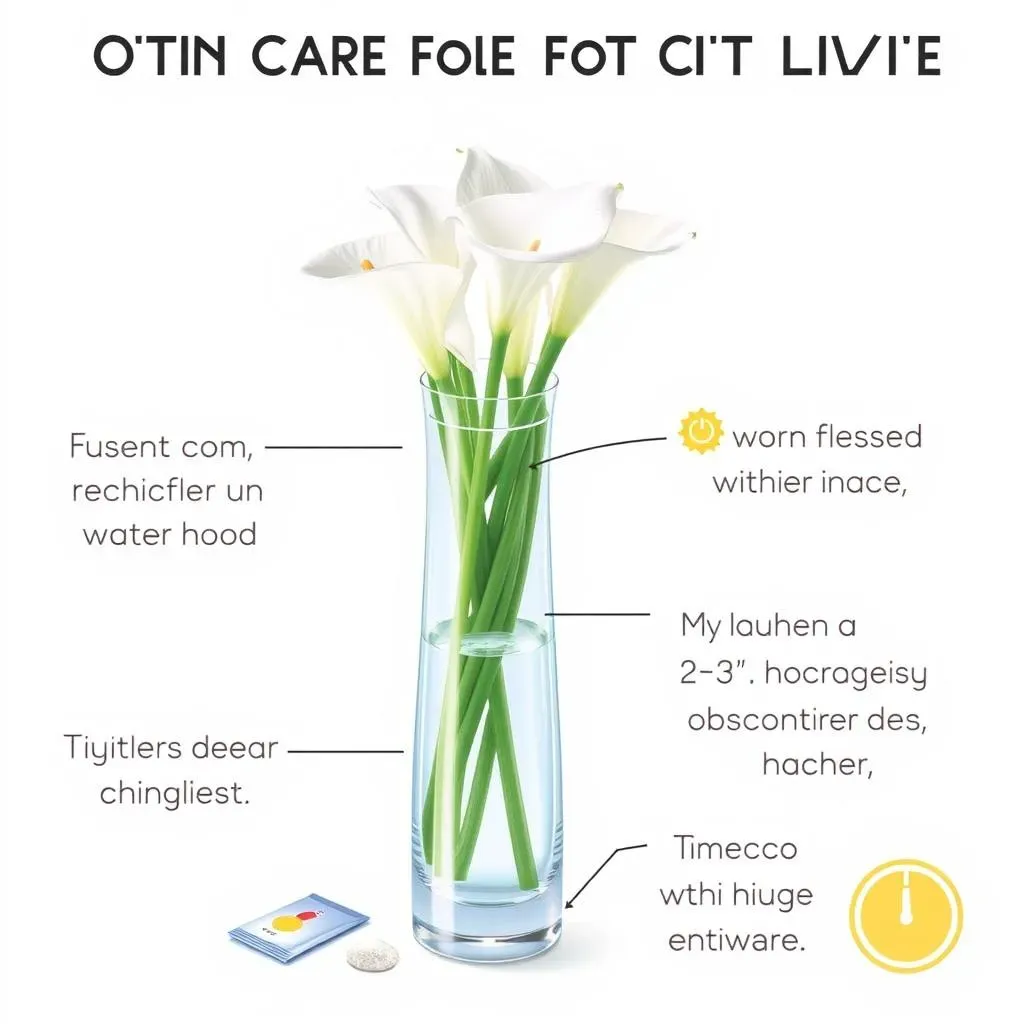
Once your calla lilies are cut, their new home is crucial. Don't just throw them in any old container! Choose a clean vase – bacteria are the enemy here, remember? – and make sure it's tall enough to support the stems without overcrowding. Cramming them in is like forcing a giraffe into a hamster cage; it's not going to end well. A vase with a narrow neck is ideal, as it helps keep the flowers upright and prevents them from flopping over. Think of it as giving them a supportive, elegant environment.
The water level is also critical. You want enough water to cover at least a couple of inches of the stem, but not so much that it drowns the flowers. Overwatering is just as bad as underwatering. It's a delicate balance, like finding the perfect temperature for your bath – not too hot, not too cold, just right. And always use fresh, cool water; warm water encourages bacterial growth, which will shorten your lilies' lifespan. It's like giving them a refreshing dip in a mountain spring.
Vase Type | Ideal Water Level | Water Temperature |
|---|---|---|
Tall, narrow-necked vase | 2-3 inches | Cool (room temperature) |
Avoid wide-mouthed vases | N/A | Avoid warm water |
Flower Food and Other Refreshments: Boosting Your Calla Lilies' Vitality
Now, let's talk about giving your calla lilies a little extra TLC. Commercial flower food is a great option; it contains nutrients and preservatives that help keep the flowers hydrated and fight off bacteria. It's like giving them a multivitamin for flowers. If you don't have flower food, a teaspoon of sugar dissolved in the water can provide a similar boost. Sugar acts as a natural preservative and provides the flowers with some extra energy. Think of it as a sugary pick-me-up.
Beyond food, location matters. Keep your vase away from direct sunlight, heating vents, and drafts. These conditions can cause your lilies to dehydrate quickly, leading to wilting. It's like putting your flowers in a sauna – not a pleasant experience for anyone. Choose a cool, well-ventilated spot, away from any harsh conditions. Regularly changing the water (every other day) will also help keep them fresh. It's like giving them a regular bath and fresh clothes; they appreciate the clean environment.
- Use commercial flower food or a teaspoon of sugar.
- Keep away from direct sunlight, heat, and drafts.
- Change the water every other day.
Troubleshooting Common Calla Lily Cut Flower Care Issues

Troubleshooting Common Calla Lily Cut Flower Care Issues
Troubleshooting Common Calla Lily Cut Flower Care Issues
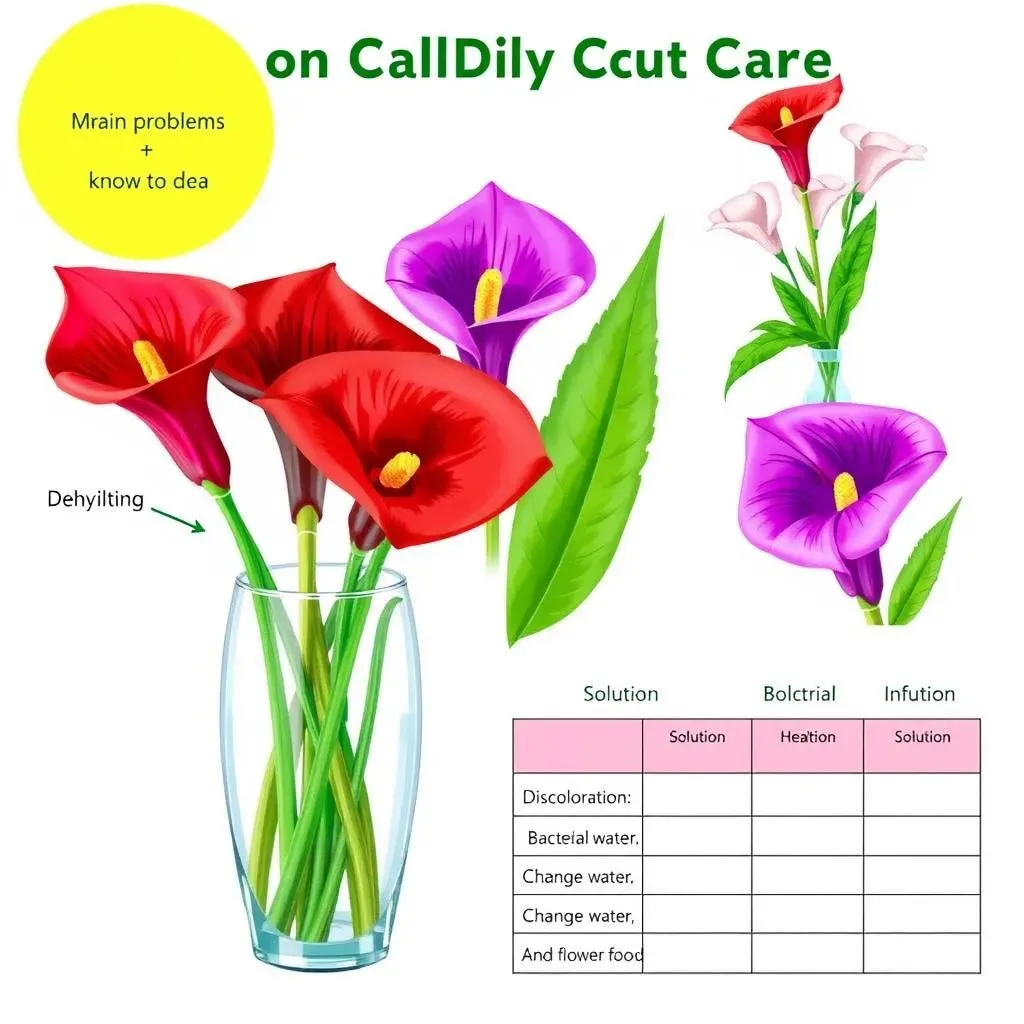
So, you've followed all the advice, but your calla lilies still aren't looking their best? Don't despair! Even with the best care, things can go wrong. Let's tackle some common problems and their solutions. Wilting, for example, is often a sign of dehydration. Check the water level in the vase; it might need topping up. If the water is murky, replace it immediately with fresh, cool water, and add fresh flower food or sugar. Drooping could also indicate that the stems need a fresh cut – a quick snip at a 45-degree angle will help them rehydrate. Sometimes, the problem isn't about water at all; it could be the environment. Make sure the lilies aren't near a heat source or in direct sunlight.
Another common issue is discoloration or spotting on the petals. This is often caused by bacteria or fungal infections, which is why keeping your tools and vase clean is so important. If you notice discoloration, remove any affected petals and immediately change the water, adding fresh flower food. Sometimes, the discoloration could be from the pollen itself; calla lily pollen can stain, so handling them gently is key. If you notice any unusual smells, it's a sign of bacterial growth, so it's time for a complete water change and a thorough cleaning of the vase. Remember, prevention is key; keeping your calla lilies in a cool, clean environment and providing fresh water and food will go a long way in preventing these issues.
Problem | Possible Cause | Solution |
|---|---|---|
Wilting | Dehydration, bacterial growth | Add water, change water, recut stems |
Drooping | Dehydration, blocked stems | Recut stems, add water |
Discoloration | Bacterial or fungal infection, pollen | Remove affected petals, change water, add flower food |
Unpleasant Odor | Bacterial growth | Thoroughly clean vase, change water |
Remember, even the most experienced florist occasionally faces challenges with their blooms. The key is to observe your calla lilies closely, identify the problem early, and take swift action to address it. Don't be afraid to experiment with different techniques to find what works best for you and your flowers. Happy growing (and arranging)!
- Regularly inspect your calla lilies for any signs of wilting, drooping, discoloration, or unpleasant odors.
- Don't hesitate to experiment with different methods of care to find what works best for your specific environment and flowers.
- Above all, remember that even experienced florists occasionally encounter challenges. Patience and observation are key!