Table of Contents
Have you ever stopped to wonder what's going on inside that stunning calla lily flower? Beyond its elegant, trumpet-like shape and vibrant colors, lies a fascinating world of botanical secrets. This article will take you on a journey to explore the mysteries of the "calla lily bulbs inside flower," revealing the unique structure of this captivating bloom. We'll uncover the secrets of the bulb itself, delving into its role in the plant's life cycle and how it contributes to the flower's breathtaking beauty. We'll then guide you through the process of planting these bulbs, from selecting the perfect ones to nurturing them into vibrant, blooming plants. Finally, we'll tackle some common challenges faced by calla lily growers, providing practical solutions to ensure your success. Get ready to uncover the hidden wonders of the calla lily, and learn how to cultivate these stunning flowers in your own garden or home. Prepare to be amazed by the intricate details and simple elegance of the calla lily bulbs inside flower!
Calla Lily Bulbs: What's Inside? A Closer Look

Calla Lily Bulbs: What's Inside? A Closer Look
The Rhizome's Role
Unlike true bulbs like tulips or daffodils, calla lilies don't have a bulb in the traditional sense. Instead, they grow from a rhizome – a thick, fleshy underground stem that acts like a storage organ. Think of it as a horizontal root that stores energy and nutrients, allowing the plant to survive and thrive. This rhizome is the heart of the calla lily, the source of its strength and beauty. It's from this rhizome that the roots, leaves, and eventually the striking flowers emerge.
The rhizome isn't just a passive storage unit; it's actively involved in the plant's growth and reproduction. It sends out shoots, both above and below ground, expanding the plant's reach and allowing it to spread. These shoots develop into leaves, providing energy through photosynthesis, and eventually into the magnificent flower stalks we admire. The size and health of the rhizome directly influence the plant’s vigor and the abundance of its blooms.
Rhizome Feature | Description |
|---|---|
Size | Larger rhizomes generally produce more flowers. |
Firmness | Firm, plump rhizomes indicate good health. |
Color | Healthy rhizomes are usually light brown or tan. |
Exploring the Flower's Inner Workings
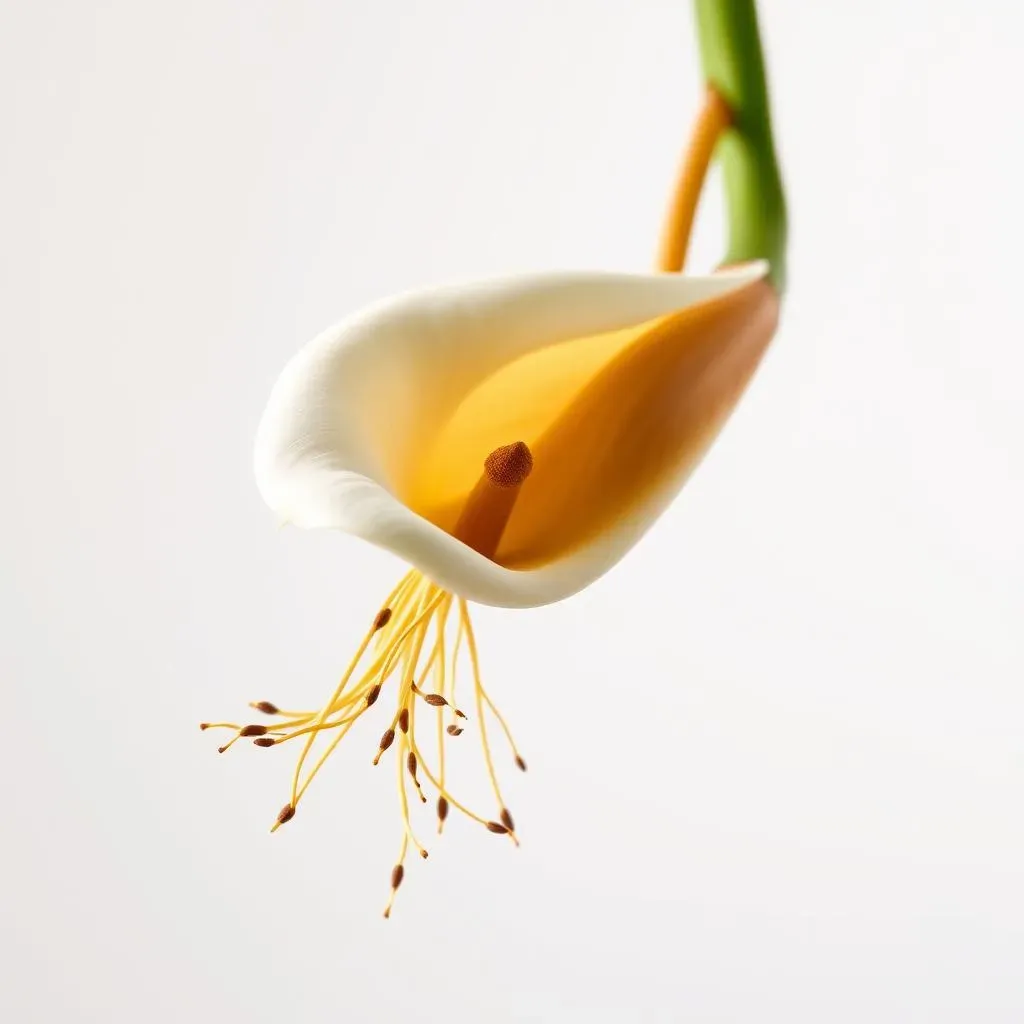
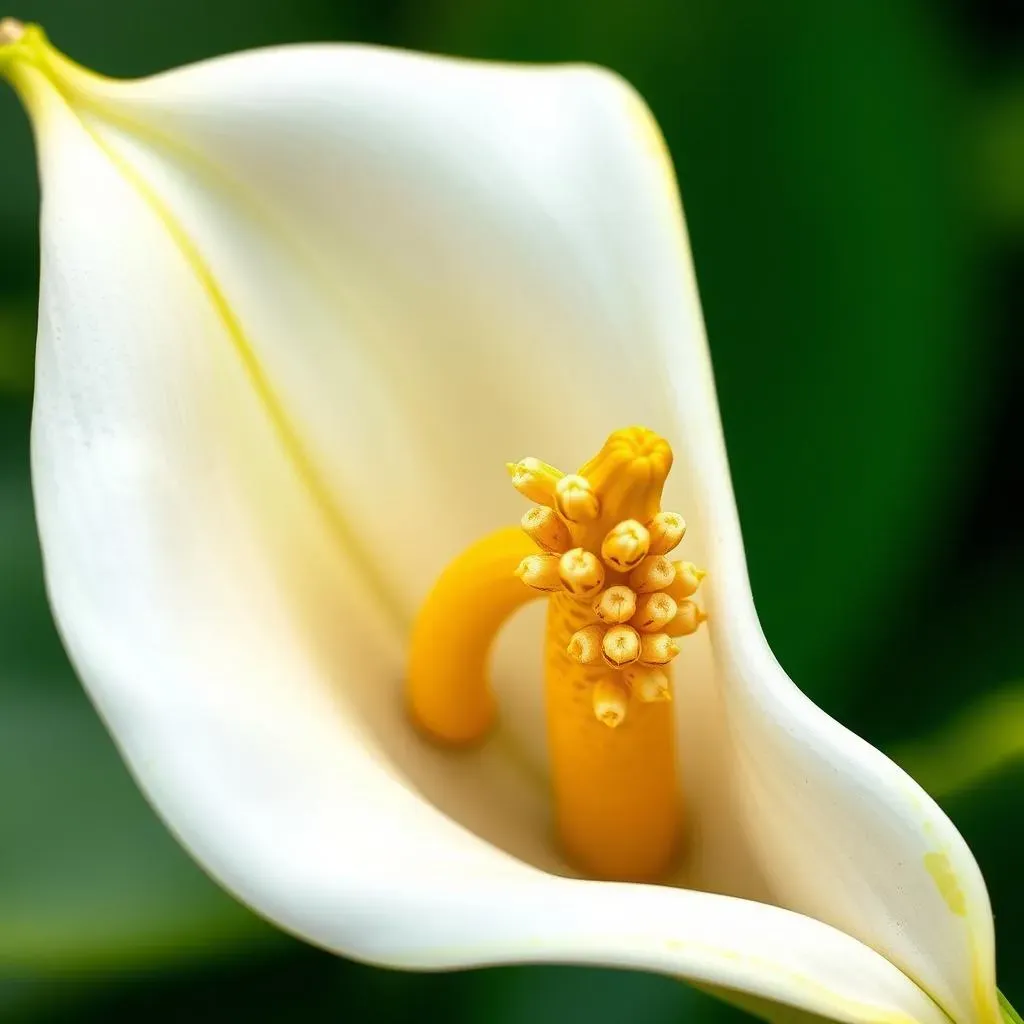
The showy part of the calla lily that we often call a "flower" is actually a modified leaf called a spathe. This spathe is a striking, funnel-shaped structure that surrounds the true flower, a slender, spike-like structure called a spadix. The spadix bears tiny, individual flowers, tightly clustered together. These tiny flowers are the plant's reproductive organs, responsible for producing seeds.
The vibrant colors and elegant shape of the spathe are crucial for attracting pollinators like insects and even small birds. They're attracted to the spathe's bright hues and unique form, leading them to the spadix, where pollination occurs. This intricate interplay between the spathe and the spadix is a testament to the calla lily's ingenious design, showcasing nature's artistry and efficiency.
- Spathe: The showy, modified leaf.
- Spadix: The central spike bearing tiny flowers.
- Tiny Flowers: The plant's reproductive organs.
The Calla Lily's Unique Flower Structure: Beyond the Beauty

The Calla Lily's Unique Flower Structure: Beyond the Beauty
The Calla Lily's Unique Flower Structure: Beyond the Beauty
So, you're diving into the world of calla lilies? Fantastic! It's a surprisingly complex and beautiful world. What most people think of as the flower – that elegant, funnel-shaped spathe – isn't actually the flower at all! It's a modified leaf, a brilliantly colored bract designed to attract pollinators. The true flowers are tiny and inconspicuous, clustered tightly along the central spadix. This spadix is a unique feature, a fleshy spike that holds hundreds of these tiny flowers. It's a clever evolutionary strategy; the showy spathe draws attention, leading pollinators directly to the pollen-producing flowers on the spadix. This whole arrangement—spathe and spadix working together—is a masterclass in natural design.
Think of it like this: the spathe is the glamorous billboard, advertising the hidden treasure (the spadix and its tiny flowers) to the pollinators. Without the spathe, the tiny flowers would be almost invisible, and the plant's reproductive success would drastically decrease. The spathe's vibrant colors and shape are not just for show; they're essential for the plant's survival. The size and shape of both the spathe and spadix vary depending on the calla lily cultivar, contributing to the incredible diversity of these plants.
- Pollination: The spathe attracts pollinators to the tiny flowers on the spadix.
- Color Variation: Spathe color varies widely, from pure white to deep purple and even black.
- Shape and Size: The size and shape of the spathe and spadix are cultivar-specific.
One interesting thing about the spadix is its temperature. Some research suggests it can actually generate heat, further attracting pollinators. The heat helps to release the scent of the tiny flowers, making them even more appealing to insects. This is a fascinating example of how plants use a combination of visual and olfactory cues to ensure their reproductive success. It's a subtle but crucial detail that highlights the sophistication of the calla lily's design. The more you learn, the more you appreciate the intricate details of this seemingly simple flower.
Considering the whole structure, the calla lily's flower is a perfect example of form following function. Every element—from the vibrant spathe to the heat-generating spadix—works together in perfect harmony to ensure the plant's survival and reproduction. It’s a remarkable piece of evolutionary engineering, a testament to the power of natural selection. The next time you see a calla lily, take a moment to appreciate the complex beauty hidden within its seemingly simple design. It’s a world of intricate details waiting to be discovered.
Structure | Function |
|---|---|
Spathe | Attracts pollinators |
Spadix | Bears the tiny flowers |
Tiny Flowers | Reproduction |
Planting Calla Lily Bulbs: From Bulb to Bloom

Planting Calla Lily Bulbs: From Bulb to Bloom
Choosing Your Calla Lily Rhizomes
So, you're ready to plant some calla lilies? Excellent! The first step is choosing healthy rhizomes. Think of these rhizomes as the foundation of your beautiful blooms. Look for rhizomes that are firm and plump, not shriveled or soft. A healthy rhizome will feel heavy for its size. Avoid any that show signs of rot or damage. The color should be a light brown or tan; dark spots or discoloration can indicate disease. Bigger isn't always better, but larger, healthier rhizomes usually produce more flowers. It's a bit like choosing a seed for a watermelon – you want one that's plump and shows promise!
When buying rhizomes, check the vendor's reputation. Reputable sources will provide high-quality, disease-free rhizomes. Read reviews and check for guarantees. It's worth investing a little extra to ensure success. Remember, a small investment in healthy rhizomes will pay off handsomely with a stunning display of blooms. You wouldn't start building a house on a cracked foundation, would you? The same principle applies to planting your calla lilies.
Characteristic | Description |
|---|---|
Size | Larger rhizomes generally produce more flowers. |
Firmness | Firm, plump rhizomes indicate good health. |
Color | Healthy rhizomes are usually light brown or tan. |
Planting Your Rhizomes: Location and Soil
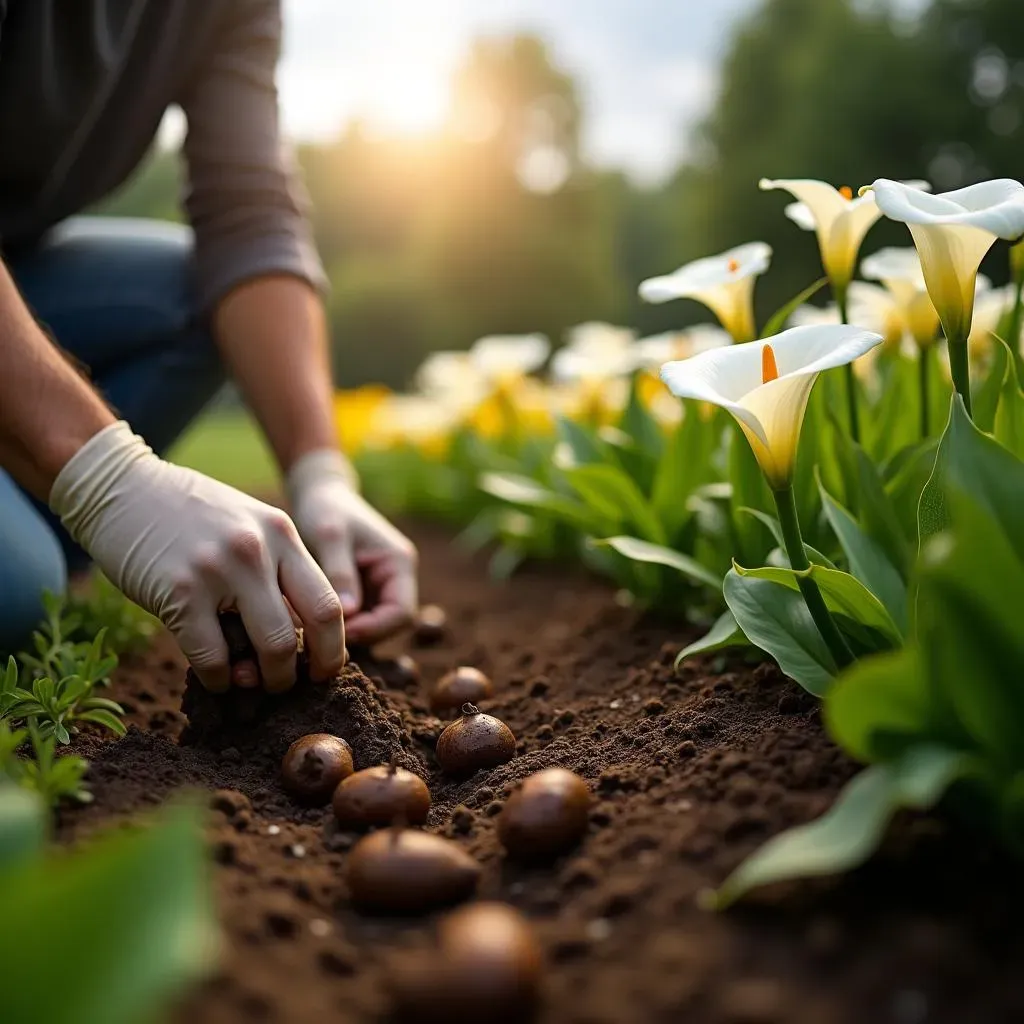
Now comes the fun part – planting! Calla lilies thrive in well-drained soil that's rich in organic matter. Think of it as providing a luxurious five-star hotel for your rhizomes. Amend heavy clay soils with compost or other organic materials to improve drainage. Poor drainage can lead to rot, so this step is crucial. Calla lilies prefer a location with partial shade, especially in hotter climates. Direct, intense sunlight can scorch their leaves. A spot that receives morning sun and afternoon shade is ideal. Mimicking their natural habitat is key to success.
Plant the rhizomes with their "eyes" (growing points) facing upwards. These eyes are usually lighter in color than the rest of the rhizome. Plant them about 2-3 inches deep and 6-12 inches apart, depending on the size of the rhizome and the variety you've chosen. Water thoroughly after planting, but avoid overwatering. Overwatering can lead to root rot, so aim for consistently moist but not soggy soil. Imagine you're giving them a refreshing drink, not drowning them! Consistent watering is crucial, especially during the growing season.
- Soil: Well-drained, rich in organic matter.
- Sunlight: Partial shade (morning sun, afternoon shade).
- Planting Depth: 2-3 inches deep.
- Spacing: 6-12 inches apart.
Nurturing Your Calla Lilies: Watering and Fertilizing
Once your calla lilies are planted, consistent watering is key. Keep the soil evenly moist but not waterlogged. Overwatering is a common mistake that can lead to root rot and other problems. Let the top inch or two of soil dry out slightly between waterings. During dry spells, you may need to water more frequently. Think of it like checking a baby's diaper – you want it consistently moist, but not soaking wet!
Fertilizing your calla lilies will encourage vigorous growth and abundant blooms. Use a balanced, slow-release fertilizer according to package directions. Over-fertilizing can be harmful, so follow the instructions carefully. Avoid using fertilizers high in nitrogen, as this can lead to excessive leaf growth at the expense of flowers. A balanced approach is essential for healthy plants and stunning blooms. Remember, a little goes a long way, and consistent care will yield the best results. Patience and consistent care are the secrets to success with calla lilies.
Troubleshooting Calla Lily Bulbs: Addressing Common Issues

Troubleshooting Calla Lily Bulbs: Addressing Common Issues
Yellowing Leaves and Wilting
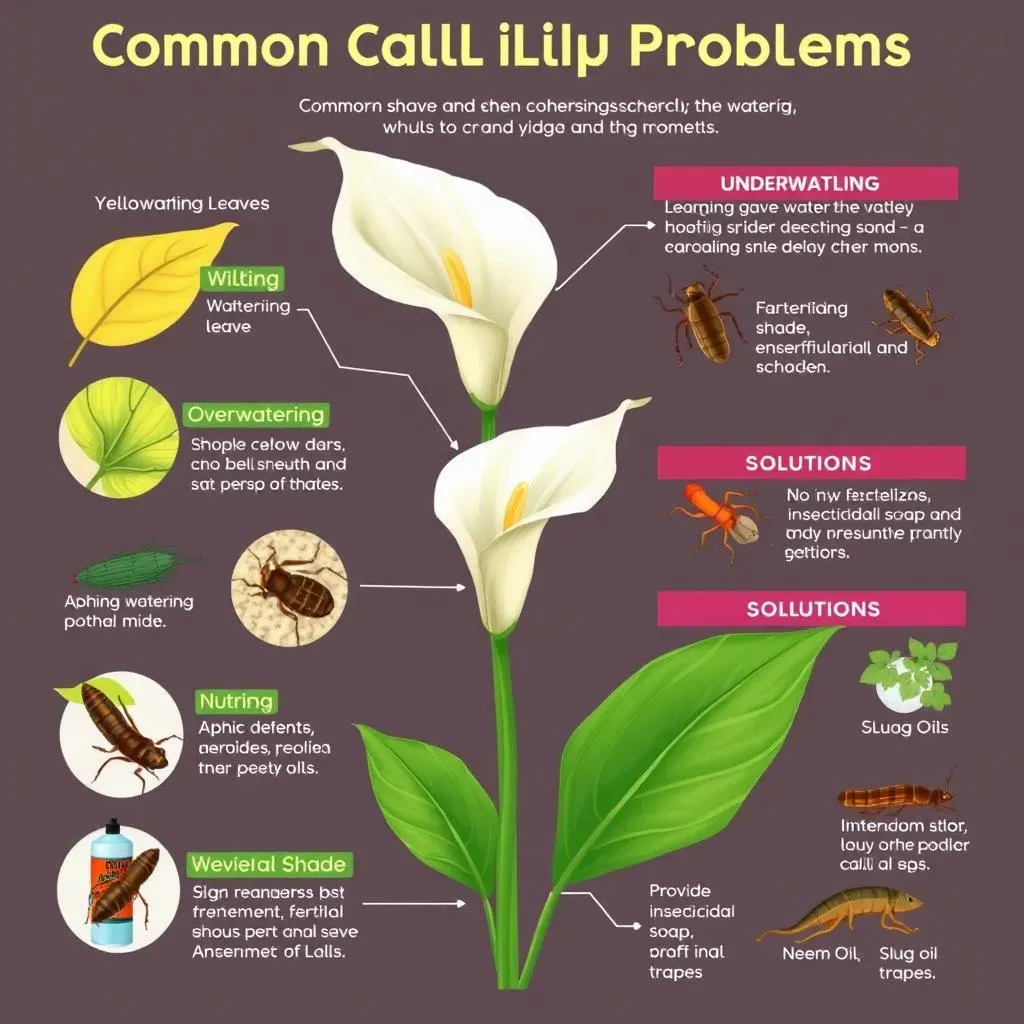
Yellowing leaves and wilting are common problems, often caused by improper watering or insufficient sunlight. Underwatering leads to wilting, while overwatering can cause root rot, resulting in yellowing leaves. Make sure your soil is consistently moist but not soggy. Adjust your watering schedule based on the climate and soil conditions. If your calla lilies are receiving too much direct sun, their leaves may scorch and yellow. Provide them with partial shade, especially during the hottest parts of the day. A good rule of thumb is to let the top inch of soil dry out between waterings. Observe your plants carefully and adjust your watering habits accordingly.
Another potential culprit is nutrient deficiency. Calla lilies are heavy feeders, and a lack of essential nutrients can cause yellowing leaves. Use a balanced, slow-release fertilizer to provide your plants with the nutrients they need. Avoid over-fertilizing, as this can lead to other problems. Regular fertilization is crucial for healthy growth and vibrant blooms. If you suspect a nutrient deficiency, consider a soil test to determine the exact nutrient levels and adjust your fertilization strategy.
Symptom | Possible Cause | Solution |
|---|---|---|
Yellowing Leaves | Overwatering, underwatering, nutrient deficiency | Adjust watering, provide partial shade, fertilize |
Wilting | Underwatering, root rot | Water consistently, improve drainage |
Pest and Disease Problems
Calla lilies can be susceptible to various pests and diseases. Common pests include aphids, spider mites, and slugs. Aphids and spider mites can be controlled with insecticidal soap or neem oil. For slugs, use slug traps or barriers to prevent them from reaching your plants. Regularly inspect your plants for signs of pests, and take action immediately if you find any. Early detection and treatment are crucial to prevent widespread infestations. A healthy plant is less susceptible to pests and diseases.
Fungal diseases such as leaf spot and root rot can also affect calla lilies. Good air circulation and proper watering are essential for preventing fungal diseases. If you notice signs of fungal infection, remove affected leaves and stems, and consider using a fungicide. Avoid overhead watering, as this can create a humid environment that favors fungal growth. Remember, prevention is always better than cure. Providing your calla lilies with optimal growing conditions will significantly reduce the risk of pest and disease problems.
- Aphids: Use insecticidal soap or neem oil.
- Spider Mites: Use insecticidal soap or neem oil.
- Slugs: Use slug traps or barriers.
- Fungal Diseases: Ensure good air circulation and proper watering; use fungicide if needed.
Lack of Blooms
If your calla lilies aren't blooming, it could be due to several factors. One of the most common reasons is improper planting depth. Ensure that the rhizomes are planted at the correct depth (2-3 inches) with the growing points facing upwards. Another factor is insufficient sunlight or improper fertilization. Calla lilies need at least partial sun and regular fertilization to produce abundant blooms. Make sure you're providing them with the right amount of sunlight and nutrients.
Crowded rhizomes can also inhibit blooming. If your calla lilies have been in the same spot for several years, they may need to be divided. Dig up the rhizomes, divide them, and replant them in fresh soil. This will give them more space to grow and produce more flowers. Dividing the rhizomes every few years is beneficial for maintaining healthy, vigorous plants. Remember, healthy plants produce the most beautiful flowers.